You can sew a straight seam. You have a pattern, the pieces are cut, and now a small pile of flat fabric shapes is sitting on your table. Then the freeze sets in. What do you touch first? Which piece goes to which, and in what order?
That gap is exactly what garment construction solves. Garment construction is the order and the techniques that turn flat cut pieces of fabric into a wearable, professional-looking garment. It is a different skill from stitching a seam, and almost nobody teaches it as one whole map. One sewist put it perfectly after learning two of these techniques: “Today I learned about understitching and staystitching, my life has forever changed.”
This page is that map. You will get two things: the ORDER your pieces go together and why, and the handful of pro techniques (staystitching, understitching, setting in a sleeve) that separate homemade-looking from professional. You do not need to memorize an 18-step industry chart. One simple rule governs the whole thing, and we will hand it to you next. This guide is part of our wider full sewing techniques guide.
What Garment Construction Is and the One Rule That Governs It
The entire order of construction comes from a single sentence, not a chart you have to memorize. Garment construction is the sequence of steps plus the core techniques that assemble flat pattern pieces into a three-dimensional garment your body can wear. Master that one sentence and you can reason out the order yourself.
The golden rule is this: sew as flat as you can, for as long as you can. The fuller version some teachers use is “sew as small as you can, as flat as you can, for as long as you can.” The mechanism is simple. A single flat piece of fabric is easy to control under the machine. Once pieces are joined into a bulky tube or a curved three-dimensional shape, they fight you, twist, and pucker.
So you do every small, flat operation first. Darts, style seams, pockets, and most zippers all happen while the pieces are still open and manageable. A dart is a stitched fold that removes fabric to add shape, usually at the bust or waist. A style line is any seam that is not a shoulder, side, or armhole seam, often a shaping or decorative seam like a princess seam. These get sewn before you join anything into a body.
The companion rule matters just as much: press as you go. Press after every single seam, either open or to one side, before you move on. Pressing is a construction step, not optional finishing. The seam allowance is the strip of fabric between the stitching line and the raw edge, usually 5/8in (1.5cm) on patterns, and it needs to be set flat before the next seam crosses it.
The single biggest amateur tell is skipping that pressing between steps. Bulk compounds, seams never set, and the garment looks lumpy instead of crisp. Keep an iron beside your machine and treat it as equal equipment. So what is that order, exactly? Here it is.
The Order of Construction: The Master Sequence for Sewing a Garment
This is the part you can screenshot and follow today. Below is the master sequence for a typical woven garment, grouped into three plain phases so the logic sticks. Exact steps vary by pattern, and your pattern instructions are always the final word, but the underlying logic (flat work first, closures and hems last) never changes.
Phase 1, flat prep and shaping:
- Prep and cut: pre-wash and press your fabric, lay out on the grainline (the direction of the fabric threads that the pattern must line up with, marked by an arrow on each piece), cut, and transfer all markings.
- Staystitch curved edges like necklines and armholes before you handle them.
- Apply interfacing to pieces that need structure. Interfacing is an extra layer fused or sewn to areas like collars, cuffs, and plackets to add stability.
- Sew darts and style lines while the pieces are still flat.
- Sew pockets while the pieces are flat.
- Insert zippers while the garment is still relatively flat and accessible.
Phase 2, joining into shape:
- Sew the shoulder seams.
- Attach the collar.
- Sew the side seams and inseams.
- Prepare and set in the sleeves.
Phase 3, closures and finishing:
- Attach facings, or the waistband and cuffs.
- Sew the hems.
- Add buttons and buttonholes, plus any remaining closures.
- Give the garment a final press.
Everything small and flat comes first because flat pieces are easy to control and easy to shape accurately. Closures and hems come last because you want the garment fully assembled, and ideally tried on, before you commit to finishing edges and adding fastenings. An industry version of this list runs to 18 steps, but this simplified order keeps the exact same logic without the jargon.
If you want to practice this sequence on a low-stress make, beginner-friendly patterns that walk you through the construction order step by step are the fastest way to internalize it. Our library of 155+ printable PDF sewing patterns gives you step-by-step instructions and video tutorials for exactly that. Start with step two of the list above, because staystitching is the very first thing your machine does after cutting.
Staystitching: Stabilize Curved Edges Before You Sew
Staystitching costs nothing, takes seconds, and can always be removed later, so there is zero downside to adding it whenever a fabric feels soft or drapey. Staystitching is a single line of straight stitching sewn through ONE layer of fabric, just inside the seam allowance on a curved cut edge, to stop that edge stretching out of shape while you handle the garment.
Curved edges misbehave because of how they are cut. Necklines and armholes are cut partly on the bias, which is the diagonal direction of woven fabric and the stretchiest. As you move pieces around and try the garment on, those edges distort. Woven fabric does not spring back once stretched, so the collar, facing, or sleeve meant to attach later no longer matches the edge it is supposed to meet.
Staystitch a curved edge like this:
- Staystitch right after cutting, before any other handling.
- Set a slightly shorter stitch length, about 2 to 2.6mm.
- Stitch just inside the seam allowance, roughly 3/8in in on a 5/8in seam allowance, so the line hides inside the later construction seam.
- Sew necklines from each shoulder toward the center front or center back, and armholes from the shoulder seam to the underarm.
- Stitch the two halves of a curve in the SAME direction so one side does not stretch more than the other.
- Sew slowly, holding the fabric steady rather than letting it feed and pull.
Matching-direction stitching, not the stitching itself, prevents a lopsided neckline. The real cost of skipping it shows up much later, when the stretched edge no longer matches its mating piece and you must ease or stretch to compensate.
A common mistake is staystitching everything. It matters most on bias and cross-grain edges, and V-necks especially can run almost fully on the bias. It barely matters on straight-of-grain edges like a center front, so save your effort for the curves that need it.
Darts and Seams: The Shaping Backbone of Your Garment
Ever wonder why two garments cut in the same size can fit so differently? The answer is rarely the fabric. It is the shaping built into the darts and seams. Seams join pieces together, while darts remove wedges of fabric to build in curves for the bust, waist, and shoulder. Together they are the shaping backbone that turns a flat two-dimensional piece into a form that fits a three-dimensional body.
This is the heart of the flat-work phase. Two dart details trip up almost every beginner. First, you do not backstitch a dart point. Backstitching at the tip creates a bulge, so instead you sew off the fold to nothing and tie the thread tails in a knot. Second, press darts consistently, vertical darts toward the center and horizontal bust darts downward, ideally over a curved surface so the shaping stays smooth.
Sew a clean dart like this:
- Mark the dart accurately from the pattern, since a mis-marked or wrong-side dart is a classic unpick.
- Fold right sides together, matching the two dart legs.
- Sew from the wide end toward the point, tapering off the fold at the tip.
- Do not backstitch the point; leave tails and tie them off.
- Press the dart before moving on to anything else.
That marking step matters more than it looks. One beginner sewed a dart on the wrong side of a lining piece and had to seam rip and redo it. Checking right-sides-together before you sew saves that half hour.
For the mechanics of straight, stretch, and finished seams themselves, see our full guide to sewing stitches and seams. With your shaping sewn, the next question is how to finish the raw edges so they stay hidden.
Facings and Understitching: Clean Edges That Stay Put
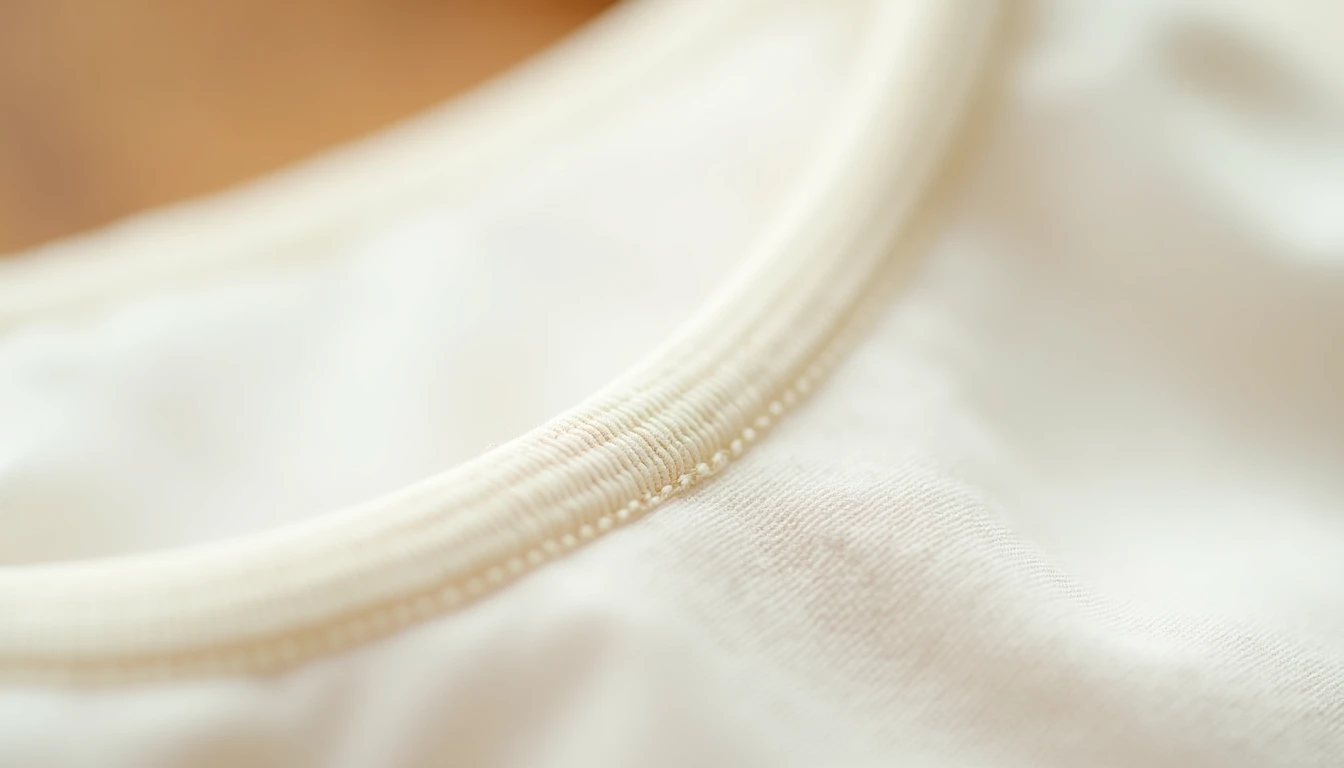
Why does your facing keep flipping to the outside no matter how carefully you press it? The one-line answer: it was not understitched. Beginners most wish they had learned this sooner, and patterns leave it out surprisingly often.
First, the two terms. A facing is a shaped piece of fabric sewn to an edge like a neckline or armhole, then turned to the inside, to finish the raw edge cleanly. It is different from a lining, which is a full-length duplicate of the pattern piece. A facing is a short, shaped partial. Understitching is a line of stitching sewn about 1/8in from the seam, through the facing (or lining) only, catching the seam allowance layers underneath. That anchors the seam allowances to the facing side, so the seam sits just inside the edge and the facing cannot roll into view.
Understitch a facing like this:
- Sew the facing to the garment edge, right sides together, at the marked seam allowance.
- Grade the seam allowances, meaning trim them to slightly different widths to cut bulk, but leave at least 1/4in so there is enough to catch.
- Clip into curved seam allowances almost to the stitching line so the curve turns smoothly.
- Press the seam allowances TOWARD the facing.
- With the facing right-side up and allowances underneath, stitch about 1/8in from the seam through the facing at roughly a 2.0mm stitch length, catching the allowances beneath. Pull the work taut and go slowly on curves.
- Stop as close as you can to tight corners rather than forcing the line in; a small gap still holds.
- Turn the facing to the inside and press. It falls into place.
Do not trim the seam allowance narrower than 1/4in, or there will not be enough fabric for the understitching to catch. Short on time? Prioritize the neckline over the armhole, since it shows the most. Some makers argue understitching matters even more than staystitching, because it keeps the facing invisible and makes that final press effortless. Next comes the step most beginners fear.
How to Set In a Sleeve Without Puckers
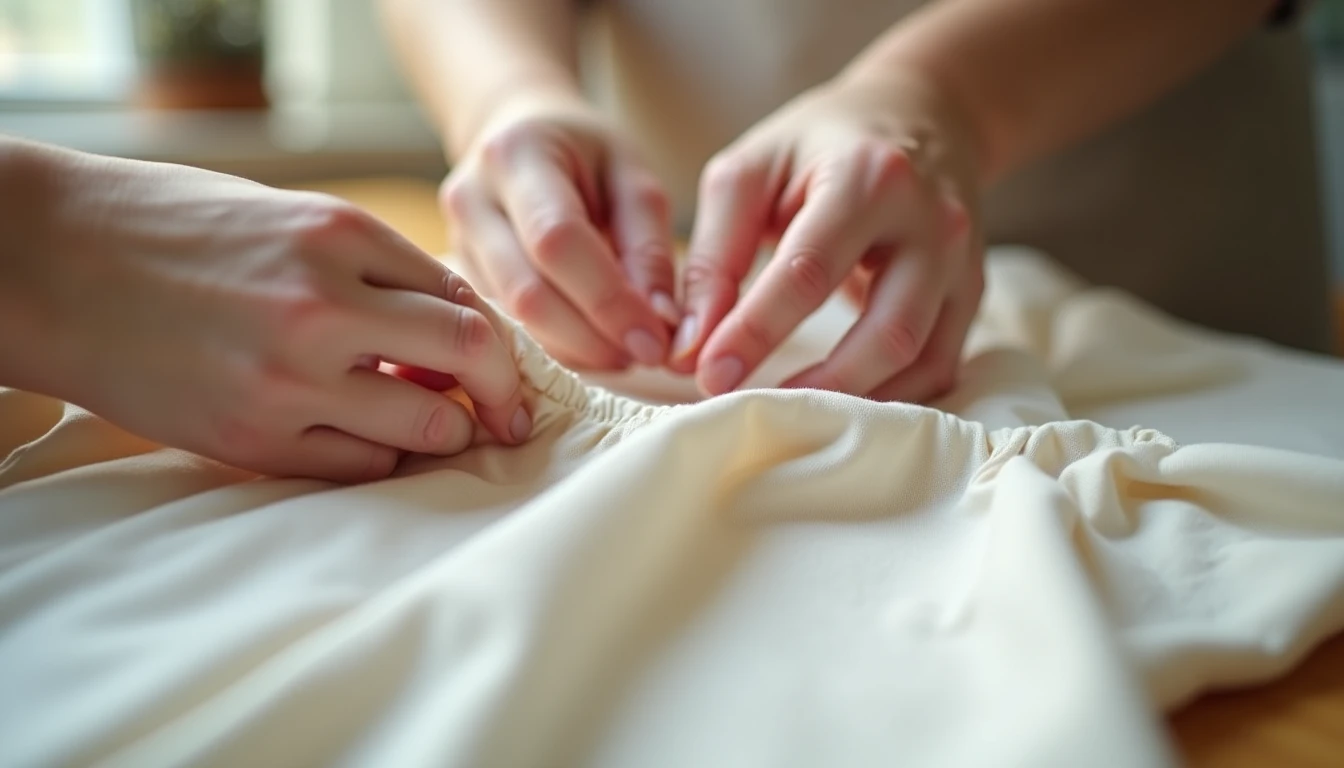
That first sleeve that came out a puckered, gathered mess? The cause is simple and fixable: unmanaged ease. Sleeves go in two ways, and one is far kinder to beginners.
The flat method attaches the sleeve while the garment is still open, shoulder seam sewn but side seam not yet closed. It is much easier and common on tees, casual patterns, and beginner makes. The set-in method sews the sleeve and body into tubes first, then eases the sleeve into the finished armhole. It is harder but gives a cleaner cap. If your pattern allows the flat method, take it.
Two terms matter here. Ease is the small extra fabric built into the sleeve cap so the rounded shoulder has room to move, distributed smoothly rather than forced. A notch is one of the little marks or snips on the pattern edges that line up when two pieces meet. The sleeve cap is the curved top of the sleeve.
Set in a sleeve like this:
- Machine-baste two rows of the longest stitch between the sleeve-cap notches, roughly at 1/4in and 3/8in to 1/2in, without backstitching, leaving thread tails.
- Sew the sleeve’s underarm seam and hem the sleeve opening before attaching it.
- With right sides together, insert the sleeve into the armhole and match the underarm seam to the garment side seam.
- Match all notches and the single top dot to the shoulder seam, then pin generously all the way around.
- Gently pull the basting tails to ease the extra cap fullness in evenly until the sleeve fits the armhole.
- Baste it in first and check for puckers before you sew the final seam.
- Sew the final seam with the sleeve side UP, against the feed dogs, for better pucker control, then add a reinforcing line about 1/8in away in the seam allowance.
- Clip into the seam allowance between notches so it lies flat, and remove the basting stitches.
Two habits save you: sew from the sleeve side up to catch puckers early, and never force a too-big cap in flat, ease it with the basting threads first. Get comfortable with this and the scariest step becomes routine. With the body assembled, only finishing is left, and it waits until the end.
Closures and Hems Go Last: Zippers, Buttons, and Hemming
Why does a garment that is basically done still demand its most careful, patient steps right at the finish line? Because closures and hems depend on everything else being in place first.
Hems come last because you want the garment fully assembled, and ideally tried on, so the length is right before you commit. A hem is the finished bottom edge, folded up and secured, and hemming too early means redoing it. Buttons and buttonholes wait because they need the plackets and facings already sewn so the area is stable and correctly positioned. A placket is the reinforced strip of fabric, usually interfaced, where buttons and buttonholes sit.
Zippers are the one partial exception. Many go in earlier, in the flat phase, while the seam is still accessible. The rule is about fastening logic: closures finish the garment, so their final placement belongs at the end. Press before and after each step too.
Reach for the dedicated guides at the point of need. When you get to the zipper, follow our step-by-step how to sew a zipper. For buttons and buttonholes, see how to sew buttons. And for a clean, even hem, our how to hem guide walks you through it.
One mistake to avoid: interface the button placket. A beginner who skipped it watched the buttonhole area warp. Interfacing at stress points is the fix. An uneven hem is the other classic finishing frustration, so measure from the floor with the garment on a body or form.
Common Garment Construction Mistakes and How to Plan Your First Garment
You now have the whole roadmap. What follows is the shortest path to a finished garment you will actually wear. First, the traps to sidestep. Each of these is a mistake we see constantly, with its fix:
- Skipping pressing between steps. The number-one amateur tell. Press after every seam.
- Improvising your own order. Stick to flat-work first, closures last, and let the pattern lead.
- Skipping staystitching. A stretched neckline no longer matches its collar or facing. Staystitch curves right after cutting.
- Forgetting interfacing on plackets, collars, and cuffs. These warp without it. Interface stress points.
- Forcing a sleeve cap in flat. Ease it with basting threads instead.
- Not understitching facings. They roll to the outside and show. Understitch every faced edge.
Now the on-ramp. For your first garment, pick a simple woven pattern, not a knit and not a fitted jacket. Think an elastic-waist skirt, a simple woven top, or a basic shift dress, ideally one that uses facings rather than a full lining and either a flat-set sleeve or no sleeve at all. Choose a stable, easy-to-press fabric like a medium-weight cotton woven, not something slippery or drapey.
Then read the pattern instructions all the way through before you cut, lay out on the grainline, staystitch immediately, and press as you go. Beginners build skill fastest by sewing simple, well-drafted patterns to understand each component, rather than jumping to an ambitious project that ends in frustration.
A beginner-friendly pattern that walks you through the construction order is the lowest-risk way to practice this whole roadmap on a real make. Our library of 155+ printable PDF sewing patterns gives you step-by-step instructions and video tutorials built for exactly this stage. You know the order and the techniques now. Pick one simple pattern, and go make the thing.
Garment Construction FAQ
What order do you sew a garment in?
Sew the smallest and flattest work first, and save closures and hems for last. The full sequence: prep and cut, staystitch, interfacing, darts and style lines, pockets, zippers, shoulder seams, collar, side seams, sleeves, facings or waistband, hems, then buttons and buttonholes, then a final press. Exact steps vary by pattern, but that flat-first, closures-last logic never changes.
What is staystitching?
Staystitching is a single line of stitching sewn just inside the seam allowance on a curved edge, done right after cutting, to stop that edge stretching out of shape while you handle the garment. It is stitched through one layer only. It matters most on bias-cut edges like necklines and armholes, and barely at all on straight-of-grain edges.
Do I have to understitch?
Understitching is technically optional but strongly recommended. Without it, facings and linings roll to the outside and show at the edge, which reads as homemade. Patterns often leave the step out entirely, even though understitching, sewn about 1/8in from the seam through the facing, is what keeps a faced edge looking professional and crisp.
How do I stop my sleeve from puckering?
The sleeve cap holds extra fabric, called ease, that must be distributed smoothly rather than forced in. Baste two rows in the cap and gently pull them to ease the fullness evenly. Match all notches and the top dot to the shoulder seam, then sew with the sleeve side up so you can smooth out puckers as you go.
What should my first sewing project be?
Choose a simple woven garment such as an elastic-waist skirt, a basic top, or a shift dress, made in a stable, easy-to-press cotton. A forgiving woven lets you practice the order of construction without fighting slippery or stretchy fabric. Avoid knits, linings, and fitted jackets until you have a garment or two behind you.
What does sew as flat as you can for as long as you can mean?
It means doing every small, flat operation (darts, style seams, pockets, and most zippers) on individual pieces before you join them into bulky three-dimensional shapes. Flat single pieces are far easier to control under the machine, so you delay joining pieces into a body for as long as the construction allows. It is the golden rule that sets the whole order.