You find a pattern you love, scan the notions list, spot the word “zipper,” and quietly set it back on the shelf. If that sounds familiar, you are in good company, and you are about to stop doing it.
Learning how to sew a zipper is far simpler than the fear suggests, because a zipper is really just careful straight stitching with one special presser foot. Better still, you can unpick a crooked line in seconds and redo it as many times as you need. Nothing gets ruined on the first try.
This is the complete page. You will learn what a zipper is actually made of, which type to buy so your first attempt goes smoothly, and three installation methods (centered, invisible, and lapped) laid out step by step. A quick table even matches your project to the right zipper and method.
Most of this builds on the same basic sewing skills you already use, and it fits into the wider world of sewing techniques you are building. By the end, you will know exactly which zipper to reach for and how to put it in.
Meet the Zipper: Its Parts and the Zipper Foot
Once you can name five small parts and swap out one presser foot, you already understand about ninety percent of any zipper instruction you will ever read. The vocabulary is the hard part, and it takes about two minutes to learn.
Here are the parts that matter:
- Teeth or coil: the interlocking bumps that lock the zipper closed. A coil is a continuous nylon spiral sewn onto the tape, while teeth are individual pieces molded or clamped on. Both do the same job.
- Slider and pull: the slider is the little metal or plastic piece that travels up and down to open and close the zipper. The pull is the tab you hold to move it.
- Tape: the two fabric strips running down each side. This is what you actually stitch through. You never stitch the teeth themselves.
- Top and bottom stops: the small blocks at each end that keep the slider from running off. You must never sew over these, a rule we return to later.
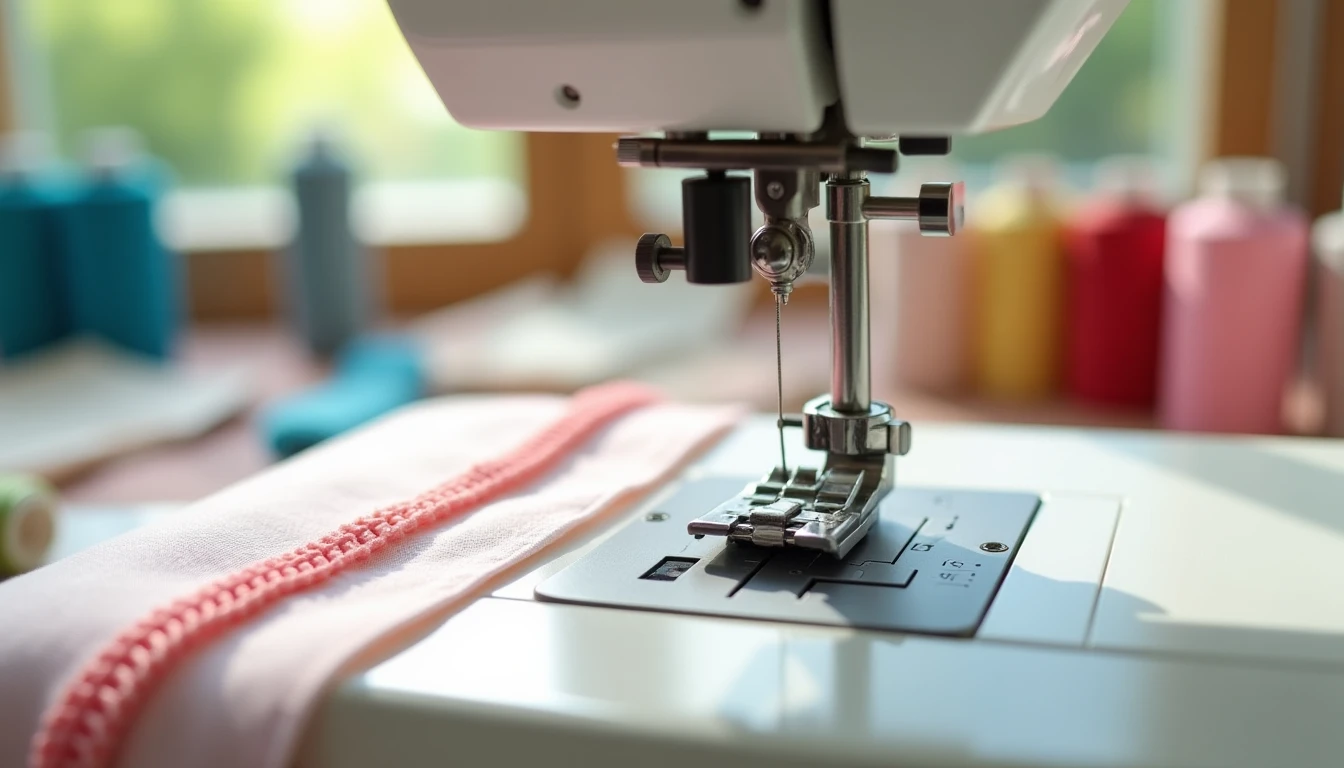
The one tool that makes all of this easy is the zipper foot. A zipper foot is a narrow presser foot with only one toe instead of the usual two, so the needle can stitch right up beside the teeth without the wider standard foot bumping into them. Most sewing machines come with one in the box.
One more habit matters as much as the foot: go slow. A zipper seam is short and precise, and easing off the pedal is how beginners keep the stitching line straight and close to the teeth. Speed comes later.
The single most common beginner mistake is stitching on the teeth instead of the tape. Aim your line on the tape beside the coil, never on the coil itself, or you will get a jammed, wavy result. Now that you can name the parts, the next question is which zipper to buy.
Types of Zippers and Which One to Pick
Here is the shortcut: for your very first zipper, buy a nylon coil zipper. It is the most forgiving type there is, and it will make everything that follows easier.
Understanding the main types of zippers helps you buy the right one instead of guessing in the store:
- Coil (nylon): the teeth are a spiral sewn onto the tape. This is the most flexible and forgiving type, handles curved seams beautifully, comes in dozens of colors, and shortens easily at home. This is your beginner pick.
- Molded plastic: the teeth are molded directly onto the tape. Strong, weatherproof, and resistant to sun and corrosion, which is why it shows up on outdoor and marine gear. It is bulkier and less friendly on curves.
- Metal: the teeth are clamped onto the tape. This is the strongest, most durable option, the classic look for jeans and heavy jackets. It is heavy, cannot be sewn over with the machine, and needs pliers to shorten.
- Invisible (concealed): a coil designed to curl to the back of the tape so nothing shows from the outside. It gives a polished finish on dresses and skirts and needs its own foot, which we cover fully in Method 2.
You also choose between two constructions. A closed-end zipper stays joined at the bottom, which suits dresses, skirts, cushions, and bags. A separating zipper comes completely apart, which is what a jacket front or any garment that opens all the way needs.
Match the zipper to the job, not just the color: coil for flex and curves, molded for weather, metal for heavy stress. Putting a chunky metal zipper into a lightweight summer dress is a classic mismatch that drags the fabric down. We map every common project to a type further down.
You have your zipper. Now let us put it in, starting with the friendliest method of all.
Method 1: How to Sew a Centered Zipper (Start Here)
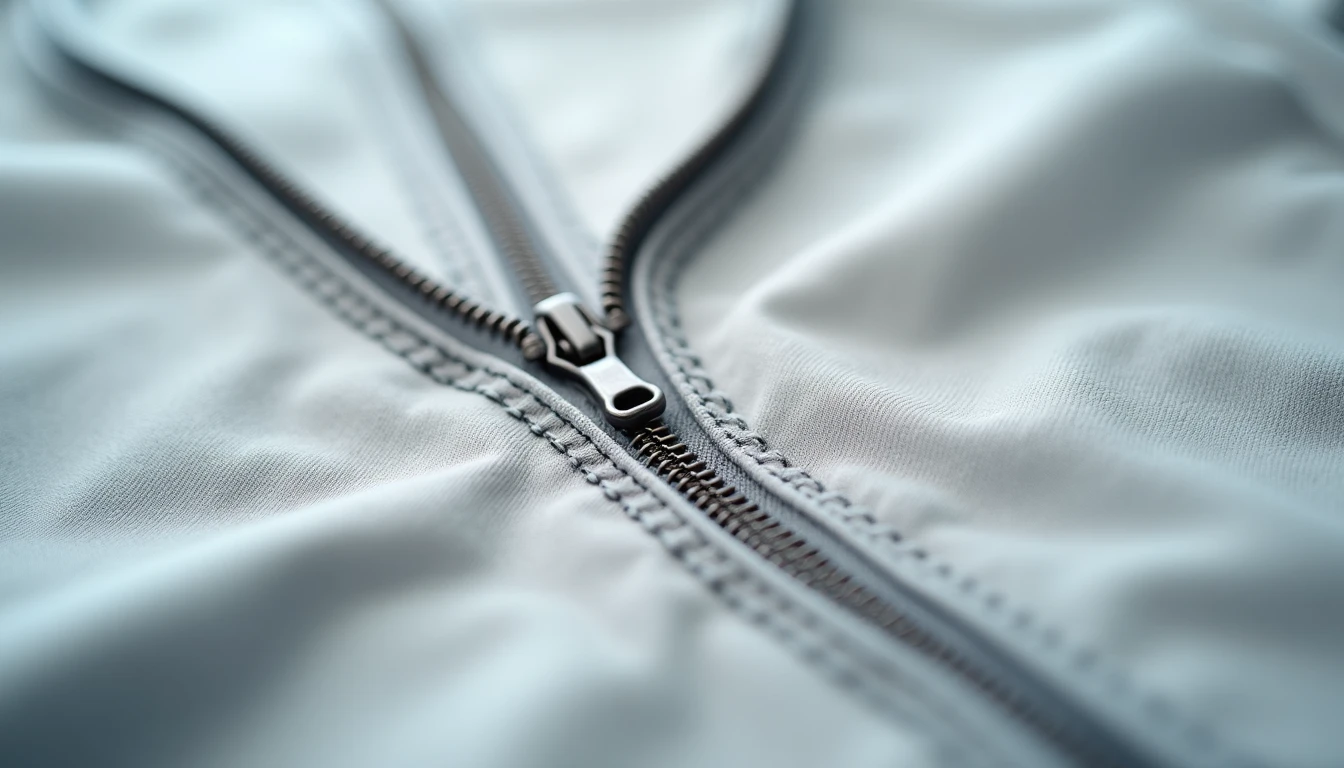
If you sew only one zipper this month, make it a centered one. It is the most forgiving install because you baste the seam shut first, which means you are only ever stitching a straight line over closed fabric. The zipper is revealed at the very end, after the risky part is done.
A centered zipper sits centered under the seam with an even line of topstitching showing on both sides. Two terms to know: to baste means to sew the longest, loosest stitch your machine offers, meant to be pulled out later. To topstitch means to sew a visible line of stitching on the right side, the outer face, of the fabric.
Here is the method from start to finish:
- Finish the raw edges of the seam where the zipper will go, so they do not fray.
- With right sides together, stitch the seam up to the mark where the zipper opening starts, and backstitch there to lock it.
- Baste the rest of the seam closed at the longest stitch length. You can also hand-tack it with a double thread and no knot so it pulls out easily later.
- Press the whole seam open, including the basted section. Pressing is what turns a homemade look into a professional one.
- With the zipper closed and face down, center it over the pressed-open seam so the coil sits right on the seamline. Hold it in place with wash-away basting tape or pins.
- Attach the zipper foot and topstitch about a quarter inch from the teeth down one side, pivot across the bottom, then stitch back up the other side. Keep both lines the same distance out so they look even.
- Unpick the basting stitches with a seam ripper to reveal the finished zipper.
- Give it a final press.
When your needle nears the slider, leave the needle down in the fabric, slide the pull past the foot, and keep going. We cover that move in full later, but knowing it now keeps your line straight.
A simple cushion cover or zip pouch is the perfect first centered zipper. Our library of 155+ printable PDF sewing patterns includes beginner patterns to practice on, each with step-by-step instructions and video tutorials so you are never guessing. Once a centered zipper feels easy, you are ready for the one that looks like magic.
Method 2: How to Sew an Invisible Zipper
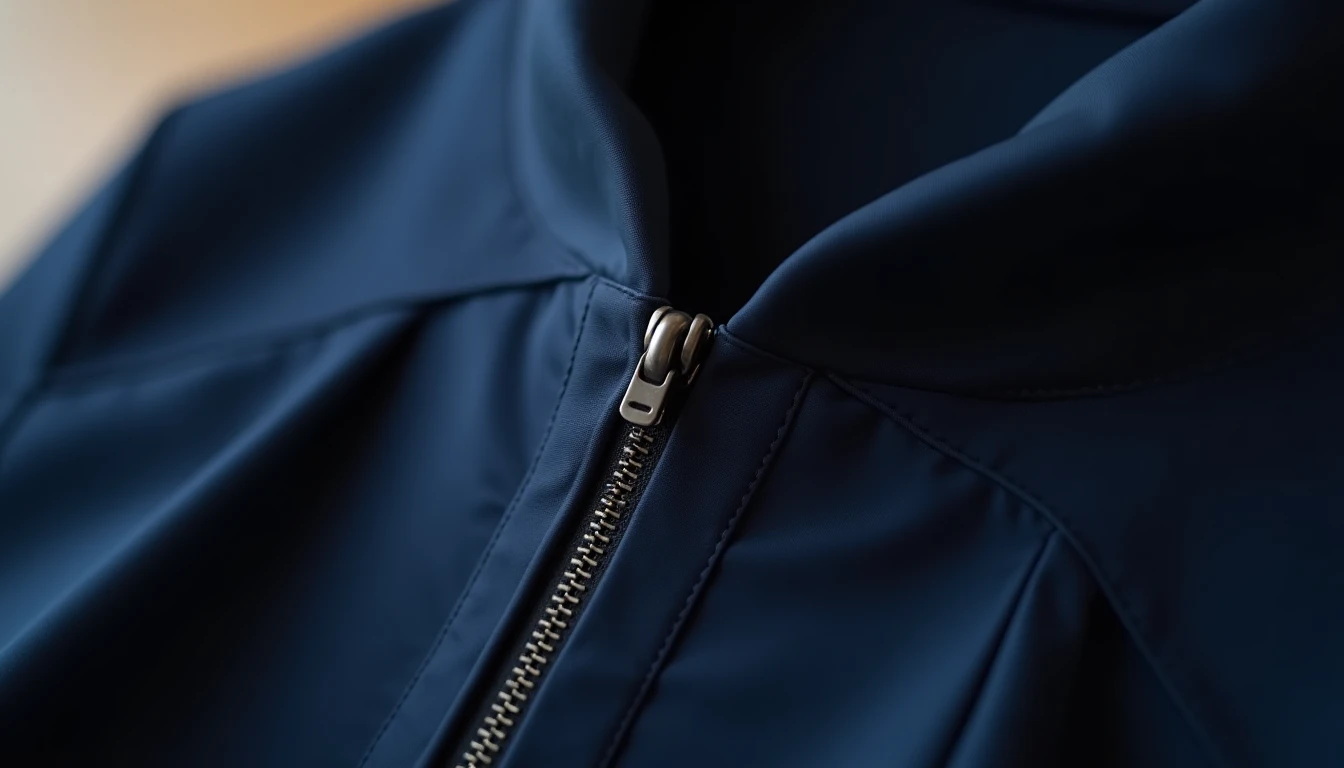
Here is the surprise that stops beginners in their tracks: an invisible zipper is often easier to sew than a centered one, because the special foot does the aiming for you. The one step people skip, the step that quietly ruins the result, is pressing the curled coil flat before you start.
An invisible zipper is one whose coil curls to the back so no teeth or stitching show from the right side once it is in. An invisible zipper foot is a presser foot with two grooves on its underside. The coil rides in a groove and the needle stitches right against it, which is what makes the finish disappear.
Follow these steps:
- Choose a zipper about two inches longer than the opening, and stabilize the seam allowance (the strip of fabric between the stitching line and the raw edge) with fusible interfacing so it does not stretch.
- Set the iron low and press the coil away from the tape to uncurl it slightly. Low heat matters here so you do not melt the teeth. This is the make-or-break step.
- With the zipper closed, pin it right side to right side against the fabric so you do not sew it in backwards, then unzip it.
- Attach the invisible zipper foot, drop the coil into the left groove, and stitch down close to the teeth. Backstitch at the end.
- Sew the second side the same way, with the coil now riding in the right groove.
- Check that both sides are stitched to the same point so the zipper hangs even. If one side is short, add a few stitches to match.
- Switch to a standard zipper foot and stitch the remaining seam below the zipper closed.
- Press. From the right side, almost no stitching or coil should show.
No invisible zipper foot yet? A standard zipper foot can do the job too, stitching along the guideline printed on the tape, just a touch less precisely. It is a fine way to start.
The common stumble is uneven stitching lines. If one side runs further than the other, the seam bunches or looks lopsided, so keep checking that both sides reach the same point. Invisible zippers are where a clean closure meets the wider craft of garment construction, so this is a skill worth owning.
Zip it up and the closure all but disappears. Next comes the tailored alternative that needs no special foot at all.
Method 3: How to Sew a Lapped Zipper
What if you could hide the zipper teeth almost as well as an invisible zipper, using only a standard zipper and the foot you already own? That is the lapped zipper, and the secret is a small flap of fabric that folds over the teeth.
A lapped zipper is installed so one side of the opening laps over the other, covering the teeth with a narrow flap and leaving just one visible line of stitching. The underlap is the side pressed under narrowly that sits beneath. The overlap, or lap, is the side that folds over to cover.
Here is the shorter method:
- Stitch the seam from the bottom up to the zipper mark and backstitch, leaving the opening unsewn. No basting is needed, unlike the centered method.
- On the wrong side (the inner face) of the fabric, press the underlap edge under half an inch and the overlap edge under five-eighths of an inch. Accurate pressing here is what keeps the teeth hidden.
- Secure the zipper along the underlap with wash-away tape or pins, fold the fabric right next to the teeth, and stitch close to the fold.
- Mark the overlap stitching line three-eighths of an inch from the pressed edge, keeping it above the zipper stop.
- Close the zipper, fold the lap over the teeth, stitch the marked line, pivot across the bottom, and backstitch to finish.
A lapped zipper suits the side seams of skirts and dresses where you want a tailored, streamlined line, and it works well on quarter-zips and jackets too. You will need a five-eighths inch seam allowance to have enough fabric to fold.
Before you sew the final lap, double-check that the marked line clears the zipper teeth. Stitch over the teeth and the zipper will never close again. That single check saves the whole project.
You now have all three core methods in hand. A handful of small habits makes every one of them easier.
Zipper Tips and Common Mistakes Every Beginner Should Know
Every beginner hits the same three or four moments of panic mid-seam: the slider blocking the foot, a zipper that is too long, a finished line that came out wavy. Each one has a simple, repeatable fix, and knowing them ahead of time is the difference between finishing and giving up.
Keep these habits close:
- Tape or baste first. Wash-away double-sided tape, such as Wonder Tape, holds the zipper without the shifting and puckering that pins can cause. It dissolves in the wash, so there is nothing to remove.
- Move the pull past the slider. When the needle nears the slider, leave the needle down in the fabric and slide or zip the pull past the foot, rather than lifting the foot. This is the single most-asked beginner question, and the move takes two seconds.
- Go slow and match your thread. Slow stitching keeps the line straight and close to the teeth, and thread that matches your fabric hides any small wobbles.
- Never sew over the teeth or stops. Keep every stitch line above the stop, and never machine-sew over a metal zipper, which can snap your needle. A nylon coil is safe to cross if a seam must.
- Always press. Pressing before and after is the quiet step that separates a homemade zipper from a polished one.
A too-long zipper does not mean a trip to the store. To shorten a coil, plastic, or invisible zipper, set a zigzag stitch just wider than the teeth, drop the stitch length to zero, and stitch across the coil about ten times to build a new stop. Then trim one to two inches below it.
Never cut before you make the new stop, or the pull slides right off and the zipper is ruined. For a metal zipper, use pliers to move the stops instead, and shorten a separating zipper from the top only.
None of these fixes is hard. They are the small habits that make zippers feel routine instead of risky.
Which Zipper and Method to Use for Which Project
Find your project in the table below and you will know exactly what to buy and which method to reach for. No more standing in the notions aisle second-guessing yourself.
| Project | Best zipper type | Best method | Why |
|---|---|---|---|
| Dress (center-back or side) | Invisible or coil | Invisible (or lapped) | Cleanest, most professional hidden look |
| Skirt | Coil or invisible | Lapped or invisible | Tailored, streamlined line |
| Pants fly | Special or coil | Fly method (its own install, uses a fly shield) | Built for repeated stress at the front |
| Cushion or pillow | Nylon coil (size #3) | Centered | Straight seam, visible topstitch is fine |
| Bag or pouch | Coil | Centered | Coil curves well and topstitches decoratively |
| Jacket or outerwear | Separating (molded or metal) | Centered-style on a separating zipper | Must come fully apart at the bottom |
A pants fly is its own specialized install that goes beyond these three methods, so treat that row as a signpost rather than a full recipe. Everything else on the list is covered by the methods above.
When you are unsure on a garment, a coil zipper installed with the centered method is a safe, forgiving default that looks tidy every time. And always match the zipper weight to the fabric weight, since a heavy metal zipper will drag down light dress fabric and pull the seam out of shape.
Ready to practice on a real project? Our library of 155+ printable PDF sewing patterns includes simple zippered projects chosen for beginners, each with step-by-step instructions and video tutorials to walk you through the zipper. Still have a question? Here are the ones beginners ask most.
Frequently Asked Questions About Sewing Zippers
These are the exact questions that trip beginners up right before they start stitching.
Which side of the fabric does the zipper face when I pin it on?
The zipper’s right side, the teeth or coil side, goes against the right side of the fabric for both the centered and invisible methods. Pinning them face to face means that when you turn the piece right side out, the zipper and stitching sit correctly on the outside. Always double-check before you sew, since it is easy to pin backwards.
Do I need a special zipper foot to sew a zipper?
Yes, for the cleanest result. Use a standard single-toe zipper foot for centered and lapped zippers, and an invisible zipper foot for invisible ones. A standard zipper foot can still sew an invisible zipper with slightly less precision if you do not own the grooved version. Most machines already include a standard zipper foot in the box.
How do I move the zipper pull out of the way while sewing?
Leave the needle down in the fabric so your place is held, then slide or zip the pull past the presser foot by hand before continuing to stitch. Do not lift the foot to do it. This keeps your stitching line straight and stops the bulky slider from pushing your seam off course.
Which zipper is best for a dress?
An invisible zipper gives the most concealed, professional look on a dress, while a lapped zipper offers a similarly hidden, tailored finish using only ordinary tools. For your first attempt, a nylon coil zipper is the easiest to work with because it is flexible and forgiving. Centered zippers show visible topstitching, so they suit bags and cushions more than dresses.
How do I shorten a zipper that is too long?
Sew a new zigzag stop across the coil at the length you need, using a stitch length of zero and about ten stitches, then trim the excess tape below it. For a metal zipper, recrimp new stops lower down with pliers instead of zigzagging. Never cut the zipper before you make the new stop, or the pull will slide off.
Why does my zipper look wavy or puckered?
Usually the fabric was not stabilized or basted first, the two stitching lines came out uneven, or you sewed too fast. Stabilize the seam or hold the zipper with wash-away tape, keep both sides stitched to the same point, press well, and ease off the pedal. Fix those four things and the pucker disappears. You now have everything you need to sew any zippered pattern with confidence.