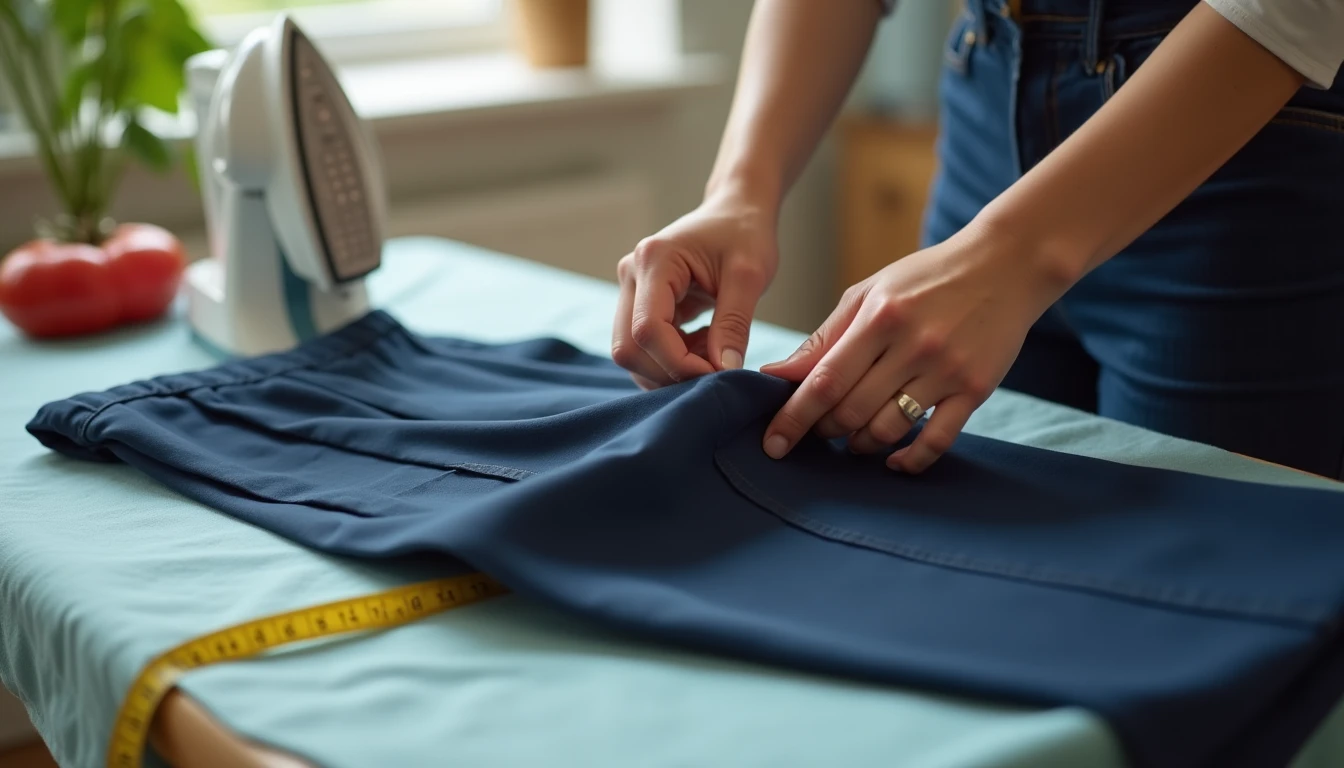
New pants that pool at the ankle. Jeans that fray a little more every time they drag on the sidewalk. A tailor’s quote that costs more than the pants felt worth. If any of that sounds familiar, you are in the right place. Learning how to hem pants yourself is far easier than it looks, and it costs a fraction of what a tailor charges.
Hemming means shortening a garment to the right length and giving the raw edge a clean finish. That finished edge is the hem itself: the folded, tidy edge at the bottom of a leg, sleeve, or skirt.
You have four ways to do it: a sewing machine, a nearly invisible machine blind hem, hand stitching with just a needle and thread, or no-sew iron-on tape. We will also cover jeans, dresses, and skirts. This guide is part of our wider sewing techniques guide, and the stitches and seams overview covers the stitches behind these hems in more depth.
Every method depends on one thing first: measuring and marking the right length.
Measure and Mark the Right Length Before You Cut
Get this step right and the sewing is the easy part. Accurate marking is the real secret to a professional-looking hem, and it is the step almost everyone rushes.
Here is how to mark your length so both legs come out even:
- Put the pants on with the shoes you will actually wear with them. Heel height changes everything, so bare feet give you the wrong answer.
- Stand naturally in front of a mirror, fold each leg up to the length you want, and pin at the fold. That fold is your finished length, where the bottom edge will sit once the hem is done.
- Mark the fold line with tailor’s chalk or a ring of pins all the way around the leg.
- Take the pants off, turn them inside out, and measure down from the fold line to add your hem allowance, the extra fabric you fold up inside to form the hem. Mark the cut line below that.
- Trim excess only after both legs match, and measure each leg separately, because legs are very often uneven.
As a quick reference, casual pants use about 1 to 1.5 inches of hem allowance, dress pants take 1.5 to 2 inches, women’s slacks sit around 1.25 to 1.5 inches, and men’s trousers run closer to 2 inches. The full table sits further down in this guide.
On length itself, menswear experts like Derek Guy recommend a single break or no break at all, so the fabric just kisses the top of the shoe rather than pooling at the ankle. Most men’s pants, in fact, are hemmed too long.
The number one beginner mistake is measuring one leg and assuming the other matches. Always check both. Tip: press a crease at the fold line so you have a clear visual guide while you sew.
Now pick your method.
Method 1: Hem Pants on a Sewing Machine (Double-Fold Hem)
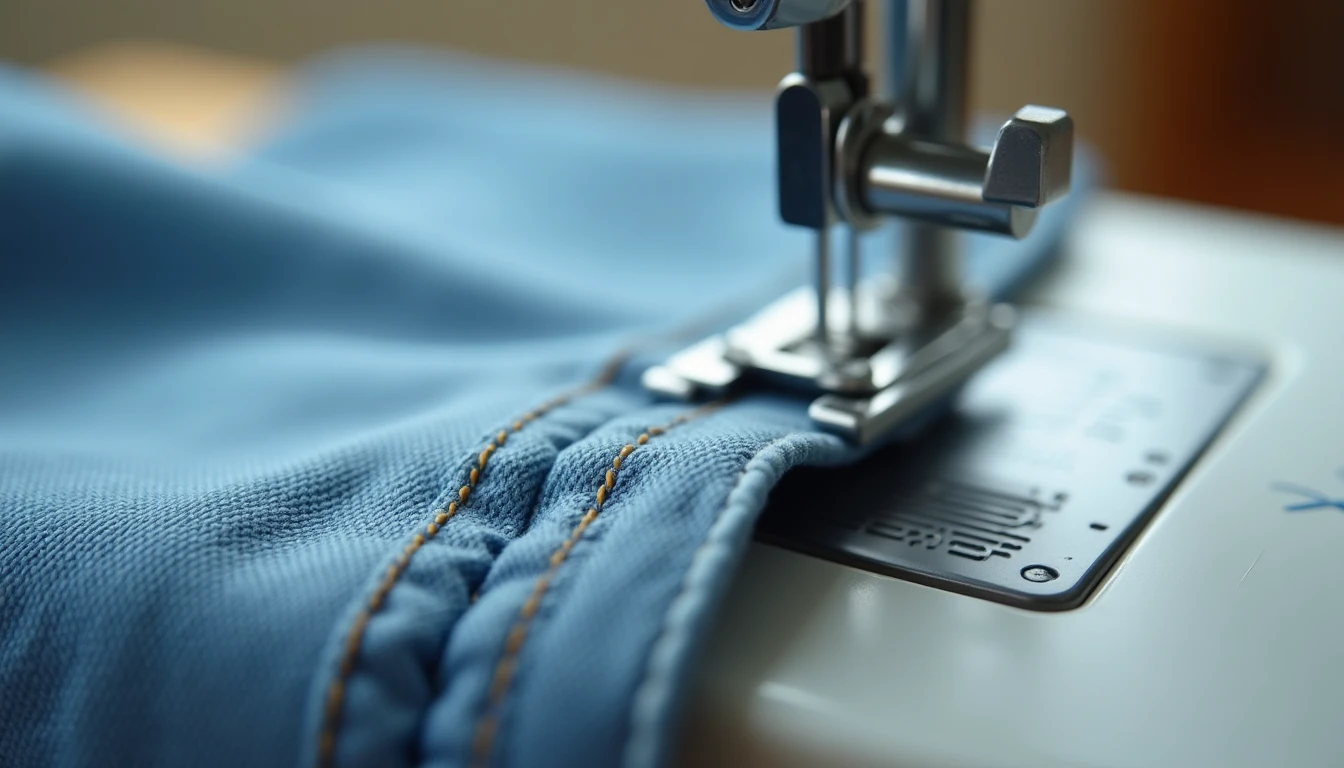
This is the workhorse hem, the one that holds up to daily wear and endless washing. Learn how to hem pants with a sewing machine once and the same technique works on jeans, chinos, and pajama pants alike.
The method relies on a double-fold hem, which means folding the raw edge under twice so no raw edge is ever exposed inside the leg. That double fold is why the hem never frays and needs no separate edge finishing.
- With your length already marked from the step above, turn the pants inside out.
- Fold the raw edge under about 1/2 inch and press it flat.
- Fold again to the full hem depth so the raw edge is tucked completely inside the fold. Press a crisp crease, and use the first leg’s hem width as a template for the second.
- Pin all the way around the leg.
- Straight-stitch close to the inner folded edge, and backstitch at the start and end. Backstitching just means sewing a few stitches in reverse to lock the thread so it cannot unravel. Match your thread color to the fabric.
- Use a denim or heavier needle for thick fabric, and go slowly over the bulky side seams.
- Press the finished hem flat, then repeat identically on the second leg.
The reason this hem looks store-bought is the pressing. Setting a crease at every fold is what keeps the stitching straight and even, so the iron really does half the work.
The most common mistake here is skipping the press and trying to sew a floppy, unpressed fold. It wanders all over, and the stitch line comes out crooked. Press, press, press, and the sewing almost guides itself.
If you want ready projects to practice this exact straight-stitch-and-press skill, our library of 155+ printable PDF sewing patterns comes with step-by-step instructions and video tutorials, so your next hem feels like second nature.
That is the hem that handles 90 percent of jobs. But when you want the stitches to vanish, there is a better option.
Method 2: The Machine Blind Hem for a Nearly Invisible Finish
What if the stitches did not show at all? Tailored dress trousers use a hem where only a thread or two peeks through on the front, and your machine can very likely do the same.
That finish is a blind hem: a hem sewn so the stitching is almost invisible from the right side, catching only a couple of threads of the outer fabric.
- Finish the raw edge first with a zigzag stitch, or a serger or overlock stitch if you have one.
- Fold the hem allowance under on your marked line and pin.
- Fold the hem back toward the right side, leaving about 1/4 inch of the inner allowance sticking out. Viewed from the end, the cross-section should look like the letter Z. Press a crisp crease.
- Attach the blind hem foot (it has a center guide rail) and select the blind hem stitch. The dotted pattern is for regular woven fabric, and the zigzag-between-zigzags pattern is for stretch fabric.
- Feed the fold against the guide so the needle only just nicks the folded edge every few stitches.
- Stitch all the way around, then unfold and check the right side for tiny, near-invisible catches.
For knits like leggings and yoga pants, use a twin needle instead (4mm spacing, size 75 stretch needle). It mimics a factory coverstitch and builds stretch right into the hem. Drop your top tension slightly, and hand-knot the thread tails at the end, since twin needles cannot be backstitched.
A blind hem foot helps because of that guide rail, but it is not mandatory. A standard foot works fine if you create your own guide point for the fold, so a missing foot is no reason to skip this method.
The mistake to watch for is the needle biting too deep, which leaves visible stitches on the front. Before you commit, test the stitch width on a folded scrap of the same fabric and adjust until the needle barely catches.
No machine at all? The next method needs nothing but a needle.
Method 3: Hem Pants by Hand with Just a Needle and Thread
For everyone who thinks “but I don’t own a sewing machine,” this one is for you. Learning how to hem pants by hand takes a needle, some thread, and a quiet half hour, and the results can look every bit as clean as machine work.
You will use one of two hidden hand stitches: a slip stitch or a catch stitch, both invisible from the outside of the garment. You will also hand-baste first, sewing long, loose temporary stitches to hold the fold before the real sewing.
- Mark and press your fold as described earlier, using a double fold so the raw edge is enclosed and needs no separate finishing.
- Hand-baste the fold in place, then try the pants on with your actual shoes before you commit to anything permanent.
- Thread a small, sharp needle with thread that matches the fabric.
- Slip stitch around the whole hem: take a tiny bite inside the fold, then catch just a thread or two of the garment fabric so nothing shows on the front.
- As an alternative, use a catch stitch. Take a 1/8 inch bite in the hem allowance, then a couple of threads of the garment, working small hidden Xs as you go.
- Check both legs for even length, then knot off your thread.
Hand hemming suits dress pants because the stitches stay invisible, and it is gentle on delicate fabrics a machine might chew up. Slower, but forgiving. For step-by-step photos of each stitch, see our hand sewing stitches guide.
The classic beginner mistake is pulling the thread tight, which puckers the front of the leg. Keep your tension loose and even, and catch as few outer threads as you can.
A hand hem done slowly beats a rushed machine hem every time. And if you want zero sewing at all, there is one more option.
Method 4: No-Sew Hemming with Iron-On Hem Tape
A finished hem in about ten minutes, with nothing but an iron. If you want to know how to hem pants without a sewing machine and skip stitching entirely, a no sew hem is the fastest route there is.
The magic is hem tape, also called fusible web: a heat-activated adhesive strip that bonds two layers of fabric together when you press it with an iron.
- Press the fabric into its finished fold, exactly as you would for a sewn hem.
- Cut the tape to length and slip it between the folded layers, not along the raw edge.
- Cover the hem with a press cloth, which is essential for delicate or stretchy fabric.
- Use a dry iron with no steam, since steam weakens the adhesive. Apply firm, even pressure for about 8 to 10 seconds.
- Let the hem cool completely before you flex it or check the bond.
- Always test on a scrap first to dial in the right heat setting.
Tape is useful, but know where it shines and where it does not:
- Pros: no visible stitch marks, and it works on denim, wool, and corduroy. A stretch version (like Heat-n-Bond Soft Stretch Lite) exists for knits and jersey, so the hem keeps its flex.
- Cons: a bonded hem feels slightly stiffer than a sewn one, and the adhesive can weaken over time with repeated washing or high heat, eventually peeling.
- The verdict: a taped hem survives normal machine washing (delicate cycle, warm or cool water) when applied correctly. For a hem you will wash constantly for years, a stitched method lasts longer.
The mistake almost everyone makes is using steam, or poking at the bond while it is still hot, which lifts the tape right off. Dry iron only, then hands off until it is fully cool.
Reach for tape when speed matters and the garment will not see heavy laundry. Reach for thread when you want it to last.
How to Hem Jeans and Keep the Original Hem
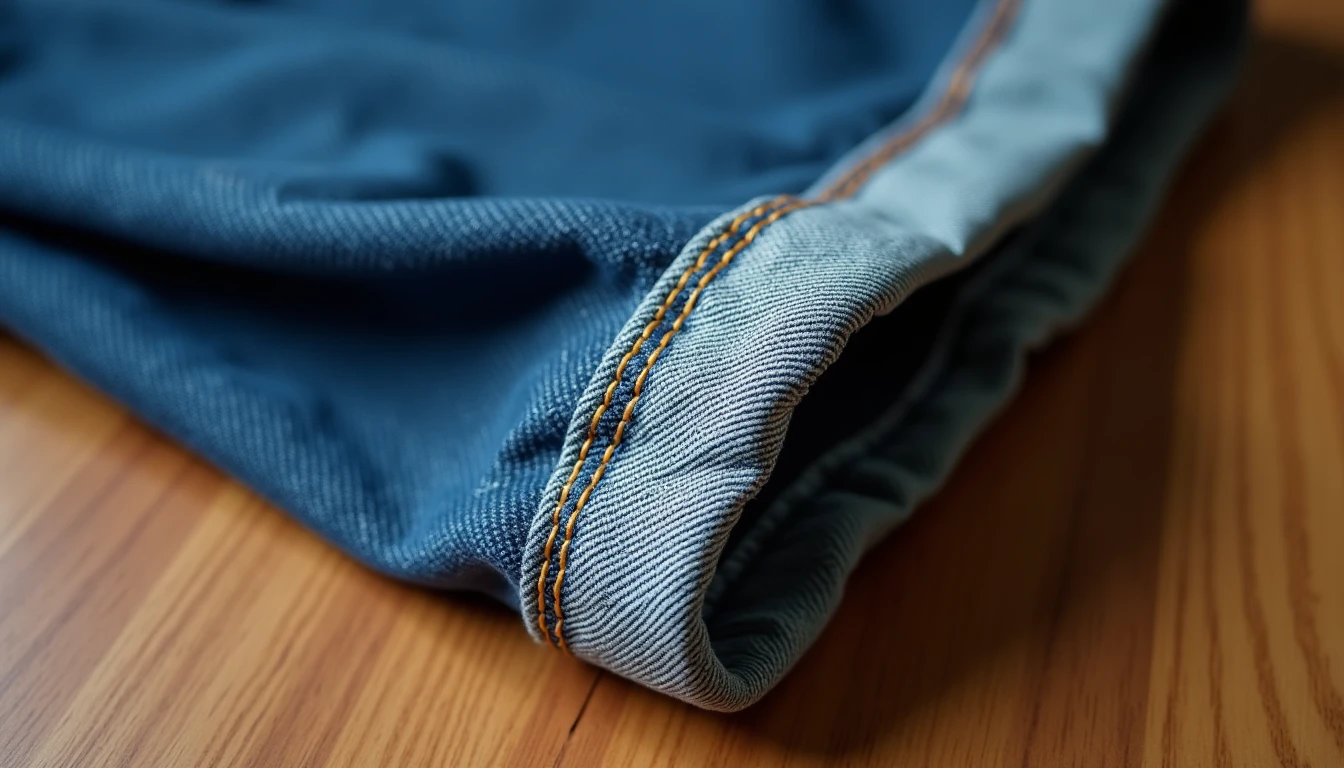
You can shorten jeans and keep the original factory hem entirely: the fade, the chain-stitching, the gold thread, all of it. That worn-in edge is nearly impossible to fake, and this method saves it. Knowing how to hem jeans this way is why tailored-looking denim does not need a tailor.
The technique is called the European cuff, or keep-original-hem method: you cut above the original hem, then reattach that factory hem to the shortened leg. The visible stitching uses topstitch thread, a thick, often gold thread that is hard to match by hand, which is exactly why keeping the original is smart.
- Mark the new length while wearing the jeans and the shoes you will pair with them, so the hem just touches or hovers above the floor.
- Measure from the bottom of the original hem up to your final length, and draw a line around the leg.
- Measure the original hem’s height (say 1 inch) and mark a second line that far above the final-length line. This second line is your stitch line.
- Fold so the original hem flips up, pin it, and attach a zipper foot with the needle right beside the original hem.
- Straight-stitch through both denim layers as close to the original hem as you can, all the way around each leg.
- If you removed a lot of length, trim the excess above the stitch line and zigzag or serge the raw edge. Then flip the cuff down and press.
Two limits worth knowing. This works only on straight or tapered legs, never flared: a flared leg widens toward the hem, so the factory edge will not fit the narrower cut. Use a 90/14 needle with Tex 80 to 105 thread on standard denim, or a 100/16 with Tex 150 on heavy denim. A topstitch needle prevents skipped stitches, and a stitch length around 3.5 suits visible topstitching.
The mistake that trips beginners up is the machine jamming at the bulky side seam. The fix is a hump jumper, a small tool (or a folded scrap of denim) placed behind the presser foot to level it out so the fabric feeds smoothly. Go slow and hand-walk the needle over the thickest seams.
A professional tailor would charge far more than this. You just did it for the cost of a spool of thread.
How to Hem Dresses and Skirts (Curved and Narrow Hems)
Curved hems are where a lot of beginners give up. Those tiny ironed folds pucker, spring back, and fight you the whole way around. Learning how to hem a dress or skirt is really about understanding why the curve misbehaves and working with it.
The reason is the bias, the diagonal grain of fabric that stretches, so a curved edge is springy and resists pressing flat. The fix is a narrower hem plus a guide to shape it. A narrow or rolled hem is a tiny 1/4 to 1/2 inch hem for lightweight or curved edges.
Trick A, the stay-stitch anchor (no extra supplies):
- Run a long basting or stay stitch around the hemline at your hem-allowance depth. A stay stitch is just a temporary line of long stitches used as a guide.
- Press the curve under, using that stitch line as an anchor so the fold lands exactly where you want it.
- Sew the hem at normal stitch length, then pull out the basting.
Trick B, bias tape (for deep curves, circle skirts, and capes):
- Pin bias tape right-side-down along the raw edge and stitch along its fold line.
- Press the tape away from the garment, then fold it fully to the wrong side until it is hidden, and stitch it down.
- Steam-press to smooth out any remaining waviness.
For depth: straight skirt and dress edges take a wider 2 to 3 inch hem so the fabric hangs well, flared or circular edges want a narrow 1/2 to 1 inch hem, and sheer or drapey fabric does best with a 1/4 to 1/2 inch rolled hem. A hand blind hem from Method 3 also works beautifully here.
The mistake to avoid is forcing a wide double fold onto a curve. The tighter the curve, the narrower the hem, and let a stay stitch or bias tape do the shaping.
Curves are a technique, not a talent. Give them one honest try and they stop being scary.
Which Method to Use and How Much to Turn Up
Not sure which method is yours? Match your garment to the row below and you have your answer in seconds.
| Garment / fabric | Best method | How much to turn up | Key note |
|---|---|---|---|
| Casual everyday pants (woven) | Machine double-fold | 1 to 1.5 in | Sturdy, washes well |
| Dress pants / trousers | Machine or hand blind hem | 1.5 to 2 in | Invisible finish |
| Jeans (straight or tapered) | Keep-original-hem / euro cuff | Reattach factory hem | Denim needle plus zipper foot; not for flared |
| Leggings / yoga / knit | Twin-needle stretch hem | About 1 in | Keeps stretch; no backstitch |
| Skirts / dresses, straight edge | Double-fold | 2 to 3 in | Wider hem hangs better |
| Skirts / dresses, flared or circular | Bias tape or stay-stitch narrow hem | 1/2 to 1 in | Narrower on curves |
| Sheer or drapey | Narrow rolled hem | 1/4 to 1/2 in | Minimize bulk |
| No machine, need it fast | No-sew hem tape or hand hem | Per garment | Tape for speed, hand for durability |
Two questions decide everything. First, what is the fabric doing: does it stretch, curve, or add bulk? Second, does the hem need to be invisible, or just secure? Answer those and the right row almost picks itself.
None of this requires a professional, and none of it requires talent you were born with. It requires a length marked carefully and a method matched to your fabric.
The best way to get comfortable is to practice on real garments you will actually wear. Our library of 155+ printable PDF sewing patterns gives you ready projects to build these exact hemming skills, with step-by-step instructions and video tutorials to guide each one.
Still have a question? Here are the ones we hear most.
Hemming FAQ
How much can you take up when hemming pants?
Casual pants use a 1 to 1.5 inch double-fold hem allowance, which needs about 2 to 3 inches of extra fabric total. Dress pants with a blind hem take 1.5 to 2 inches, women’s slacks about 1.25 to 1.5 inches, and men’s trousers around 2 inches. Beyond that, you risk having no fabric to let the hem back down later.
Do I need a blind hem foot for a machine blind hem?
No. A blind hem foot helps because of its built-in guide rail, which keeps the fold aligned automatically. But a standard presser foot works perfectly well if you create your own guide point for the fold. A missing foot is never a reason to skip the blind hem.
Does no-sew hem tape survive washing?
Yes, for normal use. Iron-on hem tape is made to withstand machine washing and dry cleaning when applied correctly, on a delicate cycle in warm or cool water. The adhesive can weaken with repeated washing or high heat over time, so it is less durable long-term than a stitched hem.
How do I hem pants without a sewing machine?
You have two no-machine options. Use iron-on hem tape pressed between the folded layers for a bond in about ten minutes, or hand-sew the fold with a slip, blind, or catch stitch using matching thread (or topstitch thread for denim). Both give a clean finish with no machine at all.
How much hem allowance do I need?
It depends on the garment. Casual pants use about 1 inch, dress pants and straight skirt or dress edges use 1.5 to 2 inches (up to 2 to 3 inches for a fuller drape), and sheer or tightly curved hems need just 1/4 to 1/2 inch. The narrower the curve or the lighter the fabric, the smaller the allowance.
Can I hem pants without cutting or losing length?
Yes. Fold the excess up inside the leg and secure it with a blind or catch stitch instead of trimming. Because pant legs taper, expect a tradeoff: keep it uncut and accept slight puckering, or trim the excess for a perfectly flat finish. You cannot quite have both.
Hemming really is a skill anyone can learn, and you just learned how. Pick the method that fits your next garment, mark it carefully, and give it a go. For more skills like this one, our sewing techniques guide is always here to walk you through what comes next.