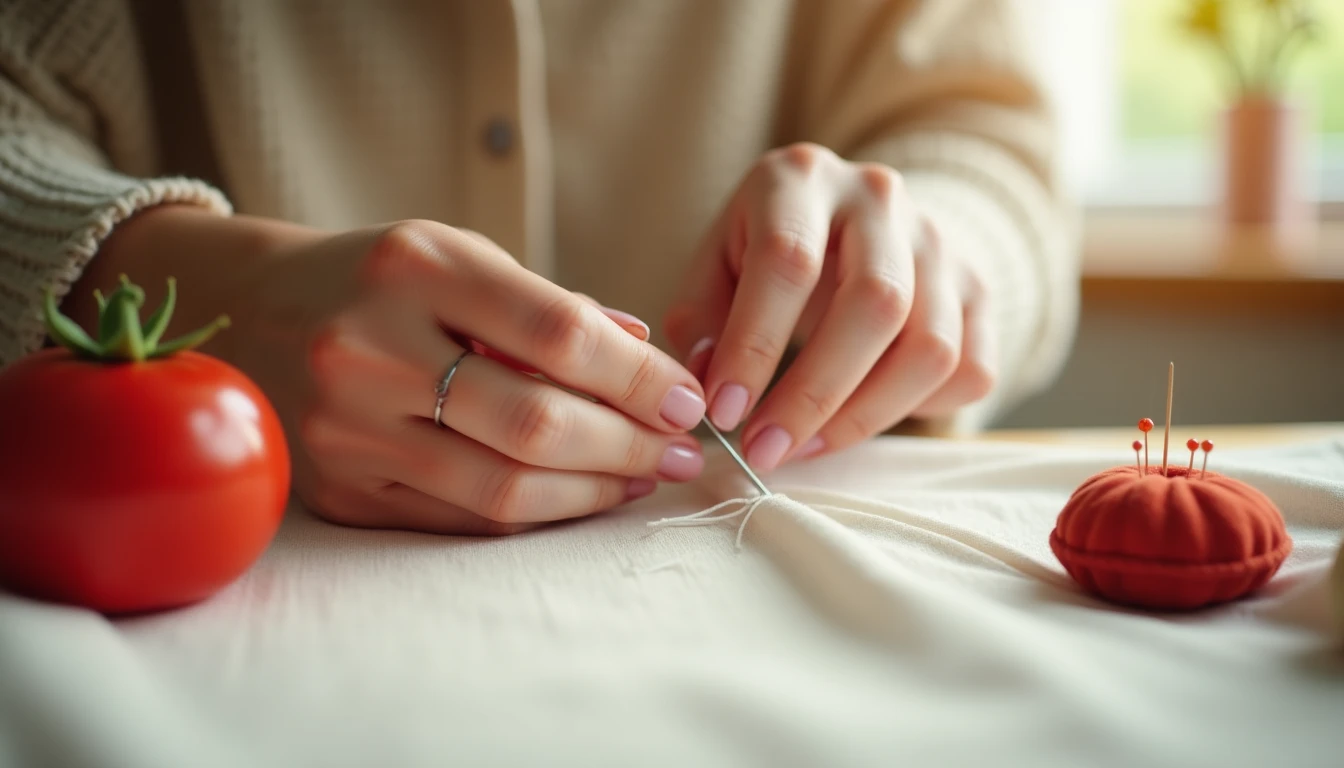
You can learn the hand sewing stitches that actually matter in a single afternoon. Most people sew a usable running stitch within about five minutes of picking up a needle, and everything else builds from there. Hand sewing is far more learnable than it looks.
This guide is a path, not just a catalog. We start with setup (needle, thread, and a knot that holds), then walk through nine stitches in the order a beginner should learn them, from the easiest to the most specialized. Each one gives you what it is, when to use it, numbered steps, and one tip to keep you out of trouble.
One term to anchor everything: a seam is simply the line where two pieces of fabric are joined. With these stitches you can build seams, mend tears, hem trousers, and finish raw edges, all by hand. For the wider skill set, see our full sewing techniques guide, and for the broader catalog this page details, our stitches and seams overview.
We will also point you toward a simple practice method, a muslin sampler, as we go. Start with setup below.
1. Start Here: Needle, Thread, and a Knot That Holds
Nothing is more discouraging than tying a knot, taking your first stitch, and watching the knot pull straight through the fabric. Get three things right once, and every stitch below gets easier.
First, the needle. Match the needle to your fabric weight. Use sharps sizes 2 to 4 for medium-to-heavy fabric, and sizes 10 to 11 for fine, detailed work. Pick the smallest eye (the hole the thread passes through) that you can comfortably thread.
Second, the thread. Cut a length no longer than your outstretched arm, roughly 18 inches. Longer thread tangles and knots on itself, which slows you down and frays your patience. If your thread still tangles, running it once over a block of beeswax noticeably reduces snarls.
Third, a knot that grips. The quilter’s knot is the reliable one. Your “working thread” is simply the long strand you sew with, as opposed to the short tail.
- Thread the needle with a single strand about 18 inches long.
- Pinch the thread end against the needle between your thumb and finger.
- Wrap the working thread around the needle shaft three times (one or two wraps for thick thread).
- Pinch the wraps and slide them all the way down the needle to the very end of the thread.
- Pull firmly to cinch the wraps into a neat, compact knot.
Beginner tip: build a muslin sampler. Muslin is a cheap, plain cotton, ideal for practice. Cut strips about 8 inches long by 3.5 inches wide, draw pencil guide lines with a ruler, and stitch each new stitch on its own labeled strip. You end up with a personal reference book you can flip back to for years.
2. Running Stitch: The Fast First Stitch for Seams and Gathers
This is the five-minute win. The running stitch is a simple in-and-out weaving line, the very first stitch almost everyone learns, and the one that proves you can do this.
You reach for it when speed matters more than strength: joining a low-stress seam, basting (temporary stitching, covered next), and gathering fabric. Gathering means sewing a loose line, then pulling the thread to bunch the fabric into ruffles or to ease a waistband. Its strength is modest, so save it for jobs that will not take much stress.
- Knot the thread and come up from the wrong side (the inner, hidden face of the fabric) so the knot hides underneath.
- Push the needle back down a short distance ahead, about 1/8 to 1/4 inch.
- Bring it up again an equal distance further along.
- Load several evenly spaced stitches onto the needle before pulling the thread through.
- Repeat, keeping the lengths even, then knot off at the end.
Beginner tip: uneven stitch length is the dead giveaway of a rushed beginner. Draw a pencil guide line on your muslin and go slow rather than fast.
If a stitch lands crooked, unthread the needle and use it to pull that single stitch out, then rethread and carry on. That is far easier than fighting a mistake with the needle still threaded. Master this one stitch and you have already unlocked basting and gathering.
3. Basting Stitch: Temporary Stitches That Save Your Project
The basting stitch is not really a new stitch at all. Basting is simply a running stitch made with long, loose stitches that you intend to remove later. It holds fabric in place before permanent sewing, then comes right back out.
Use it whenever pins would shift, fall out, or stab you: thick layers, slippery fabrics, or matching two seams precisely. Basting holds evenly all along the line, which pins cannot promise. It is also the low-stress way to test a garment’s fit before you commit to a permanent seam.
- Thread a single strand in a contrasting color so you can spot it later, and knot it loosely.
- Work a running stitch with long stitches, roughly 1/2 inch each.
- Do not backstitch or lock the ends, since the whole line is temporary.
- Sew your permanent seam just beside the basting line.
- Snip and pull the basting thread out.
Common mistake: pulling basting tight. Loose is the point. Taut basting puckers the fabric and distorts the very fit test you are trying to run. Keep it relaxed, and it will guide a clean permanent seam every time.
4. Backstitch: The Strongest Hand Stitch for Seams and Repairs
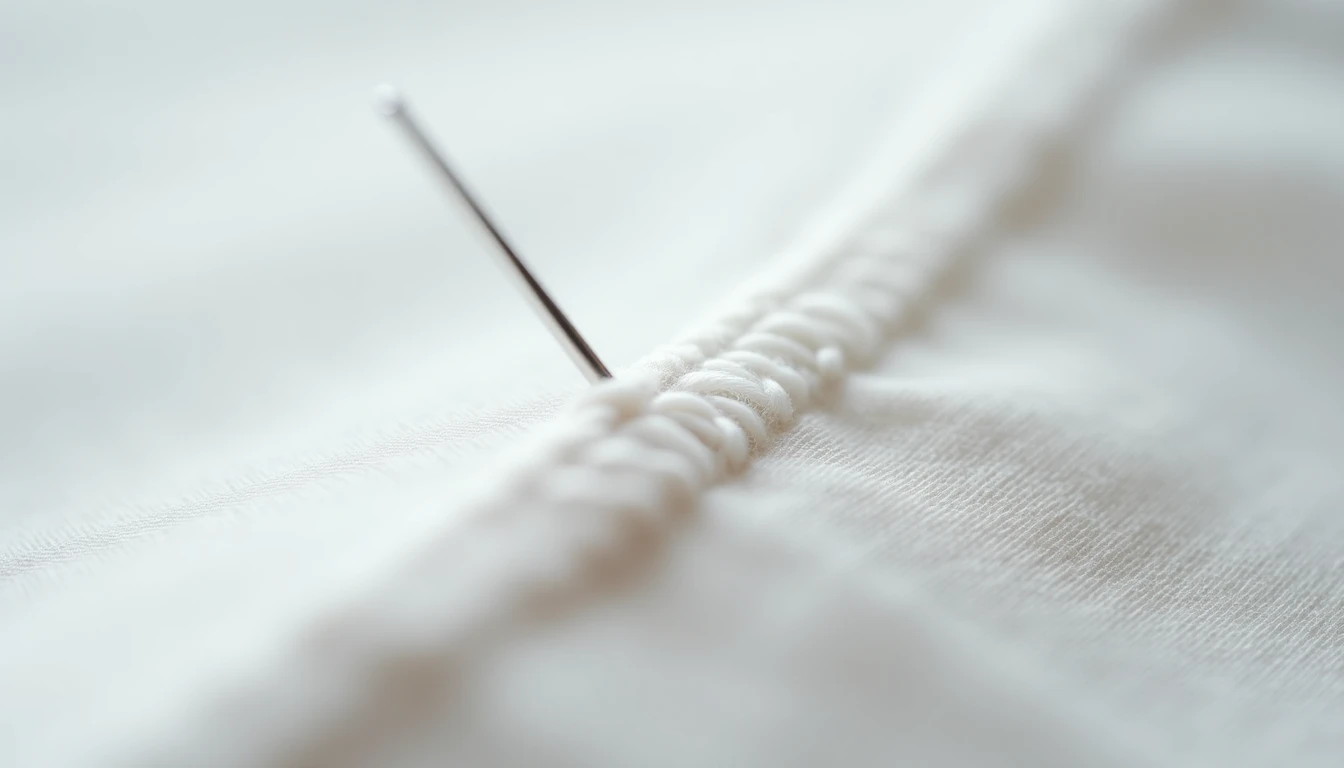
Before sewing machines arrived in the late 1800s, entire garments were assembled by hand with this one stitch, and it holds so well that the fabric often fails before the stitch does. That is the reputation of the backstitch.
It is the strongest hand stitch because each stitch overlaps the previous one, forming a continuous line that spreads tension evenly instead of concentrating it on single loops. Reach for it on any seam that takes stress or any repair that must last: armhole seams, waist and bodice seams, pockets, straps, and ripped seams you want to hold for good.
The rhythm is “one step back, two steps forward.”
- Come up from the back so the knot hides, and take one stitch forward, about 1/8 to 1/4 inch.
- Insert the needle back down at the end of the previous stitch, one step back on the surface.
- Bring it up two stitch-lengths ahead from underneath.
- Repeat so the top forms an unbroken line with no gaps.
- Finish by looping the needle under the last stitch and passing through the loop two or three times to lock it.
Common mistake: do not use the backstitch on stretchy knits or loose, breezy garments. It is firm and does not give, so it puckers any fabric that needs to flex. For those, use the catch stitch further down.
Once you can backstitch a seam, the best next step is a real project. Our library of 155+ printable PDF sewing patterns comes with step-by-step instructions and video tutorials, giving you ready projects to practice these hand stitches on: browse the pattern library.
5. Whipstitch: Quick Stitches to Join Edges and Secure Linings
Beginners often grab the whipstitch for the wrong job and then wonder why their seam looks bulky. Used for what it is actually built for, the whipstitch is fast, tidy, and genuinely useful.
It is a series of short diagonal stitches that loop over the top of a fabric edge again and again. Its real job is joining two already-finished edges, like attaching lace or trim, closing a non-fraying edge such as felt, and tacking down linings. It is not for constructing seams. That work belongs to the running stitch and the backstitch.
- Line up the two edges and come up through the back edge so the knot hides.
- Carry the thread diagonally over the top and insert the needle through both edges a short distance along.
- Pull snug, but not so tight that the edges bunch.
- Keep the spacing and angle even, working in one consistent direction (right-handers usually work right to left).
- Knot off at the end.
Common mistake: starting from the wrong side and running the direction backwards, which throws off every stitch that follows. Decide your direction before the first stitch. Done evenly, this is the stitch that makes homemade finishing look intentional rather than improvised.
6. Slip Stitch and Ladder Stitch: Invisible Hems and Hidden Closures
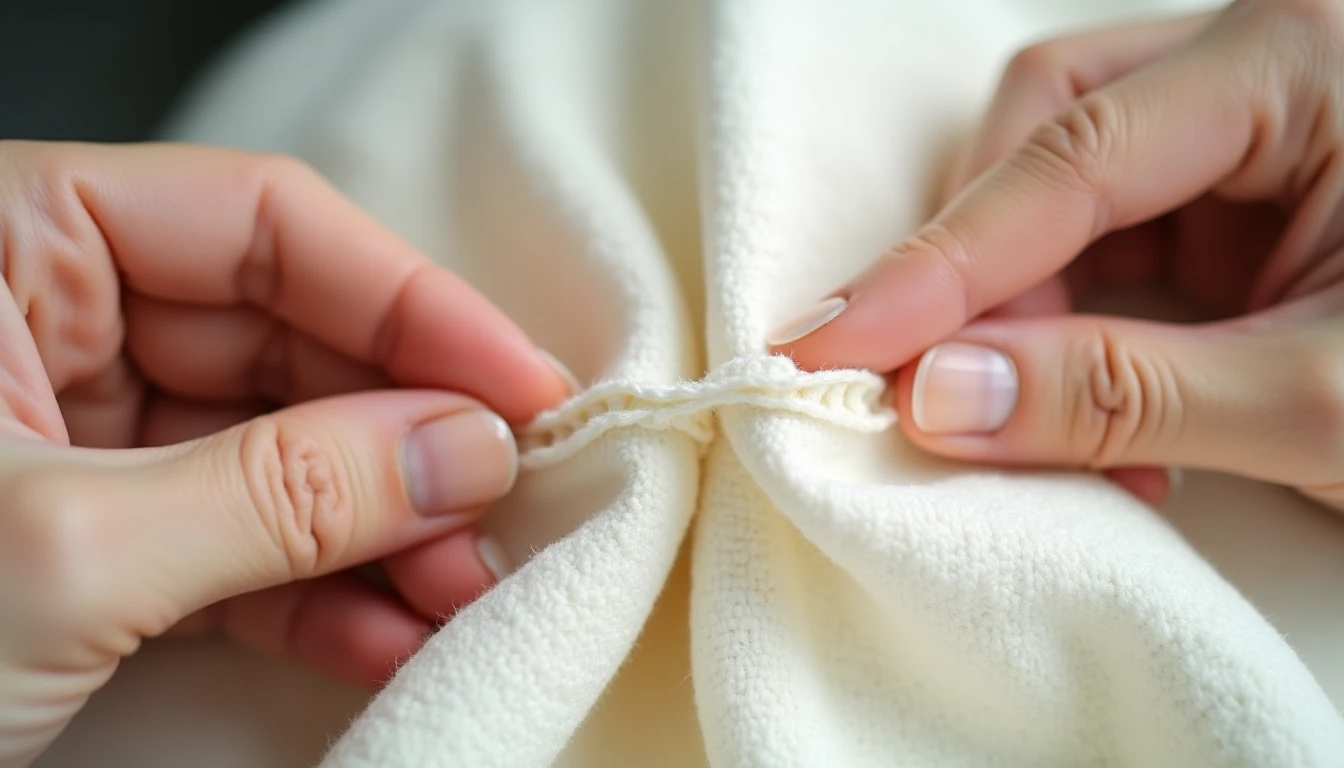
Ever wondered how a hem shows no stitching at all from the outside? That is the work of two closely related invisible stitches, and learning to tell them apart is half the skill.
Both hide the thread inside a fold. The slip stitch works against a single folded edge and is the go-to for hemming, attaching linings, and sewing down patch pockets without visible topstitching (stitching that shows on the right side, the outer, visible face of the fabric). The ladder stitch is the same idea used to close a gap, like the turning opening left in a pillow or a stuffed toy, so the seam vanishes. When you close a stuffed gap, keep your stitches closer together than the pieces of filling so the stuffing cannot escape between them.
A short, sharp needle with a small eye gives you the most control for these tiny stitches.
- Thread the needle to match the fabric color, knot it, and come up from inside the fold so the knot hides.
- Cross to the opposite fold and take a small stitch, about 1/4 inch, inside it.
- Come straight back across and take a matching 1/4 inch stitch in the first fold, forming little “rungs” like a ladder.
- After a few rungs, gently pull the thread so the rungs disappear and the edges draw together.
- Knot off and bury the tail inside the fold.
Common mistake: pulling too tight, which puckers the seam. Keep stitches no wider than 1/4 inch and aim for Goldilocks tension, snug but relaxed. For a full walkthrough of hemming trousers and skirts this way, see our guide on how to hem. This is the stitch that makes handwork look professional.
7. Blanket Stitch: A Decorative Edge for Felt and Applique
Want a stitch that is both useful and pretty without wandering into full embroidery? The blanket stitch is your answer, and it gives beginners an early taste of decorative sewing.
It lays a neat line of thread along a fabric edge with evenly spaced upright bars, almost like a little fence. Use it to finish and decorate edges, especially on felt and blankets, to edge applique shapes, and to add a handmade border. Applique means sewing one shape of fabric on top of another for decoration. The blanket stitch is a close cousin of the buttonhole stitch, so this practice pays off twice.
- Come up from the wrong side a little in from the edge.
- Go back down at the same depth a short distance along, keeping the thread looped under the needle tip.
- Pull through so the thread forms an “L” along the edge.
- Repeat with even spacing so the upright bars stay uniform.
- Knot off at the end.
Common mistake: uneven spacing and depth, which is exactly what reads as “homemade” in the unflattering sense. Mark dots along the edge or use your muslin sampler guide lines to keep the bars even. This is where hand sewing starts to feel less like a chore and more like a craft you can show off.
8. Catch Stitch: A Flexible Herringbone Hem That Moves With You
You hemmed a knit top with a firm stitch, wore it once, and the thread popped. The fix is a stitch that stretches with the fabric. The catch stitch, also called the herringbone stitch, is built to flex.
It is a crossing, zigzag stitch worked left to right that creates a row of little X shapes. “Herringbone” simply describes that interlocking V or X pattern. Use it for hemming knits and stretchy or flexible fabrics, and for any hem that needs to give without the thread breaking.
- Work left to right with the hem edge facing up, and come up through the hem allowance (the fabric between the fold and the raw edge).
- Move diagonally up and to the right, and take a tiny backward stitch in the garment fabric, catching only a thread or two.
- Move diagonally down and to the right, and take a tiny backward stitch in the hem edge.
- Alternate top and bottom so the threads cross into an X.
- Keep the tension loose so the hem can stretch, then knot off.
Common mistake: catching too much of the garment layer, which lets stitches show on the right side. Catch only one or two threads, and keep the whole line loose. That keeps a knit hem from popping when you pull the garment over your head.
9. Overcast Stitch: Finish a Raw Edge and Stop Fraying by Hand
No serger, no zigzag machine, and a raw edge already shedding threads? You can finish it beautifully by hand in a few minutes. The overcast stitch exists for exactly this.
It wraps diagonally over a raw edge to bind the threads and stop them unraveling. A raw edge is simply a cut edge of fabric that has not been finished. Use this stitch to neaten seam allowances and raw edges when you have no machine, for a result that holds up through the wash. It looks similar to the whipstitch, but you work it along a single raw edge rather than joining two edges together.
- Knot the thread and come up just below the raw edge from the wrong side.
- Carry the thread up and over the top of the edge.
- Insert the needle from the back again, a short and even distance along.
- Repeat so evenly spaced diagonal stitches wrap the entire edge.
- Knot off at the end.
Common mistake: pulling the stitches tight, which makes the edge curl and roll instead of lying flat. Keep them relaxed and evenly spaced. A hand-finished edge like this can outlast many washes without a single fray.
10. Which Stitch for Which Job: A Quick Reference
You have learned nine stitches. When a real task lands, this table tells you which one to grab.
| The job | Reach for |
|---|---|
| Join a seam that takes stress | Backstitch |
| Join a seam fast, or hold temporarily | Running stitch / basting |
| Gather fabric into ruffles | Running stitch |
| Invisible hem | Slip stitch (see item 6) |
| Close a stuffed gap invisibly | Ladder stitch |
| Join two finished edges or attach trim | Whipstitch |
| Flexible hem on knits | Catch stitch |
| Decorative edge or applique | Blanket stitch |
| Finish a raw edge | Overcast stitch |
Unsure which to pick? Start with the running stitch and the backstitch, which together handle most everyday sewing and mending. The rest are specialists you add as projects call for them.
Ready to put a stitch to work? Pick a job above, then grab a matching project from our library of 155+ printable PDF sewing patterns, each with step-by-step instructions and video tutorials, and practice it for real: start your first project.
Hand Sewing Stitches FAQ
What is the easiest hand stitch for beginners?
The running stitch. It is a simple in-and-out weaving motion, and most beginners sew a usable version within about five minutes of picking up a needle and thread. Start here, keep your stitch lengths even, and you have the foundation for basting and gathering right away.
What is the strongest hand stitch?
The backstitch. Each stitch overlaps the previous one, forming a continuous line that spreads tension evenly and resists pulling apart. It is so dependable that entire garments were assembled with it before sewing machines existed. Use it for seams and repairs that must hold.
How do you knot the thread so it holds?
Use a quilter’s knot. Thread the needle, pinch the thread end against the needle, and wrap the working thread around the needle shaft three times. Slide the wraps all the way down to the end of the thread, then pull firmly. You get a small, tight knot that will not slip through the fabric.
How long should hand sewing thread be?
About arm’s length, roughly 18 inches. That is long enough to sew a good stretch without constantly rethreading, but short enough to avoid the tangles that plague longer thread. If your thread still snarls, run it once over beeswax before you start.
How do you make hand stitches invisible?
Use a slip stitch or a ladder stitch, which hide the thread inside a fold of fabric. Keep each stitch under 1/4 inch, catch only a thread or two of the outer fabric so nothing shows on the right side, and bury the knot inside the seam. Matching your thread to the fabric color completes the disappearing act.
Is hand sewing as strong as machine sewing?
For most repairs and hems, a careful backstitch is plenty strong and gives you more control than a machine, with no setup at all. A machine wins on speed for long seams, so it is the better call for big projects. For mending, hemming, and finishing, confident hand sewing holds its own.