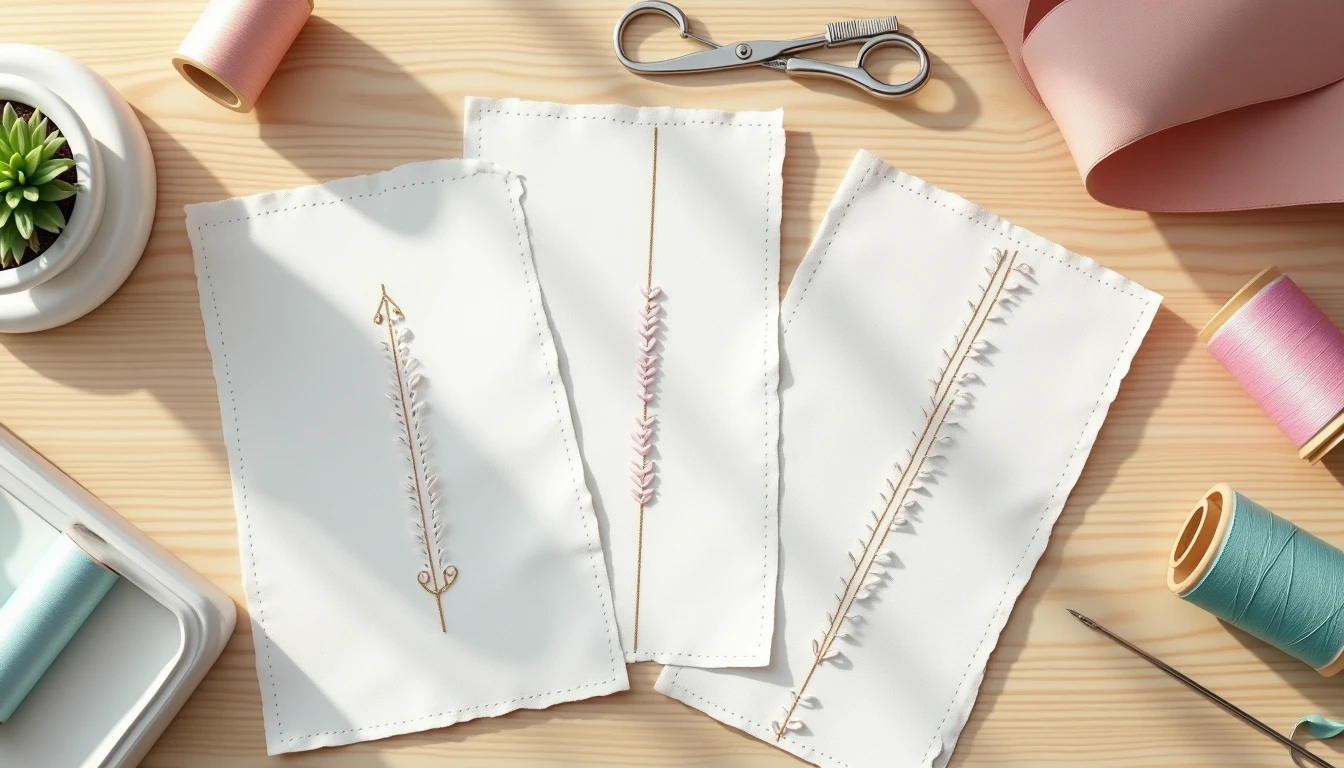
You open one tab for stitches, another for seams, a third for how to stop the edges fraying, and none of them quite fit together. That scattered feeling is exactly what this page fixes. Consider it the one complete map, covering every core stitch and seam plus when to reach for each.
The types of sewing stitches you can make fall into two groups, machine and hand, and every seam you sew is built from them. A stitch is one interlocking of thread. A seam is the line of stitching that joins two pieces of fabric.
Those two words get used as if they mean the same thing, and that mix-up trips up almost every beginner. We clear it up in the next 30 seconds.
By the end, you will know the essential machine stitches, hand stitches, seam types, and seam finishes, plus how to choose the right one for your fabric. Every term gets defined the first time it appears, and we link out to deeper guides so this page stays skimmable. This map is part of our full sewing techniques guide, the wider hub it belongs to.
Stitch, Seam, and Seam Finish: The 30-Second Mental Model
Thirty seconds of vocabulary now makes every pattern you ever read easier. Learn these five words and the rest of this page clicks into place.
Stitch: one interlacing of thread in a repeated unit, the building block your needle repeats. In plain English, stitches are the individual loops your needle makes, one after another.
Seam: the line where two or more pieces of fabric are joined together by means of stitches. The stitch is the building block. The seam is the outcome. You choose a stitch, and the seam is what you build with it.
Seam allowance: the strip of fabric between the raw (cut) edge and the stitch line. Common widths are 1/4 inch, 3/8 inch, 1/2 inch, and 5/8 inch, and the pattern tells you which to use. A beginner shortcut: line the fabric edge up with the presser foot edge instead of measuring every time.
Seam finish: anything you do to those raw edges so they don’t fray and unravel toward the stitching. Unfinished edges keep raveling inward, and once the fraying reaches the stitch line the seam loses its grip. Finishes get their own section below.
Locking a seam: a few reverse stitches (backstitches) at the start and end so the seam doesn’t unravel. Most seams start with the two pieces right sides together, meaning the “good” printed sides face each other so the seam hides on the inside. The French seam breaks that rule on purpose, and we will get to it.
The single biggest beginner confusion is treating “seam” and “stitch” as the same thing. Anchor it like this: you choose a stitch, you build a seam, then you finish the edges. That is the whole assembly process in one line, where your pieces come together into a garment. Now that the words make sense, here are the stitches your machine can make.
Essential Machine Stitches and When to Use Each
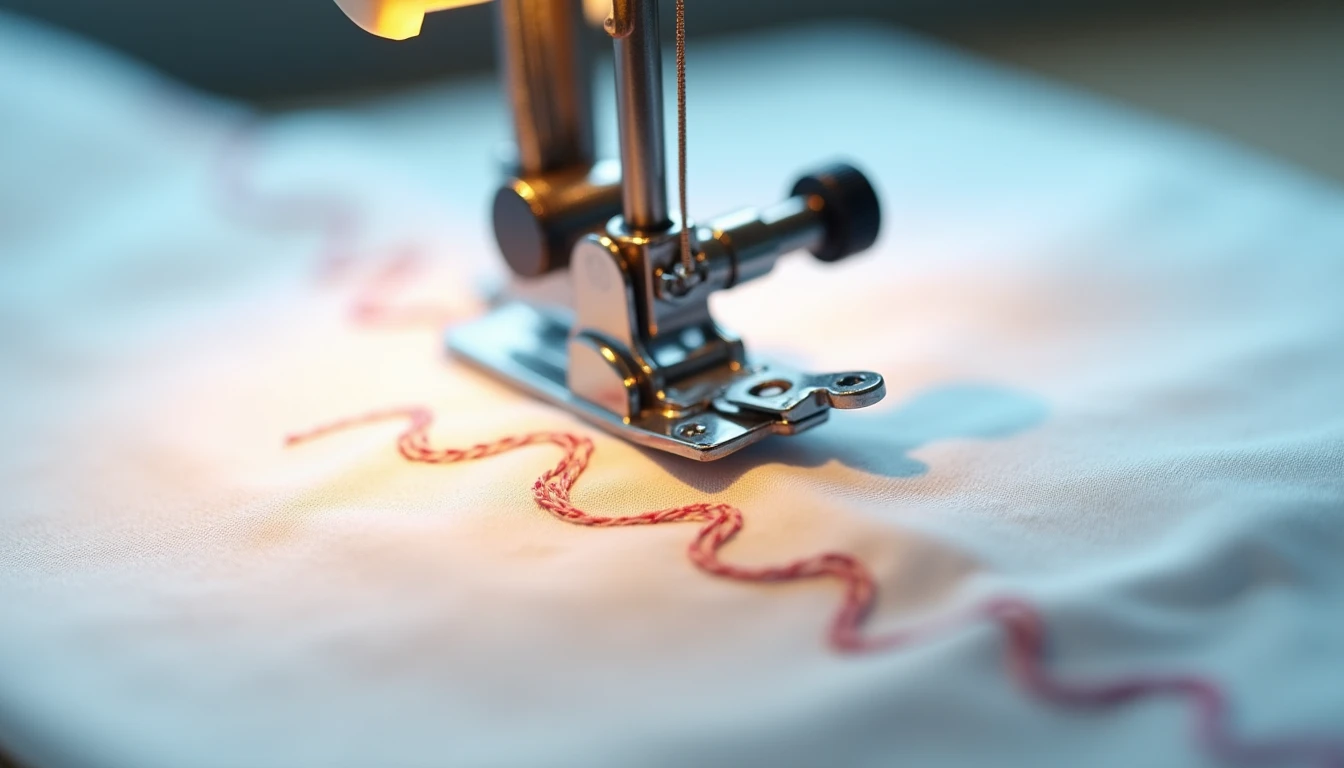
That row of numbered stitch symbols on your machine looks like it demands a manual and a spare afternoon. It doesn’t. Six stitches cover almost everything a beginner sews, and most projects only ever need the first two.
-
Straight stitch: the default workhorse for woven, non-stretch fabric. Use it for assembly, topstitching (a line of stitching visible on the outside), and even finishing the inside of seams. On many machines the “different” straight stitches differ only by length. A shorter, tighter stitch adds strength for bags and backpacks, while the longest setting handles basting or gathering.
-
Zigzag stitch: the two-job stitch. It seals raw woven edges to stop fraying, and it sews knit or stretch seams because the stitch expands instead of snapping. As you pull the fabric, the zigzag’s needle punctures move closer together, trading width for length so the line can stretch. Always test the width and length on a scrap first.
-
Triple straight stitch (stretch straight stitch): sews forward, back, and forward again for a seam that is very strong and very stretchy without popping. Reach for it on activewear side seams or anywhere a plain straight stitch would snap. A lightning-bolt stitch and a three-step zigzag are two other built-in options made for knits.
-
Lock stitch (auto-lock): ties off the thread at the start and end so the seam can’t unravel, doing automatically what a few manual reverse stitches do by hand. Use it at the end of every seam. This is the “locking a seam” idea from the section above, now a button on your machine.
-
Buttonhole stitch: an automated sequence of zigzags that frames an opening for a button. Mechanically it is a wide bar tack, a narrow zigzag up one side, another bar tack, and a narrow zigzag back down the other. Always stitch a test buttonhole on a scrap of the same layers before cutting into your project.
-
Blind hem stitch: a nearly invisible hem for skirts, trousers, and curtains. It runs mostly straight stitches with one wider stitch that just catches the folded edge, so almost nothing shows on the right side. A cheap blind hem foot makes lining up the fold far easier than eyeballing it. For a full walkthrough, see how to hem.
The mistake that costs beginners the most fabric here is using a plain straight stitch on stretchy fabric. The seam pops the first time the garment stretches. We will sort out which stitch suits which fabric a little further down. Not everything needs a machine, though, so here are the hand stitches worth knowing.
Essential Hand Stitches Every Beginner Should Know
You can fix a fallen hem or close a seam with a needle, thread, and five minutes, no machine required. These seven hand stitches cover repairs, hems, and finishing on the go. We keep them brief here, because full step-by-step photos live in our hand sewing stitches guide.
-
Running stitch: small, evenly spaced stitches along a line, the foundation of hand sewing. Use it for temporary seams, gathering, quilting, and light repairs. It is quick to learn and quick to remove.
-
Backstitch: the strongest hand stitch, forming a solid unbroken line that mimics machine stitching. Reach for it on seams and repairs that must actually hold. It is the hand-sewn stand-in whenever you have no machine.
-
Whip stitch: quick diagonal stitches worked over an edge to join two edges together or to stop a raw edge fraying by hand.
-
Slip stitch (ladder stitch): the near-invisible closing stitch, hiding the thread inside the fold. Use it to close hems, linings, and the gap left after stuffing something. Slip and ladder stitches are close cousins and often named interchangeably.
-
Blanket stitch: an edge stitch that finishes and decorates a border at the same time, common on blanket edges, felt, and applique.
-
Basting stitch: a long, loose, temporary running stitch that holds layers in place before final sewing, then pulls right out. It is the hand version of that longest straight-stitch setting from the machine section.
-
Hand overcast stitch: worked over a raw edge by hand to stop fraying when you have no machine or serger (an overlock machine that trims and wraps edges). It previews the finishes coming next.
The tip that saves the most re-dos: reach for backstitch, not running stitch, whenever a seam has to bear stress. Running stitch is for temporary or low-stress work only.
A common real-world combination is hemming pants by hand, holding the fold with a running stitch, then securing the raw edge with an overcast or slip stitch for an invisible finish. These thread formations are the building blocks. Next, look at what they build: seams.
Types of Seams and the Fabrics They Suit Best
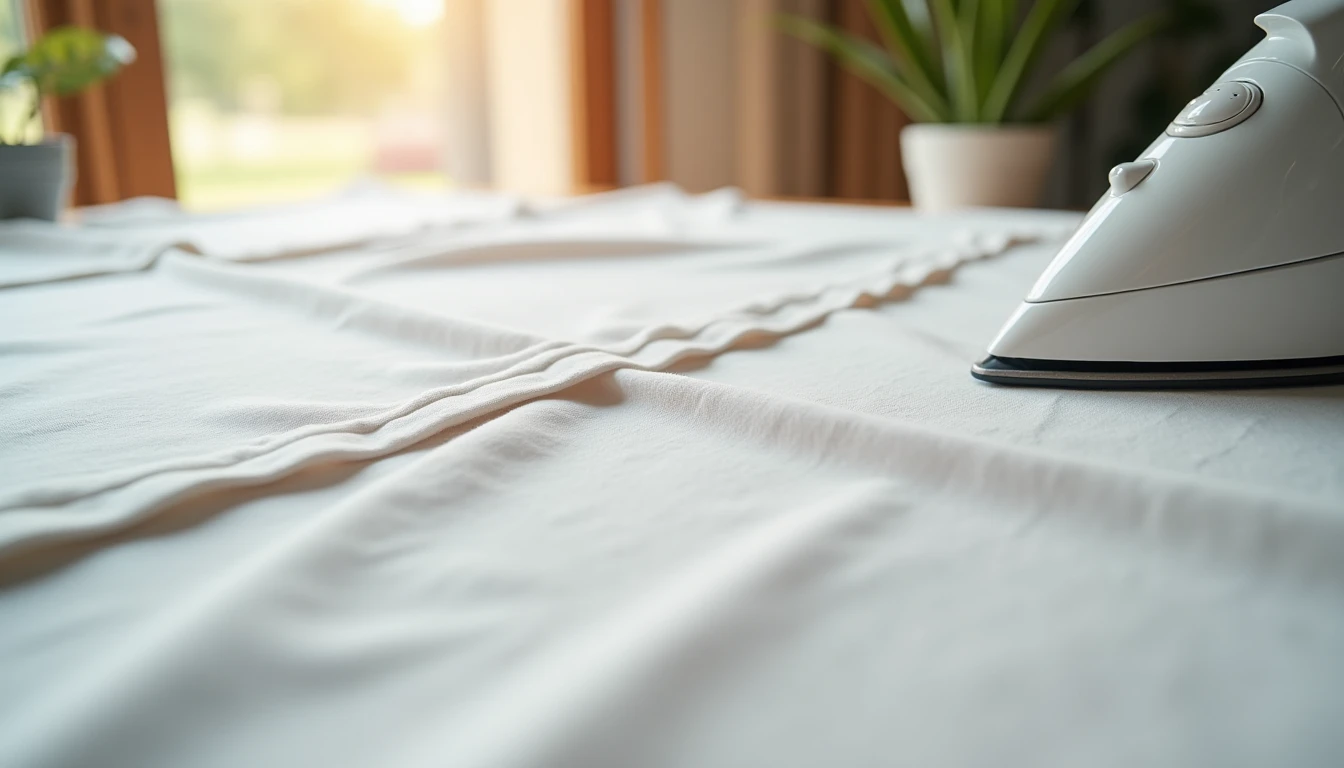
The inside of your jeans and the inside of a silk blouse are built with completely different seams, and it is not an accident. The seam is chosen for the fabric. The default plain seam is two pieces right sides together, one line of stitching, ends locked with a backstitch. Here are the four seams worth knowing, and where each one fits.
-
Plain seam: the everyday default. Place two pieces right sides together, sew one line of stitching, and lock the ends. The raw edges are left exposed, so a plain seam always needs a separate finish (next section). Best for most woven garment assembly.
-
French seam: encases the raw edge inside two rows of stitching so nothing shows. Sew wrong sides together first at 3/8 inch, trim the allowance in half, press, then fold right sides together and stitch again at 1/4 inch. Start from a 5/8 inch allowance so you have enough fabric to fold twice. Best for sheer, lightweight, and loosely-woven fray-prone fabrics like chiffon, rayon, and linen, and common on lingerie and blouses where the inside might show. It adds too much bulk for heavy fabric.
-
Flat-felled seam: one folded allowance covers a trimmed edge, sealed with visible topstitching, exactly like the inside of jean legs. It is the strongest common seam because the raw edge is fully enclosed and reinforced. Best for heavy non-stretch denim, canvas, and twill under repeated stress.
-
Welt seam: a flatter, sturdy cousin of the flat-felled seam for bulky garments like jackets and coats. It gives a strong topstitched finish with less bulk, so it is the one to know once you move on to heavier makes. You will meet it on tailored coats where a flat-felled seam would sit too thick.
The French seam trips people up on one step: the #1 mistake is forgetting to start wrong sides together instead of the usual right sides together. It feels backward, and it is the step sewists unpick the most, especially when switching between seam types mid-project.
Do not let the reputation scare you. French seams just need a bit more precision and one extra pass, and this is exactly where your pieces become a real garment. A seam holds the pieces together, but those raw edges still need taming. That is what finishes do.
Seam Finishes That Stop Fraying (No Serger Needed)
Ever turned a handmade garment inside out and cringed at the frayed, messy edges staring back? Those loose threads can make even careful work look amateur, and they are more than an eyesore. A raw edge keeps unraveling toward the stitch line, and once the fraying reaches the stitching itself, the seam loses its grip and can gap, hole, or separate.
The good news: you do not need a serger to get a clean, professional inside. Here are five serger-free finishes, from fastest to most polished.
-
Zigzag finish: stitch along or over the raw edge to lock the yarns down. It works on nearly all fabrics except delicate sheers. If the fabric tunnels or puckers, your upper thread tension is too tight, so loosen it a notch. Use a longer stitch for heavy fabric and a shorter one for lightweight fabric.
-
Pinking (pinking shears): special scissors that cut a zigzag edge, breaking up the weave so threads can’t easily pull out. It is the fastest finish and needs no machine. Best on tightly-woven light fabric like cotton lawn and silk. The catch: pinking is basically useless on knits and unreliable on loosely-woven rayon or linen, even though it looks like it should work.
-
Overcast (overedge) stitch: a machine stitch that sews the seam and wraps the raw edge in a single pass, after which you trim the excess. Because it seals as it sews, it only needs a narrow allowance, around 1/4 inch. Best for fray-prone wovens like a cotton pouch or bag.
-
Turn-and-stitch (clean finish): fold the raw edge under about 1/4 inch and stitch close to the fold, hiding the raw edge entirely. Best for light-to-medium wovens, and it needs at least a 1/2 inch starting allowance to have enough to fold. It gets too bulky on heavy fabric.
-
Serged finish (optional upgrade): a serger or overlocker gives the fastest ready-to-wear edge, but it is entirely optional. Every finish above gets you a professional inside without one, and sergers bring their own maintenance headaches, so there is no rush to buy.
One rule ties all five together: always test the finish on a scrap of your actual fabric first, because fabric weight changes the settings. Get the edges tamed and your insides start to look store-bought. Next, how to pick the right stitch and seam for whatever fabric is in front of you.
How to Choose the Right Stitch and Seam for Your Fabric
Point to a fabric, get an answer. This turns everything above into a single at-a-glance decision, so you are never frozen at the machine wondering which stitch the fabric wants.
| Fabric type | Recommended stitch | Seam + finish | Why |
|---|---|---|---|
| Woven (cotton, quilting cotton) | Straight stitch | Plain seam + zigzag or pinking | No stretch needed; the default combination |
| Stretch knit (jersey, activewear) | Narrow zigzag or triple/stretch stitch | Plain seam sewn with the stretch stitch | A straight stitch snaps under tension |
| Sheer / delicate (chiffon, voile) | Straight stitch, fine needle | French seam | Encases the raw edge so nothing shows through |
| Heavy denim / canvas | Straight stitch, longer length | Flat-felled (or welt) seam | Strongest, enclosed, topstitched for stress |
| Fray-prone loose weave (linen, rayon) | Straight stitch | French seam or overcast finish | Pinking fails on loose weaves |
A table can’t capture every nuance, so keep three things in mind.
Stretch depends on tension, not just knit versus woven. A low-stress T-shirt hem that never really pulls can take a plain straight stitch and hold up fine. Tighter garments that must stretch around the body, like leggings, swimwear, and compression tops, need a stretch stitch on their seams. The same jersey can want two different stitches depending on where the seam sits.
Match the seam allowance to the seam. A French seam needs extra allowance because you fold and stitch twice, while an overedge stitch needs only about 1/4 inch. The pattern’s stated allowance assumes a particular seam, so adjust if you switch. If a pattern lists 5/8 inch but you move to an overedge finish, you can trim down to a 1/4 inch allowance and keep the same fit.
Do not skimp on thread for knits. Cheap thread snaps more easily both while you sew and later when the garment is stretched during wear, and it is the usual culprit behind a seam that pops on stretch fabric.
When you are unsure about any fabric, sew a test seam on a scrap and tug it. If the stitches pop, switch to a zigzag or stretch stitch before you touch the real pieces. The fastest way to lock all of this in is a single small project.
Put It Into Practice: One Small Project, Several Stitches and Seams
You will remember all of this far better after sewing one thing that uses several of these stitches and seams together. Theory fades. Muscle memory sticks.
Pick a simple, forgiving first project, like a lined drawstring pouch or a straight-seam tote in woven cotton. A make like that naturally exercises four skills at once: a straight stitch for assembly, a plain seam, a lock at each seam end, and one seam finish. Here is the practice loop:
- Cut two pieces of woven cotton.
- Sew plain seams with the pieces right sides together, using a straight stitch.
- Lock the start and end of each seam with a few reverse stitches.
- Finish the raw edges with a zigzag, then turn the pouch out and inspect the clean inside.
Once that feels comfortable, repeat the same shape in a stretch fabric using a zigzag or stretch stitch, and you will feel the difference the decision aid describes. The point of a scrap pouch is that mistakes cost nothing, so do not make your first practice piece something you are attached to. Experiment freely.
If you would like ready-made projects to practice these exact stitches and seams on, our library of 155+ printable PDF sewing patterns gives you step-by-step instructions and video tutorials, so you are never hunting for something to make. It is the shortcut from knowing the stitches to actually sewing them. Before you head off to your machine, here are the quick answers beginners ask most.
Sewing Stitches and Seams: Frequently Asked Questions
What is the difference between a stitch and a seam?
A stitch is a single loop or interlacing of thread, the small repeated unit your needle makes. A seam is the finished line those stitches create when they join two or more pieces of fabric together. Put simply, the stitch is the building block and the seam is the outcome. You choose a stitch, then build a seam with it.
Which seam is the strongest?
The flat-felled seam is the strongest of the common seam types. It fully encloses the raw edge inside a folded allowance and adds topstitching for reinforcement, so there is nothing exposed to fray or pull apart. That is why it is the standard on jeans and other heavy-wear garments that see constant stress and repeated washing.
What is the strongest hand stitch?
The backstitch is the strongest hand stitch. It forms a solid, unbroken line on the front of the fabric that closely mimics machine stitching, giving it real strength and a little elasticity. It is the go-to choice for hand-sewn seams and repairs that must actually hold, rather than temporary or decorative work.
Should I use a straight stitch or a zigzag?
Use a straight stitch for standard woven, non-stretch fabric assembly, since it is the strongest, cleanest line for pieces that don’t move. Switch to a zigzag when you need to finish a raw woven edge to stop fraying, or whenever the fabric stretches. On knits, the zigzag lets the seam expand instead of snapping the thread.
Do I need a serger to finish seams?
No, a serger is optional. A zigzag stitch, pinking shears, the overcast (overedge) stitch, French seams, and turn-and-stitch edges all finish seams cleanly without one. The right pick depends on your fabric’s weight and how much it frays. Sheer fabric loves a French seam, while a fray-prone woven does well with a zigzag or overcast finish.
What is the best stitch and seam for beginners?
Start with the straight stitch and the plain seam on woven cotton, finishing the raw edges with a zigzag. It is the most forgiving combination in sewing and transfers directly to almost every beginner pattern. Master that trio first, then add stretch stitches and French seams as your projects call for them. Our printable pattern library is a friendly place to start practicing, one small project at a time.