The people who sew beautiful clothes are not using secret skills you don’t have. They are using a handful of the same basic sewing techniques, done slowly and carefully, over and over. You do not need to master hundreds of methods to make things you are proud of. A small core covers the vast majority of real projects, and there is a sensible order to learn them in.
This page is your map. We start where a total beginner starts, at the machine, and move step by step toward shaping, closures, and the finishing habits that make everything look better. Each technique below gets the same treatment: a plain-English explanation of what it is, when you actually use it, the one mistake beginners make most (and how to fix it), and a link to a deeper guide when you are ready.
The biggest beginner mistake is trying to learn all of it at once and quitting from the overwhelm. So don’t. Follow the order, one technique at a time.
Start Here: Set Up Your Machine the Right Way
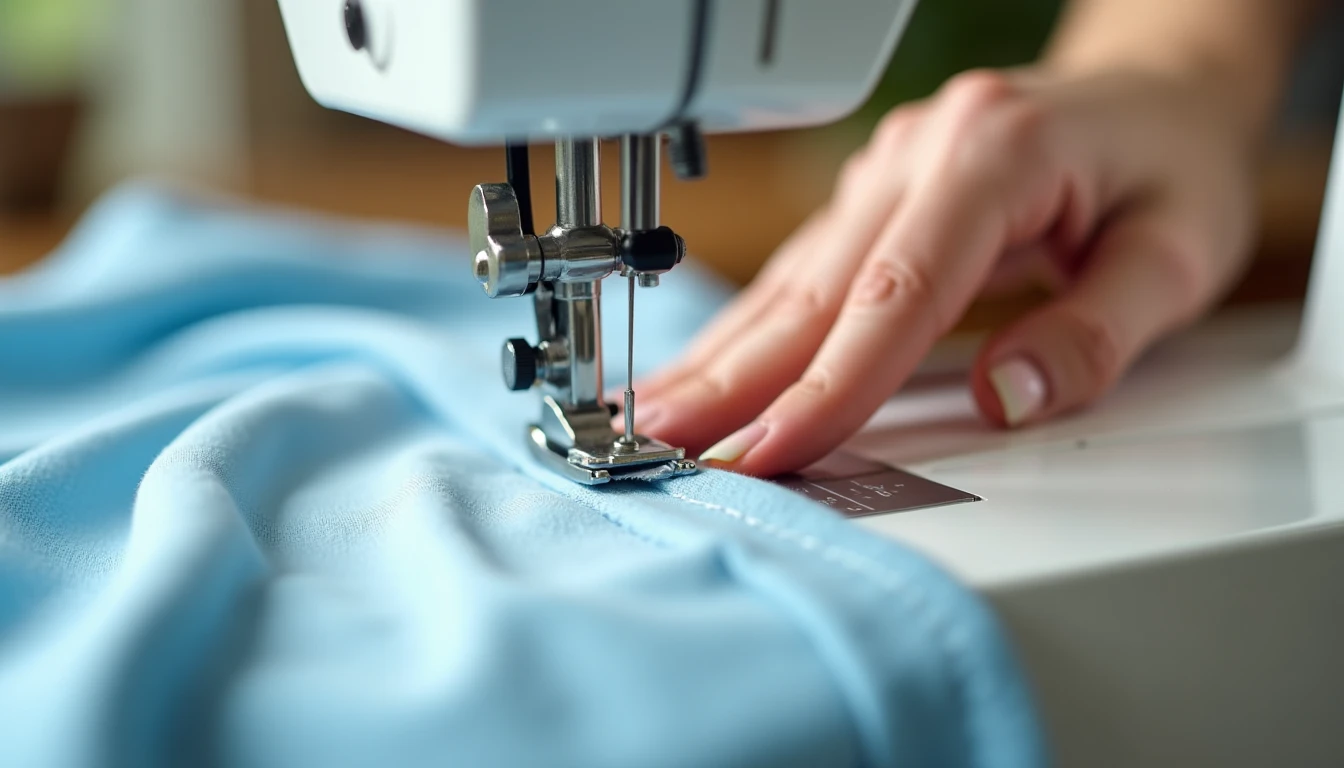
Thread breaks. A nest of knots under the fabric. The whole thing jams and you cannot even pull your project out.
Almost every “my machine is broken” panic comes down to setup and handling. Both are fixable in minutes, and neither is about talent.
Treat setup as technique number one. Match your needle and thread to the fabric weight, then thread the machine in the exact path the manual shows. That path is order-dependent, and a single missed step is the most common cause of thread breaks and bobbin knots.
Before you sew your real project, always run a test seam on a scrap to check your tension. Tension is how tightly the machine pulls the top thread and the bottom bobbin thread together, and a scrap tells you in five seconds whether it is right.
Two small mechanical habits prevent most beginner disasters. First, make sure the take-up lever (the arm that lifts the top thread) is at its highest point whenever you start and stop a seam. If it is left down, the threads are crossed inside the machine and your fabric will not pull free cleanly at the end. Second, hold both thread tails for the first two or three stitches so the machine cannot drag the top thread into a tangle underneath.
The most common handling mistake is pulling or helping the fabric through the machine. That instinct causes skipped stitches, stretched seams, and uneven stitch length.
The fix is to let the feed dogs, the little teeth under the needle that grip and move the fabric, do the pulling. You only guide, lightly, with both hands. Drop your foot-pedal speed low for the first few sessions.
If you are truly at square one, our full beginner setup walkthrough covers threading step by step. Get the setup right and the machine stops fighting you.
The Two Machine Stitches That Do Almost Everything: Straight and Zigzag
Your machine may have thirty stitches on the dial. You will use two of them for almost everything.
The straight stitch is the cornerstone of sewing. It handles most of your assembly, nearly every seam, and your topstitching (a visible line of stitching on the outside of a project, used for structure and a crisp finished look). Set your stitch length around 2.5 to start, and this one stitch will carry you through your first dozen projects.
The zigzag stitch has two specific jobs. The first is sealing the raw edge of woven fabric so the loose yarns cannot fray out. By stitching back and forth over the edge, the zigzag anchors into the fabric on one side and covers the loose threads on the other, so everything stays put through wash and wear. For an edge finish, set the length to about 1.5 and the width to about 3, and feed the fabric so the needle’s right swing just barely hops off the edge.
The second job is sewing seams on knit fabric (fabric that stretches). A straight stitch cannot stretch, so on a snug knit it snaps under tension. A zigzag’s diagonal path can extend with the fabric like a spring, so it holds. A nice bonus: a buttonhole is just a structured sequence of zigzag stitches, so learning zigzag quietly unlocks more than it looks.
The mistake here is using a plain straight stitch on a stretchy knit seam, then watching the stitches pop the first time it is pulled. The fix is to switch to a zigzag, a narrow zigzag, or a double line of straight stitching so the seam can move with the fabric.
Want the mechanics of every machine stitch and seam type? Our full guide to stitches and seams goes deeper. And when you are ready to put these stitches to work, the right pattern does half the job for you. This library of 155+ step-by-step sewing patterns comes with printable PDFs and video tutorials, so you always have a beginner-friendly project waiting.
Essential Hand Stitches: Running, Backstitch, Slipstitch, and Blanket
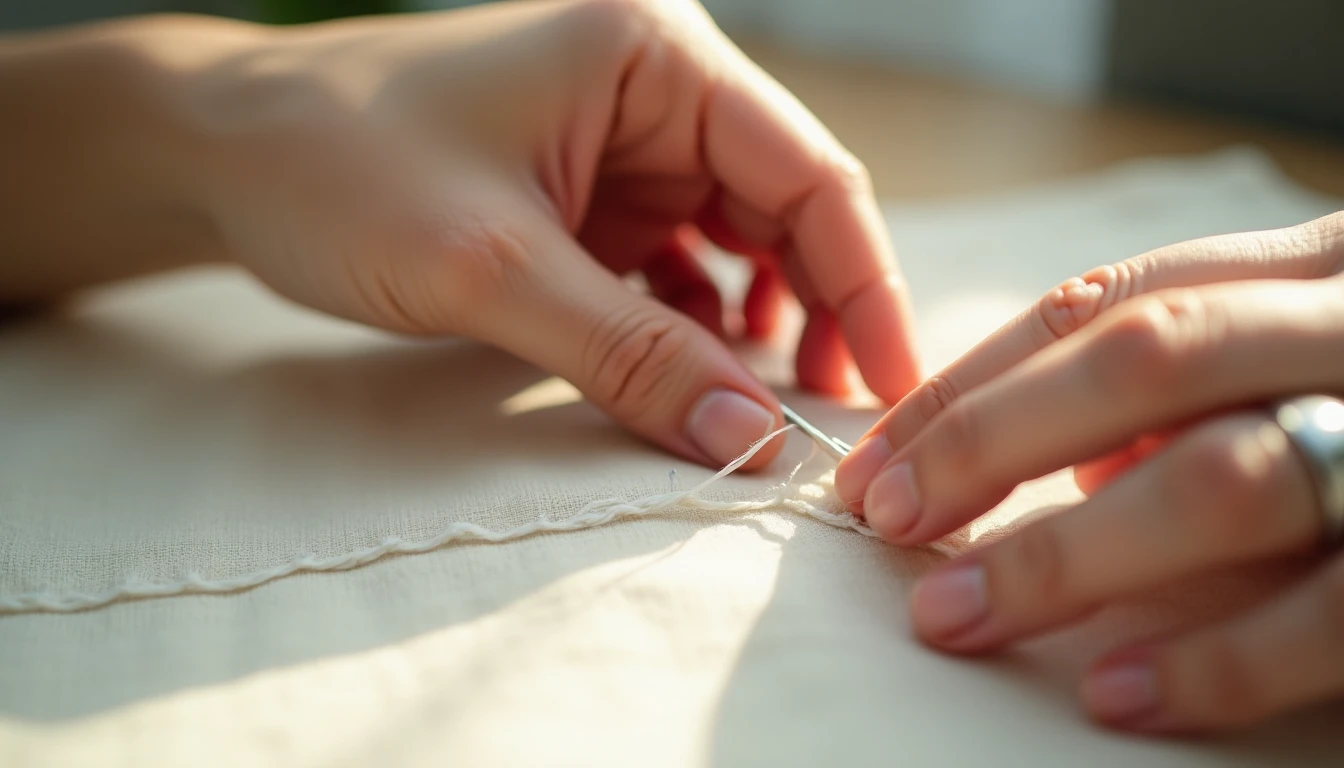
The strongest stitch you can sew does not need a machine at all.
Hand sewing is the lowest-barrier way into the whole craft. All you need is a needle and a single thread, no setup, no electricity, and almost anyone picks up the basics quickly. It also does finishing and repair work the machine simply cannot reach. Four hand stitches cover your beginner needs:
- Running stitch: the needle weaves in and out in a straight line, leaving small gaps. Quick and light, it is ideal for basting (long temporary stitches that hold pieces in place before you sew them permanently), for gathering, and for simple low-stress seams.
- Backstitch: each stitch overlaps the last, so it mimics a machine lockstitch. It is the strongest hand stitch, so you save it for anything under stress or needing permanence.
- Slipstitch: an almost invisible stitch for closing a gap, like the opening left in a lining or a turned hem.
- Blanket stitch: wraps around an edge, used to finish edges and to attach appliqué. Many people learn it first on felt, which does not fray and forgives uneven spacing.
So which comes first, hand or machine? Hand sewing is more accessible to start, while the machine has a steeper first hour but is far faster once it clicks. In practice you combine them: the machine for main construction and long seams, hand stitches for finishing and repairs.
The common mistake is using a quick running stitch on a seam that takes stress, then finding it pulls open. A backstitch uses roughly twice the thread and time of a running stitch, and that is exactly why you reserve it for load-bearing seams and let the running stitch handle basting and gathering. For step-by-step diagrams of each one, see our hand sewing stitches guide.
Seams and Seam Finishes: The Skill That Makes Things Last
Your project looks great until you turn it inside out. The edges are already fraying, and after one wash a seam works loose. That disappointment almost always traces to two skipped steps most beginners are never told are mandatory.
A seam is the line of stitching that joins two fabric pieces, usually sewn with right sides together. The seam allowance is the strip of fabric between that stitching line and the raw edge. At the start and end of every seam, sew a few stitches in reverse to lock it. That backstitch (the machine’s reverse, not the hand stitch above) keeps the seam from unravelling, and skipping it to save a couple of seconds is why seams quietly come apart with wear.
A raw edge frays, so finishing it is mandatory. Patterns rarely spell this out, which is why so many beginners skip it without realizing they should. You do not need a serger (an overlock machine that trims the edge and wraps it in thread in one pass) to do it well. Beginner-friendly finishes on a standard machine include:
- Zigzag over the raw edge, best on mid-weight stable fabrics.
- Pinking shears, which cut a zigzag edge that frays less, best on light fabric cut on the bias.
- Turn-and-stitch, folding the edge under and stitching it down.
- Self-bound, wrapping one allowance around the other.
- French seam, which encloses the raw edge entirely for a clean couture finish on lightweight fabric. You sew wrong sides together first with a narrow allowance, trim the excess, then fold right sides together and sew again to seal the edge inside.
The fix for a frayed, homemade-looking interior is to make one sequence automatic on every seam: sew, finish the edge, press, and topstitch if the pattern calls for it. Our complete seams guide breaks the French seam down step by step. Sew, finish, press. Every seam, every time.
Hems: The Finishing Touch on Almost Everything You Sew
A straight hem is the difference between homemade and handmade, and it is mostly about pressing, not sewing.
A hem is a raw edge folded under and stitched so it will not fray and lies flat. It is the edge the world actually sees, which is why a clean one makes a whole project read as finished. Two everyday types cover most of what you will make: a simple double-fold machine hem, where you fold the edge up twice and straight-stitch it down, and a nearly invisible hand hem using a slipstitch or blind hem for garments where you do not want stitching to show.
Press each fold before you stitch it. Pressing is what keeps a hem straight and flat, and it does more of the work than the sewing does. Match the hem to the fabric too: a narrow double fold suits light woven fabric, while knits usually want a stretch-friendly finish so the hem does not pop when the fabric moves.
The classic mistake is a wavy, stretched hem. It comes from ironing back and forth over the fold, or from not pressing the fold at all before stitching. Press each fold straight down first, use a stitch that stretches on knits, and guide the fabric gently instead of tugging it as it feeds. For invisible hems and knit hems in full, see our complete hemming guide.
Shaping Fabric: Darts, Gathers, and Tucks
Every fitted piece of clothing you own started as flat fabric. Three simple techniques do the shaping that makes it curve around a body.
The shared idea is straightforward. Flat fabric is two-dimensional, and a body is not, so shaping techniques remove or redistribute fabric so a flat piece can wrap a three-dimensional shape. This is the leap from sewing straight lines to sewing clothes that fit.
- Dart: a folded, stitched wedge that pinches out fabric to add shape at the bust, waist, or back. It tapers to nothing at a fine point.
- Gathers: a running stitch pulled up to compress a long edge into a shorter, fuller one, which is how you get a ruffle or a gathered skirt.
- Tucks: small stitched folds used for shaping or as decoration.
To gather evenly, sew two parallel rows of long machine stitches just inside the seam allowance, then gently pull both bobbin threads and slide the fabric along them until the edge fits its shorter piece. Two rows give you more control than one.
Most simple patterns only ask for one or two of these, so you learn them as a pattern calls for them, not all in one sitting. They sit in the second tier of construction skills, picked up project by project once your straight seams feel automatic.
The mistake beginners hit first is a dart that puckers or dimples at the point. The fix is to stitch off the fold to a fine point and not backstitch the tip. Tie the thread tails by hand instead.
Mark your dart points with a tailor tack, a temporary thread marker pulled through both fabric layers, rather than chalk and a pin, which drift out of place. For darts, gathers, and shaping in full, our garment construction guide walks through each one.
Closures: How to Sew Zippers and Buttons Without the Fear
You see a pattern you love, then you spot a zipper in the instructions and quietly put it back. Closures are the techniques beginners dread most, and that fear keeps you stuck on projects you have already outgrown.
A zipper is really just a straight-stitch skill with a special foot. The zipper foot lets you stitch right up close to the zipper teeth, and once you slow down, it is ordinary sewing. The two types you will meet first are the standard centered zipper and the invisible zipper, whose stitching hides in the seam.
Neither is advanced. They are careful.
Buttons and buttonholes are gentler than they look too. Sewing a button on by hand is a basic hand stitch you already have, and a buttonhole is the automatic zigzag sequence your machine can do on its own. Under the hood it is simple: a wide zigzag bar at each end joined by two narrow zigzag columns running up the sides. You met the stitch it is built from back in the machine-stitch section.
Like darts and gathers, closures are second-tier skills, and a pattern usually needs one, not all of them.
The mistake is sewing a zipper at full speed and wandering off the line, which leaves it wavy and lumpy. Slow right down, use the zipper foot, and baste or pin the zipper in place first so it cannot shift while you sew.
When you reach the zipper pull, stop with the needle down, lift the foot, and nudge the pull past you. Our step-by-step zipper guide and our button and buttonhole guide walk both through slowly. A closure is the last thing standing between you and a finished, wearable garment.
The Soft Skills That Make Every Technique Easier
Ask an experienced sewist to name their most important skill, and almost none of them will name a stitch. They name the quiet habits nobody writes down, the ones that separate homemade from professional far more than fabric or pattern choice ever will.
Start with pressing, because it is not ironing. Pressing means lowering the iron straight down with a little weight, then lifting it straight back up to set a seam flat. Ironing is the back-and-forth gliding motion, and on cut fabric it can stretch and warp your pieces out of shape. Press as you sew, setting each seam before you cross it with the next one.
Your seam ripper is a friend, not a verdict on your talent. When a visible mistake appears, a pucker, a gap, a hole in a seam, the moment to fix it is right then. It is a ten-second job before you finish and press over it, and a real chore afterward. Nobody sews a perfect line every time, so unpicking calmly is a core skill, not a failure.
Three more foundations quietly carry everything else. Pin or clip your pieces together before sewing so nothing shifts under the needle. Respect the grainline and pre-wash your fabric, because different fabrics and blends shrink at different rates, and a piece cut from unwashed fabric can pucker after its first wash. And measure twice, cut once, because fabric you have already cut is hard to un-cut.
The mistake that undoes good sewing is ironing seams back and forth and pressing on past a flaw hoping it hides. Switch to true pressing, weight straight down and lift straight up, and rip out any visible pucker the moment you see it. These habits cost seconds and save whole projects.
Embellishment and Next-Level Techniques to Grow Into
Here is what opens up once the basics start to feel boring.
When your core seams and hems run on autopilot, decorative sewing techniques become the fun part rather than a source of stress. A few worth growing into:
- Topstitching: the visible line of stitching you already met, used for structure and a crisp, deliberate finished look along edges and seams.
- Appliqué: stitching a fabric shape onto a base fabric, usually edged with a zigzag or a blanket stitch to seal it and frame it.
- Hand embroidery: decorative stitches that add pattern, texture, and detail to a finished piece.
For appliqué, run a short, narrow zigzag (a satin stitch) right along the raw edge of the shape so it cannot fray and reads as a clean outline. Drop the stitch length low so the zigzags sit tight together.
These sit past the core, so treat them as pure upside, not prerequisites. Nothing here is required to make lovely, well-made things, and rushing into them before your fundamentals are solid usually just adds frustration.
The mistake to watch for is wobbly, uneven topstitching, which draws the eye to every little waver. Lengthen the stitch slightly, slow down, and run the edge of your presser foot or a marked line along as a guide to keep it parallel. Practice on a scrap first, every time. When you are ready to decorate, start with our beginner embroidery stitch guide.
Your Practice Plan: What to Sew First to Lock These Techniques In
You can practice half of this page in about fifteen minutes and one yard of fabric.
Knowledge only sticks when your hands do it. This three-project ladder stacks the sewing techniques above in order, adding one or two new skills each time:
- A pillowcase. Straight seams, a simple hem, and pre-washing your fabric first. It uses about a yard of fabric and finishes in roughly fifteen minutes, which makes it the ideal true first project.
- A tote bag. Straight seams again, plus consistent seam allowance and the experience of turning flat fabric into a three-dimensional object, all with no curves and no closures to worry about.
- A simple elastic-waist skirt. Now you add gathering (or a casing for the elastic) and a hem, on top of the straight-seam skills you already own.
Each project introduces only one or two new things, so you build confidence instead of overwhelm. Start smaller than feels impressive. Easy wins built from rectangles are exactly what keep beginners going, while an ambitious project or a slippery fabric like satin early on is what makes people quit.
The mistake is reaching for something complicated first. Begin in a stable woven cotton, add one new technique per project, and let the difficulty rise as your hands catch up. And if you want ready-made projects to practice each technique on this page, this collection of 155+ printable sewing patterns covers clothes, bags, and home items for every level, each with step-by-step guides and construction videos.
Sewing Techniques FAQ
Which sewing technique should I learn first?
Start with machine basics: threading, tension, and changing the needle and bobbin. Then learn the straight stitch, since it handles most seams. Add the zigzag next for finishing edges and sewing knits. Only after those do you move on to gathering, darts, zippers, and buttons, which are a second tier learned project by project.
Should I learn to sew by hand or by machine first?
Hand sewing is the more accessible starting point, since all you need is a needle and thread with no machine setup. Machine sewing has a steeper first hour but is far faster once the basics click. Most experienced sewists end up combining both: the machine for main construction and long seams, hand stitches for finishing and repairs.
How long does it take to learn basic sewing skills?
There is no fixed timeline, but the pattern is encouraging. Simple rectangle projects like a pillowcase or tote bag can build real confidence in a single sitting. Second-tier skills like darts, gathering, and zippers are learned gradually, one project at a time, rather than all at once, so your first wins come quickly.
What’s the best first project to practice basic sewing techniques on?
A pillowcase or a simple tote bag. Both rely almost entirely on straight seams and basic hems, with no curves and no closures to complicate things. They let you practice cutting accuracy, a consistent seam allowance, and machine control, which are the foundations every later technique builds on.
Do I need a serger to finish seams properly?
No. A serger is convenient, but zigzag stitching, pinking shears, turn-and-stitch, and self-bound seams all finish raw edges well on a standard home machine. A serger (or overlocker) trims and wraps the edge in one pass, but you can make durable, clean-finished projects for years without one.
Why do my seams pucker even though I followed the pattern?
Usually the cause is a habit, not a lack of skill. Pulling the fabric through instead of guiding it, sewing too fast, skipping pressing between steps, and leaving raw edges unfinished all cause puckering. Each one is fixable with slower, more deliberate practice: guide lightly, drop your speed, and press every seam as you go.