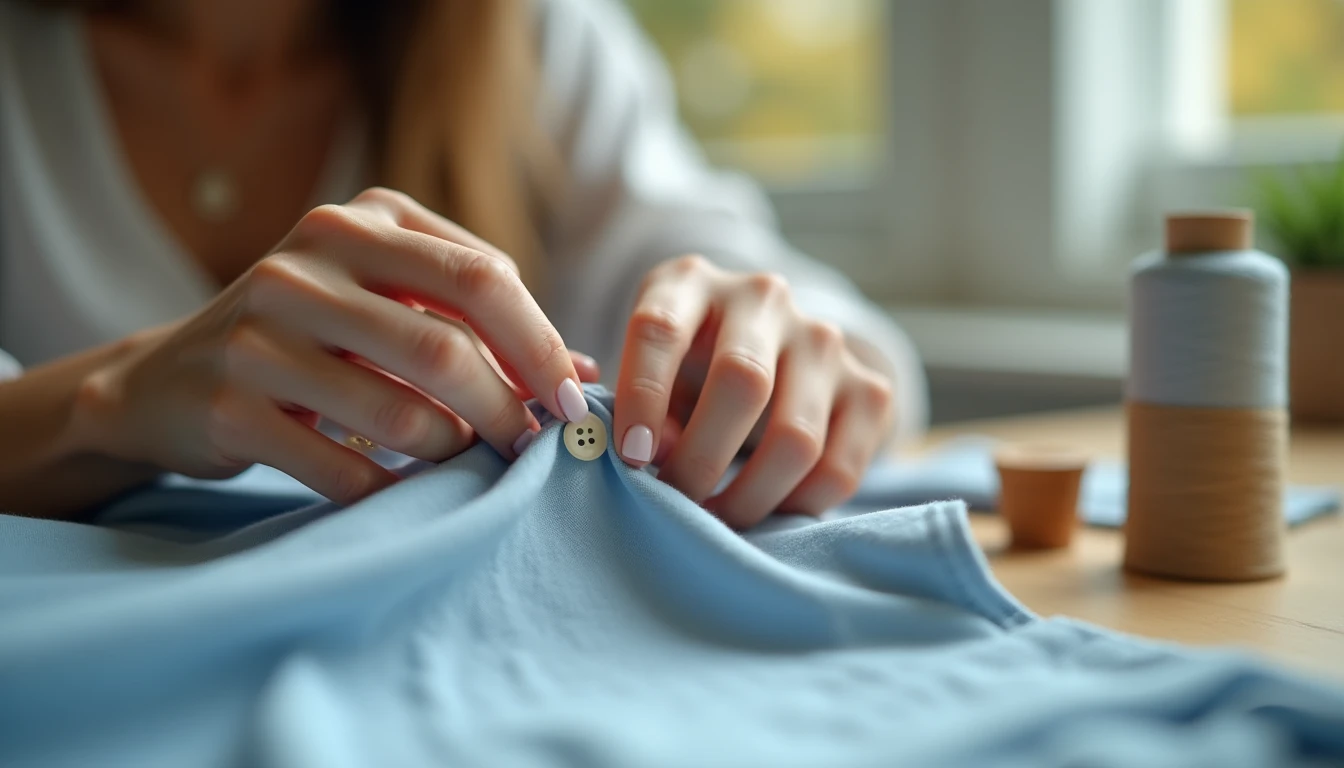
A button pops off your coat on the street, or off a shirt right before you walk out the door, and it always seems to happen at the worst possible moment. Take a breath.
Learning how to sew a button back on is a five-minute job with a needle and thread, and you do not need a sewing machine or any experience at all. This is genuinely the easiest sewing skill there is, and one of the core sewing techniques every beginner should own. For the bigger picture, our full sewing techniques guide shows where this fits.
This one page covers everything, so you never have to go looking elsewhere. You will learn to attach a flat two-hole button, a four-hole button, and a shank button, how to sew buttons by machine, and even how to sew a buttonhole to match.
Most buttons fall off for one simple reason: they were sewn on too tight, with no slack. We will show you the one trick, a thread shank, that makes a repair actually last. Grab a needle and thread, and let’s get your button back where it belongs.
What You Need and the Button Types to Know
Good news before you start: the supply list is almost nothing, and it is probably already sitting in a kitchen drawer or an old sewing tin.
Here is everything you need for a hand repair:
- A hand-sewing needle (a regular “sharps” needle is perfect)
- Thread that roughly matches the button
- Small scissors
- Optional: a toothpick or pin (for the thread shank later) and a thimble
The one rule that separates a repair that lasts from one that fails is this: use a double thread. Cut about an arm’s length of thread, roughly 18 to 24 inches, pass it through the needle’s eye, pull the two ends even, and knot them together. Now you are sewing with two strands at once, which means more strength and fewer passes. Single thread is the rookie move that sends buttons popping off again.
Thread choice depends on the fabric. Use fine all-purpose thread for shirts and blouses, and heavy-duty or buttonhole-twist thread (a thick, strong thread) for coats and jeans. On heavy coats, some sewists run the thread through 100% beeswax first to stop it tangling and to add strength. Only pure beeswax works well here, since paraffin-blended wax can gum up the thread instead.
Now identify the button in your hand, because the type changes the method slightly:
- Flat two-hole button: the simplest kind, with two holes straight through the face.
- Flat four-hole button: four holes, stitched in an X or two parallel bars, used where you want extra hold, like shirts and jackets.
- Shank button: has no holes on the front. Instead it has a built-in loop or little stem on the back, called the shank, which lifts the button off the fabric. Coats and blazers often use these.
Light shirt buttons are usually flat, while heavier buttons and coats favor a shank or a generous thread shank. With your button identified, here is the core method that handles most repairs.
How to Sew a Flat Button by Hand, Step by Step
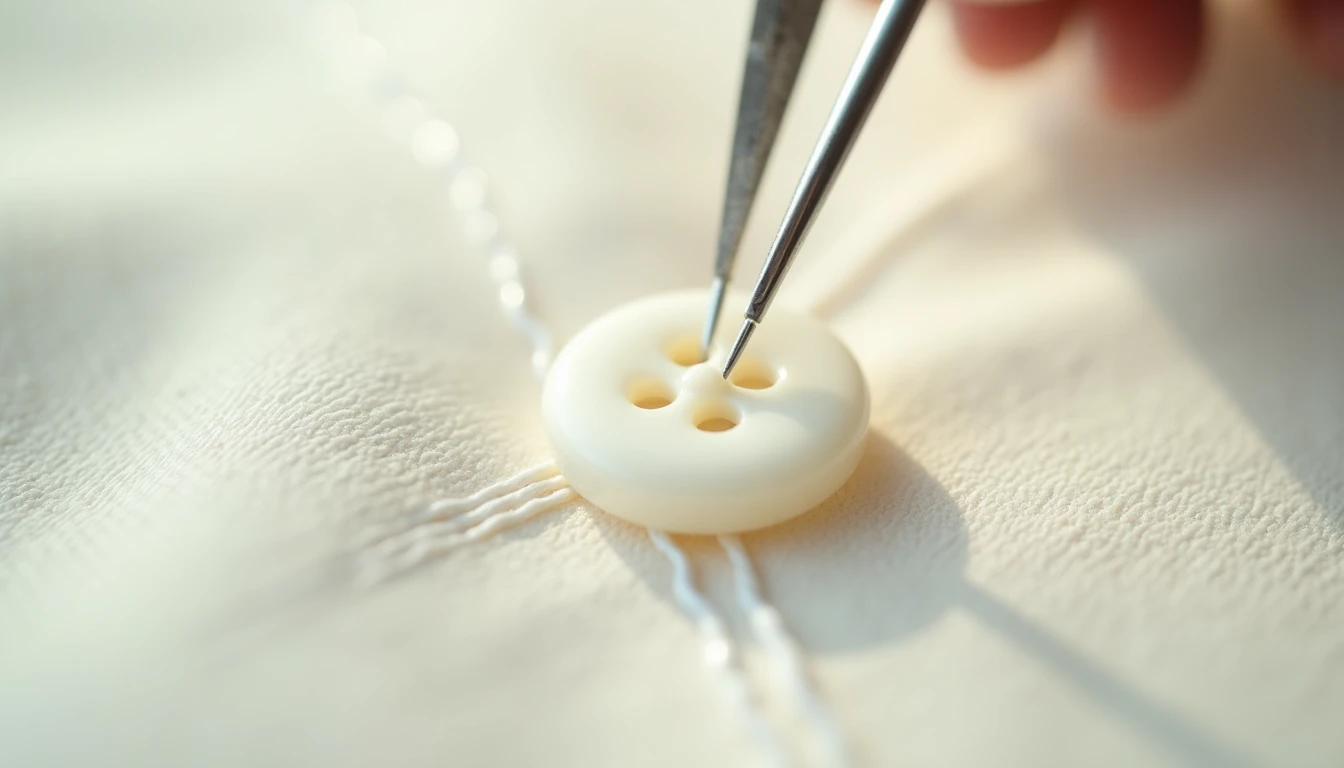
This is the method behind the five-minute fix promised up top. Learn it once and you will never have to hand a shirt to someone else again, no matter how small the job feels.
Here is the sequence for a two-hole flat button:
- Mark the button’s spot on the fabric with a pencil or chalk dot, or simply line it up with the buttonhole it needs to meet.
- Bring your doubled, knotted needle up from the wrong side (the underside) of the fabric at the mark, so the knot hides underneath. Take one or two tiny stitches right there to anchor it.
- Slide the button down the needle onto the fabric. (For a repair that truly lasts, you will add a small spacer here to build a thread shank, covered in the next section. Keep this first version simple.)
- Sew down through one hole and up through the other, passing through the fabric each time. Repeat about four to eight times. With doubled thread, four to six passes is plenty. Keep the stitches snug but not strangling-tight.
- Bring the needle out between the button and the fabric, then wrap the thread around the stitches under the button a few times to firm everything up.
- Push the needle through to the wrong side and tie off with a knot pulled tight against the fabric. A couple of tiny locking stitches first make it bulletproof. Trim the thread.
The anchor stitch you started with is a basic hand-sewing move, and if you want to build that foundation, our hand sewing stitches guide walks through the essentials.
For a four-hole button, everything is the same, but you choose how to cross the holes. Stitch them as an X (corner to corner) or as two parallel bars (like an equals sign). Both are correct. Parallel looks tidy on shirts, and the X is a touch stronger for jackets.
Buttons are the perfect first win in sewing, and if you want easy projects to practice on, our library of 155+ printable PDF sewing patterns with step-by-step instructions and video tutorials is full of beginner-friendly makes: browse the pattern library. One thing before you move on: do not pull every stitch bone-tight. Leaving a hair of slack is exactly what the next section is about.
The Thread Shank: The Step Most Beginners Skip
Ever sewn a button back on carefully, only to have it fall off again a few days later? The problem almost certainly was not your stitching. It was a missing thread shank, and this 30-second step is the difference between a repair that holds for years and one that gives up in a week.
A thread shank is a small column of wrapped thread between the button and the fabric, a little stalk that holds the button slightly above the cloth. It matters because of what happens when you button up: the other layer of fabric, the buttonhole side, needs somewhere to sit.
The shank leaves room for it, so the garment lies flat instead of puckering, and the button is easier to grip and fasten. It also takes the strain off your stitches and adds real strength at high-stress spots like a waistband.
Here is how to build one using the toothpick trick:
- When you reach the stitching stage from the last section, lay a spacer flat across the top of the button before you sew: a toothpick, a pin, a matchstick, or a spare needle. Thicker fabric means a thicker spacer, so use two toothpicks for a heavy coat.
- Sew through the holes over the spacer as normal, four to six passes. The spacer stops the thread pulling tight, which creates deliberate slack.
- Slide the spacer out and lift the button up so the loose threads gather into a stem.
- Bring the needle up between the button and the fabric, then wrap the thread tightly around that stem three to four times to form the shank. Use more wraps for thicker, heavier fabric.
- Pass the needle through to the wrong side, knot tightly, and trim.
You can skip the shank on flat craft or decorative buttons that never fasten, or any button with no fabric layer sitting under it. No need to over-engineer a cushion cover. But on anything you button and unbutton, this one toothpick fixes the number one mistake in the whole article: sewing flat and tight.
How to Sew a Shank Button (the Built-In Loop Kind)
Shank buttons are actually easier to attach than flat ones, and for a nice reason: there is no thread shank for you to build, because the button brings its own.
Quick clarification, since the names trip everyone up. The thread shank you just learned to make is something you build from thread on a flat button. A shank button is different: it has a loop or stem molded right onto the back instead of holes on the face. Coats, blazers, and heavier garments lean on these.
Here is how to sew one on:
- Mark the spot and bring your doubled, knotted needle up from the wrong side at the mark, then take a small anchoring stitch.
- Pass the needle through the button’s shank loop instead of through any face holes.
- Stitch through the loop and the fabric four to six times, keeping the button snug to the fabric but not so tight it distorts. Position the loop so it runs the same direction the buttonhole opens, which gives the flattest sit.
- Finish on the wrong side with a couple of small locking stitches, knot, and trim.
You do not need a separate thread shank here, because the button’s own loop already lifts it off the fabric and leaves room for the buttonhole layer. The one thing to watch is orientation: turn the loop the right way, or the button sits crooked when you fasten it.
How to Sew a Button by Machine
If you have several buttons to attach, or a whole coat’s worth, the machine is far faster than hand-stitching each one. It is also easier than it looks, once you know the single safety check that keeps you from snapping a needle.
Here is the method with a button foot:
- Switch to a button-sewing foot and set the machine to a zigzag stitch (a stitch that swings side to side) with the stitch length at 0. At length 0 the fabric does not move forward, so the needle just swings in place.
- Drop or disengage the feed dogs. The feed dogs are the little teeth under the needle plate that normally pull fabric through, and dropping them keeps the button still.
- Mark the spot, then place the button under the foot, centered so the needle can reach both holes.
- Do the safety check: turn the handwheel by hand for one full zigzag swing to confirm the needle drops cleanly into each hole and does not strike the button. Adjust the zigzag width (commonly 3 to 4mm) to match the hole spacing.
- Stitch slowly, about five to six passes, which comes to roughly 10 to 15 stitches.
- Leave four to five inch tails, pull the top thread through to the back, tie the top and bobbin threads in a double knot underneath, and trim.
No button foot? Tape the button down with a strip of clear tape over the marked spot, remove or raise the ordinary foot, set the zigzag length to 0, and drop the feed dogs. For a four-hole button, stitch one pair of holes at a time rather than all four at once.
Machine-sewn buttons usually sit flat against the fabric, so for a garment that needs slack, add a thread shank by hand afterward. And never power the machine before the handwheel test. That single turn by hand is what stands between you and a broken needle.
How to Sew a Buttonhole: By Machine and By Hand
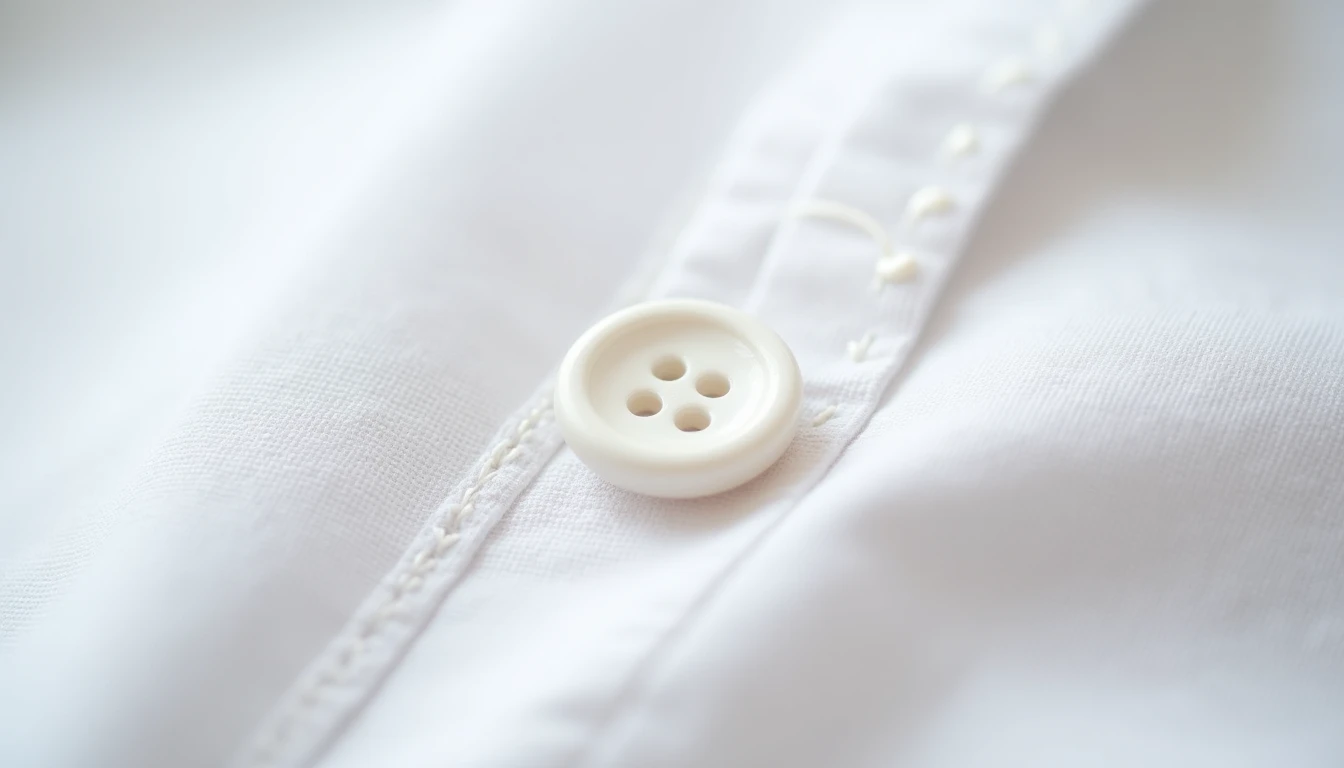
A buttonhole can come out the wrong size, or fray open the first time you use it. Three rules prevent that: size it right, interface it, and test on a scrap first.
Size it right. A buttonhole should measure the button’s diameter plus about 1/8 inch (3mm) of ease. For domed or thick buttons, measure around the thickest part (diameter plus height) instead of the flat face. To mark it, pin the button’s top and bottom edges, remove the button, add the ease, and draw the cutting line.
Interface it and test it. Reinforce behind the buttonhole with interfacing, a stiffening material fused or sewn to the wrong side of the fabric, using the same layers the finished garment will have. Then stitch a test buttonhole on a scrap of that fabric and interfacing before you touch the real garment. Tension and stitch density shift with every fabric stack, so the scrap is your safety net.
Here is the one-step machine buttonhole:
- Attach the one-step buttonhole foot and slot your button into the back slider, so it sets the length automatically to match.
- Mark the placement on your interfaced fabric and line the needle up to the start.
- Pull the buttonhole lever down fully, select the buttonhole stitch, and test the settings on scrap (width around 4 to 5, length around 0.5 to 1).
- Stitch. The machine sews all four sides and stops itself.
- Pin across the inner end so the cut cannot run too far, then open the slit with a seam ripper or a buttonhole chisel.
On older machines without a one-step foot, a four-step buttonhole rotates you through four settings, stitching each side and each bar tack in turn. A bar tack is a dense cluster of stitches that reinforces each end. The two sides are easier to make uneven this way, so go slow.
Prefer to work by hand, or repairing a tailored coat? Here is the hand-sewn version:
- Mark and size the buttonhole as above, and interface the back.
- Stitch two short parallel rows of small running stitches (a simple in-and-out stitch) on each side of the line to stabilize the edges.
- Carefully cut the slit along the line.
- Work buttonhole stitches along the cut edge. A buttonhole stitch is a blanket-stitch variant where the thread loops under the needle before you pull tight; keeping the loops even and snug is what makes it look neat.
- Reinforce the stress end with a fan of stitches or a bar tack, weave the tail in on the back, and trim.
The buttonhole stitch is worth adding to your repertoire, and our stitches and seams overview covers the machine and hand stitches behind it. Practicing on a simple make from the 155+ printable PDF pattern library builds confidence before you cut into a garment you care about. Either way, test on a scrap and pin before you cut.
Button Placement, Spacing, and Common Mistakes to Avoid
Men’s and women’s shirts button on opposite sides, which surprises almost everyone the first time they notice. One popular theory says wealthy women were dressed by right-handed maids, so their buttons faced the maid, while men kept the right side clear to draw a sword. The history is only a theory, but it points to a practical rule you actually need.
Which side gets the buttons:
- Men’s shirts button left-over-right, so the buttons sit on the wearer’s right and the buttonholes on the left placket.
- Women’s shirts button right-over-left, so the buttonholes sit on the right.
- The easiest rule of all: match whatever the garment already had, or follow this convention on a new make.
The placket, the strip that carries the buttons, overlaps by about half a button width, so each button sits centered on the overlap. To space a run of buttons evenly, measure from the top button position to the bottom, count the gaps (there is always one more gap than the buttons between the two ends), then divide the total distance by the number of gaps. For example, five gaps across 20 inches puts a button every 4 inches.
Buttonhole direction matters too. Use horizontal buttonholes at strain points like a waistband or chest, because they resist the button popping through under pull. Use vertical buttonholes on low-stress spots like a loose shirt front.
The handful of mistakes behind almost every button failure:
- Sewing too tight with no thread shank. This is the top cause of repeat failures.
- Skipping interfacing behind a high-stress button. On coats and jeans, fuse a small circle behind the spot and add a small straight-stitch grid so the fabric cannot tear out.
- Using the wrong thread weight for the fabric.
- Cutting a buttonhole before testing and pinning it.
Avoid those four, and your buttons will outlast the garment.
Sewing Buttons and Buttonholes: Frequently Asked Questions
Which side do buttons go on?
Men’s shirts button left-over-right, so the buttons go on the wearer’s right and the buttonholes on the left placket. Women’s shirts button right-over-left, so the buttonholes go on the right. The simplest approach is to copy whatever the garment already had before the button came off, and you will never get it backward.
How many times should I stitch through a button?
About four to eight passes through the holes by hand, or four to six if you are using a doubled thread. By machine, aim for roughly five to six zigzag passes, which works out to about 10 to 15 stitches. That is enough to hold the button securely without bulking up the shank or wasting thread.
Do I really need a thread shank?
Yes, on anything that fastens over a layer of fabric, like a shirt placket or a coat. The shank leaves room for the buttonhole side to sit underneath, which keeps the garment flat and stops the button pulling loose. You can skip it on flat decorative or craft buttons that never actually button up.
What thread should I use for buttons?
Use fine all-purpose thread for shirts and blouses, and heavy-duty or buttonhole-twist thread for coats and jeans. Whatever the weight, double it and knot the ends for strength. On heavy coats, running the thread through 100% beeswax first helps stop tangling and adds durability, though it is optional.
How big should a buttonhole be?
Make the buttonhole the button’s diameter plus about 1/8 inch of ease. For thick or domed buttons, measure around the thickest part (diameter plus height) instead of the flat face, since a fat button needs more room to pass through. Always stitch a test buttonhole on a matching scrap before cutting the real garment.
How do I fix a popped button fast without any fuss?
For a quick emergency fix, thread a doubled needle (pinch and moisten the thread end to a point if it will not go through the eye), then take four to six quick passes through the holes and knot it off underneath. Leave a little slack rather than pulling it tight, and it will hold until you can add a proper thread shank later.
You now have the whole closure covered, buttons and buttonholes, from a five-minute emergency fix to a tailored hand-sewn buttonhole. Ready for the next skill? Explore more core sewing techniques and keep building.