
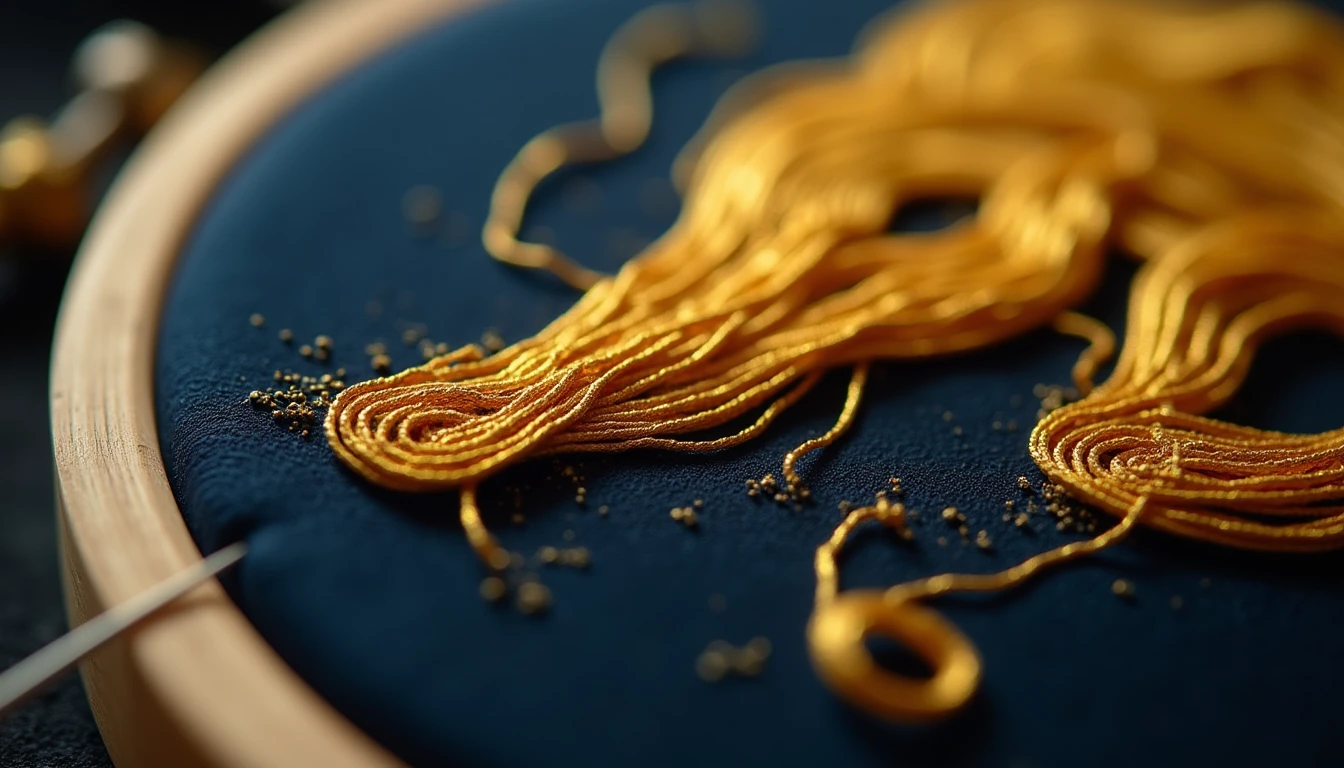
Some threads were never meant to go through fabric. A chunky wool, a length of cord, a strand of real gold thread, they’re too thick, too fragile, or too precious to pull back and forth through a weave without shredding. Couching solves that problem. Instead of stitching through the fabric, you lay the thread flat on top of the surface and use a second, finer thread to tack it down at even intervals. The laid thread stays whole and beautiful, and the working thread does all the quiet labor underneath it. The name comes from the French word “coucher,” meaning to lay down, the same root that gives us the English word couch, a place to lie down. Couching is one of the oldest members of the embroidery stitch family, and once you understand the logic behind it, half a dozen useful variations open up.
Some links below are affiliate links. Prices are 2025-2026 estimates and change often, so always check current pricing.
What Couching Is (and When to Use It)
At its core, couching uses two threads working together. The first is the “laid” thread, the decorative material you actually want people to see. It sits on top of the fabric and does very little work of its own. The second is the “working” or “couching” thread, a finer thread threaded onto its own needle that crosses over the laid thread at regular points and stitches it firmly to the fabric below. Because the laid thread never has to squeeze through the weave, you can use materials that would otherwise be impossible to sew with.
Reach for couching when you’re working with:
- Metallic and metal-wrapped threads (goldwork passing thread, silver thread, Japanese thread) that would fray or kink if pulled through cloth
- Thick or textured yarns, wool, chunky perle cotton, and novelty fibers too bulky for the fabric weave
- Cords, braids, and ribbons meant for bold outlines or borders
- Sari silk, roving, and other loosely spun or fragile fibers that would shred if stitched through directly
- Clean outlines and lettering or monograms where you want one smooth, unbroken line of thread
- Solid filled shapes, where rows of laid thread sit side by side and are couched down together (called couched filling)
- Raised, dimensional effects, including padded goldwork motifs
- Machine work on quilts and garments, where a zigzag stitch is worked over yarn or cord for texture and thread painting
If you’re new to embroidery generally, it helps to see couching in context. Take a look at our guide to embroidery stitches for the full family this technique belongs to.
How to Couch, Step by Step
Couching by hand is simple once you’ve done it a few times. The motion itself borrows from basic stitch mechanics you already know, so if you want a refresher on hand sewing fundamentals first, our hand sewing stitches guide covers the basics.
- Bring the laid thread up through the fabric at the start of your design line. If the thread is too thick to pass through a needle eye and the fabric, hold the tail on the surface instead and anchor it with your first couching stitch.
- Lay the thread along the design line. Let it rest on top of the fabric without pulling it taut, so it keeps its natural shape and thickness.
- Thread a separate needle with your working thread and bring it up through the fabric just to one side of the laid thread.
- Take the needle back down on the opposite side of the laid thread. This forms a small straight stitch that crosses perpendicular over the laid thread and pins it to the fabric.
- Continue making these small tacking stitches at even intervals along the laid thread, typically about a quarter inch (5 to 6mm) apart. Even spacing is what makes a couched line look neat rather than sloppy.
- At corners or sharp curves, place a couching stitch exactly at the bend or pivot point first. This holds the angle crisply before you continue along the next stretch.
- When a couched line ends, or a shape is fully filled, don’t just cut the threads flush on top. Take both the laid thread and the working thread through to the back of the fabric instead.
That last step has a name of its own: plunging. Thick or metallic laid threads won’t fit through a standard needle, so plunging uses a large eye needle, such as a chenille needle, or a thread lasso (a loop of strong sewing thread run through the needle’s eye that grips the couched thread and pulls it through the hole). Once the ends are on the back, secure them with small stitches or a whipping motion so they can’t work loose over time, then trim the tails neatly.
Couching Variations
Once you know the basic tack down, a handful of named variations give you very different effects from the same core idea.
Plain (surface) couching is the standard version described above: one or more laid threads tacked at regular intervals with small perpendicular stitches from a separate, usually finer, working thread. It’s the go to choice for outlines, lettering, and simple fills.
Bokhara couching and Romanian (Roumanian) couching are both what’s called “self-couching.” In these two stitches, the same single thread does both jobs, laying itself down and tacking itself in place, so no second working thread is needed at all. In Bokhara couching, long straight stitches are laid across a shape and then anchored with short diagonal or perpendicular tacking stitches worked in that same thread back across the laid stitch. It’s traditionally used to fill solid blocks of color, especially on Central Asian suzani textiles, and is historically known in northern Germany as Kloster stitch. Romanian couching works a little differently: a long laid stitch is tacked down with a single diagonal stitch through its center rather than at intervals along its length. Worked closely together over a filled area, it produces a slightly raised, ridged texture and is used mainly as a filling stitch.
Trellis (or lattice) couching builds a grid. Long straight threads are laid across a shape in one direction, then a second set is laid diagonally or at a right angle on top to form a lattice. A small tacking stitch, sometimes a cross or star stitch, holds down each intersection point. It’s a classic openwork filling stitch rather than a line stitch, and it reads as delicate and structured at the same time.
Zigzag couching simply describes couching worked with a zigzag stitch rather than straight perpendicular tacks, most often when you move to a sewing machine (more on that next).
The distinction worth remembering: plain couching, trellis couching, and machine couching all use two separate threads. Bokhara and Romanian couching use only one, which is why they’re grouped together as self-couching stitches.
Couching by Machine
Machine couching lays yarn, cord, ribbon, or trim on top of the fabric and stitches over it with a zigzag or narrow decorative stitch set wide enough to clear the material. A dedicated couching or braiding presser foot gives the most control, especially on curves, because it has a hole or channel that threads the cord through and keeps it centered and taut as it feeds under the needle. You don’t strictly need a specialty foot; an open toe foot with a straight or zigzag stitch works too, it’s just harder to keep the cord perfectly centered by eye.
Cording feet and braiding feet aren’t quite the same tool. Cording feet suit one or two narrow threads guided through small channels, while braiding feet handle thicker cord, ribbon, or trim and hold up better on tight curves and lettering.
This technique has become genuinely popular in modern quilting, where machine couching adds textured, dimensional lines and outlines to a quilt top. If quilting is new territory for you, our how to quilt guide walks through the fundamentals, and couching is a natural next step once you’re comfortable with straight line and free motion work on a quilt sandwich.
A Note on Goldwork
Couching is the foundational stitch of goldwork embroidery, and understanding why makes the whole technique click into place. Metal threads, gold and silver passing thread, twist, and purl, are historically too stiff, fragile, and precious to pull through fabric the way an ordinary thread is pulled. So instead, they’re laid on the surface and secured entirely with couching stitches worked in fine silk. In standard surface couching, the metal thread itself is never taken through the cloth at all.
There’s a more advanced version worth knowing about too: underside couching. Here, tiny loops of the metal thread are pulled through to the back of the fabric with each couching stitch, rather than the working thread simply crossing over the top. The result is an unbroken, undimpled line of gold on the front, with none of the couching thread visible. This was the hallmark technique of medieval English Opus Anglicanum, a style of ecclesiastical goldwork embroidery worked between the twelfth and fourteenth centuries. It produced the luminous, jewel-like surfaces still visible on surviving vestments and altar cloths today, and Opus Anglicanum is widely considered among the finest goldwork embroidery to come out of medieval Europe.
Materials
You don’t need a large kit to get started, but a few things make the difference between a smooth line and a frustrating afternoon.
For the laid thread, options include perle (pearl) cotton, wool or acrylic yarn, metallic thread and cord such as goldwork passing thread or Japanese thread, narrow ribbon, sari silk ribbon, roving, and braid or trim. For the working (couching) thread, you’ll typically use one or two strands of embroidery floss, fine silk, or machine sewing thread, matched to the laid thread if you want the tack down to disappear, or contrasted if you want it to show as a decorative detail on its own.
On the needle side, a regular embroidery or crewel needle handles the fine working thread just fine. For plunging thick or metallic laid threads through to the back, though, you’ll want a large eye chenille needle or a homemade thread lasso. An embroidery hoop or frame is strongly recommended too, since even tension across the fabric is what keeps a couched line smooth and prevents puckering as you work. For a fuller rundown of needles, hoops, and the rest of a basic embroidery kit, see our sewing tools and notions guide.
If you’d rather skip the design planning and stitch from a pattern instead, our library of more than 155 printable PDF sewing patterns at Sewing Pattern Secrets’ pattern library includes plenty of embroidery friendly projects to practice couching on.
Frequently Asked Questions
What is couching in embroidery?
Couching is a technique where a thread, yarn, or cord is laid on top of the fabric and stitched down at intervals with a second, finer thread, rather than being pulled through the fabric itself.
How do you do the couching stitch?
Lay the decorative thread along your design line, then use a separate needle and thread to make small straight stitches over it every quarter inch or so, catching it against the fabric while keeping the spacing even and adding a stitch at any corners.
What is couching used for?
It’s used to attach thick, textured, fragile, or precious threads, especially metallic goldwork threads, yarns, cords, and ribbons, for outlines, lettering, and solid filled areas that would be impossible or damaging to stitch through the fabric directly.
What is the difference between couching and applique?
Couching attaches linear materials like thread, yarn, or cord to the fabric surface with small stitches, while applique attaches pieces of fabric to a background, usually by stitching around the fabric’s edges.
Can you do couching on a sewing machine?
Yes. Machine couching lays yarn or cord on the fabric and stitches over it with a zigzag or decorative stitch, ideally using a couching or braiding presser foot to guide the material evenly. It’s a popular technique in modern quilting.
What threads can you couch?
Almost anything too thick or delicate to pull through fabric: metallic goldwork threads, wool and acrylic yarns, perle cotton, cords, narrow ribbon, sari silk, and novelty or textured fibers.