
Anyone can learn to sew. Sewing is a series of small, repeatable motions, and most beginners finish a real, usable first project within their first week of trying. You do not need steady hands, an art degree, or a grandmother who taught you growing up. You need a plan, a little patience with yourself, and about an hour to get comfortable with a needle and thread.
This guide is that plan for sewing for beginners, in seven steps: choosing how you’ll learn, getting a machine (or starting by hand), gathering a basic kit, learning your machine without fear, picking up five core skills, sewing your first projects in the right order, and finally reading a real pattern. Both hand sewing and machine sewing are legitimate starting points, and this guide covers both, so pick whichever one matches your budget and patience level right now.
Some links below are affiliate links. Prices are 2025-2026 estimates and change often, so always check current pricing.
Step 1: Decide How You’ll Learn
There is no single correct way to learn to sew, but there are three common routes, and knowing their tradeoffs up front saves you time.
Self-taught at home is the most common route today, and it is free. YouTube channels and beginner blogs walk through machine setup, hand stitches, and first projects at your own pace. The tradeoff is that you can pick up small bad habits (wrong fixes for tension problems, poor posture at the machine) that nobody is there to catch, so pair it with one short structured lesson or a detailed guide up front. A few hours of structured learning genuinely saves weeks of frustrated trial and error later.
In-person classes or workshops give you the fastest feedback loop, since an instructor corrects your tension, seam allowance, and posture in real time. A single group class usually runs about $25 to $60. Multi-week beginner courses (four to six sessions) run roughly $100 to $450 depending on your city and whether fabric and a machine rental are included. Private one-on-one lessons cost more, typically $30 to $120 per hour. If you have tried teaching yourself and keep hitting the same snag, a class is often the fastest way through it. Our guide to sewing classes breaks down formats and what to expect.
Books and structured print guides are slower to flip through mid-project than a video, but good for building a mental map of how a garment goes together before you touch a machine. They work best alongside video for the hand-motion parts (threading, backstitching) that are hard to picture from text alone.
Step 2: Get a Sewing Machine (or Start by Hand)
Do not overspend on your first machine. This is the single most common beginner mistake, and it is easy to avoid. A borrowed, secondhand, or basic new machine in the $100 to $250 range is genuinely enough for years of beginner and intermediate sewing. Expensive computerized machines add stitch libraries and automation a first-timer does not need yet, and they will not help you diagnose classic beginner problems any faster than a simple machine would.
Here is what your first machine actually needs:
- Straight stitch
- Zigzag stitch
- A reverse or backstitch lever or button
- Adjustable stitch length
- A top-loading (drop-in) bobbin, which is easier to see and load than a front-loading one (nice to have, not required)
- An automatic needle threader, which saves eye strain but is not essential
In 2026, the Brother CS7000X (roughly $130 to $180, with 70 built-in stitches and an automatic needle threader) and the Singer Heavy Duty 4423 (around $150, with a strong motor for denim and canvas) are the two machines beginner guides recommend most often. The Brother XM2701 is the budget mechanical pick under $100 for straight and zigzag only. Our sewing machine buying guide covers full picks and what to look for at each price point.
If you are not ready to commit to a machine yet, hand sewing is a legitimate roughly $10 on-ramp: a pack of needles, a spool of all-purpose thread, and a cheap thimble is the whole kit. It genuinely suits small projects and repairs, buttons, hems, patches, simple pouches, and it teaches you seam allowance and tension by feel in a way that transfers directly to machine sewing later. It is not a realistic way to build a full garment, but it is a low-cost trial to confirm you enjoy sewing before spending on equipment. Our guide to hand-sewing stitches walks through the handful worth learning first.
Step 3: Gather the Basic Kit

Beyond a machine (or in addition to your hand-sewing supplies), you need a small kit of tools. None of this needs to be fancy:
- Fabric scissors or shears, a dedicated pair that never cuts paper (paper dulls the blades fast)
- Pins and/or sewing clips
- A seam ripper (for the mistakes everyone makes, no shame in it)
- A flexible tape measure
- A fabric marking tool, tailor’s chalk or a washable or heat-erasable marking pen
- Universal machine needles, size 90/14 or 80/12 for lighter quilting cotton
- All-purpose polyester thread in a couple of neutral colors (white, black, gray or beige)
- An iron and a pressing surface (an ironing board works, or a folded towel on a table in a pinch)
Budget roughly $50 to $100 beyond the machine for decent, not bargain-bin, versions of these tools. You can find a multi-pack under $30, but bargain thread specifically is worth avoiding since it tends to be linty and breaks more often mid-seam. Our complete guide to sewing tools and notions has the fuller, tiered list.
Step 4: Learn Your Machine

Getting comfortable with your machine is mostly about following a sequence in order. Here is the setup, start to finish:
- Set the machine on a stable table at a comfortable seated height with good light.
- Wind a bobbin (the small spool that holds the bottom thread) using the machine’s bobbin-winding spindle and tension guide.
- Insert the wound bobbin into the bobbin case or compartment, following the direction arrow.
- Thread the top of the machine following the numbered guides in order, with the presser foot UP so the tension discs are open and the thread seats correctly. This one detail causes more beginner headaches than anything else.
- Set the stitch to straight at about 2.5mm length, the standard default for medium-weight woven fabric.
- Test-sew on a doubled scrap of the same fabric you plan to use before starting the real project.
Our guide to how to use a sewing machine covers this in more depth. In the meantime, here are the four problems almost every beginner runs into:
| Problem | Likely cause | Fix |
|---|---|---|
| Thread nest or bunching underneath the fabric (“bird nest”) | Almost always the top thread was threaded with the presser foot down, so the tension discs stayed closed and the thread never seated properly. Can also be a bobbin inserted incorrectly or wound unevenly. | Raise the presser foot and rethread the entire top thread path from spool to needle, in order, following the numbered guides. Recheck that the bobbin sits properly in its case with thread running through the tension spring. |
| Puckering (the seam looks gathered or rippled instead of flat) | Top or bobbin tension set too tight, or a dull or wrong-size needle for the fabric weight. | Loosen the tension slightly and test on scrap until the top and bottom stitches look balanced. Put in a fresh, correctly sized needle (universal 80/12 to 90/14 for quilting cotton and other medium wovens). |
| Crooked or uneven seam width | Watching the needle instead of the fabric edge against the seam guide lines etched on the needle plate. The needle always looks centered, so it gives you no useful feedback. | Keep your eyes on the raw fabric edge and align it with the seam-allowance guide line on the needle plate as you sew. Painter’s tape or a magnetic seam guide on the plate can give you a stronger visual cue. Slow down. |
| Skipped stitches | A dull, bent, or wrong-type needle for the fabric. Universal needles struggle on knits, which need a stretch or ballpoint needle. Needles dull after roughly 6 to 8 hours of sewing. | Replace the needle first, this solves most cases. If it persists, confirm the needle type matches the fabric and that it is inserted fully with the flat side facing the correct direction per your manual. |
Step 5: Learn These 5 Skills Before Your First Project
Before you cut into real fabric for a real project, these five skills will carry you through almost everything a beginner pattern asks of you.
Sewing a straight seam with a consistent seam allowance. Every project is built from straight seams, and consistency is what makes the pieces fit together the way the pattern intends. The standard garment seam allowance (the distance between the stitch line and the raw fabric edge) is 5/8 inch, used by major pattern companies like Simplicity, McCall’s, Butterick, and Vogue. Quilting uses a scant 1/4 inch instead, since piecing needs precision rather than room for later adjustments. Align the fabric edge with the matching guideline on the needle plate and keep it there the whole seam, watching the fabric edge rather than the needle.
Backstitching at the start and end of a seam. This locks your stitches so the seam does not unravel the first time it gets pulled or washed. Sew a few stitches forward, use the reverse lever or button to sew back over them, then continue forward for the rest of the seam, and repeat in reverse at the very end.
Pressing as you go. Pressing means lifting the iron and lowering it straight down onto the seam, no back-and-forth sliding. Sliding the iron is ironing, and it can stretch or distort fabric, especially edges cut on the bias. Pressing sets each seam flat before the next seam crosses over it, which is what makes a finished project look clean instead of homemade-lumpy.
Finishing raw edges. This keeps woven fabric from fraying apart in the wash. A zigzag stitch run close to the raw edge does the job, or trim with pinking shears for an even simpler beginner finish. An overlock or serger stitch is the fancier version, but you do not need one to start.
A simple double-fold hem. This is the most common finishing technique, used on towels, napkins, and garment hems alike. Fold the raw edge over a small amount, about 1/4 to 1/2 inch, and press. Fold over the same amount again to fully enclose the raw edge, press again, then stitch close to the inner fold. Our guides to sewing stitches and seams and how to hem cover both in more detail, and our sewing techniques library is a good place to browse once you are ready to add more skills.
A quick word on fabric: quilting cotton is the best fabric to start with. It is stable, inexpensive, does not slip or stretch under the presser foot, and presses crisply, which forgives an uneven seam far more than fussier fabrics do. Avoid satin, silky, and stretchy or knit fabrics at first, they slip, pucker, and need needles and techniques you have not learned yet. Always prewash your fabric before cutting it, skipping this step is how a finished project ends up shrinking unevenly after its first wash. Line up pattern pieces so the grainline runs parallel to the selvage (the tightly woven, non-fraying edge of the fabric), which is why patterns print a grainline arrow on every piece. And remember that a yard of fabric is 36 inches: quilting cotton commonly comes on 44 to 45 inch wide bolts, while home-dec and some garment fabrics run 58 to 60 inches wide, which affects how much yardage a project needs.
Step 6: Sew Your First Projects in This Order
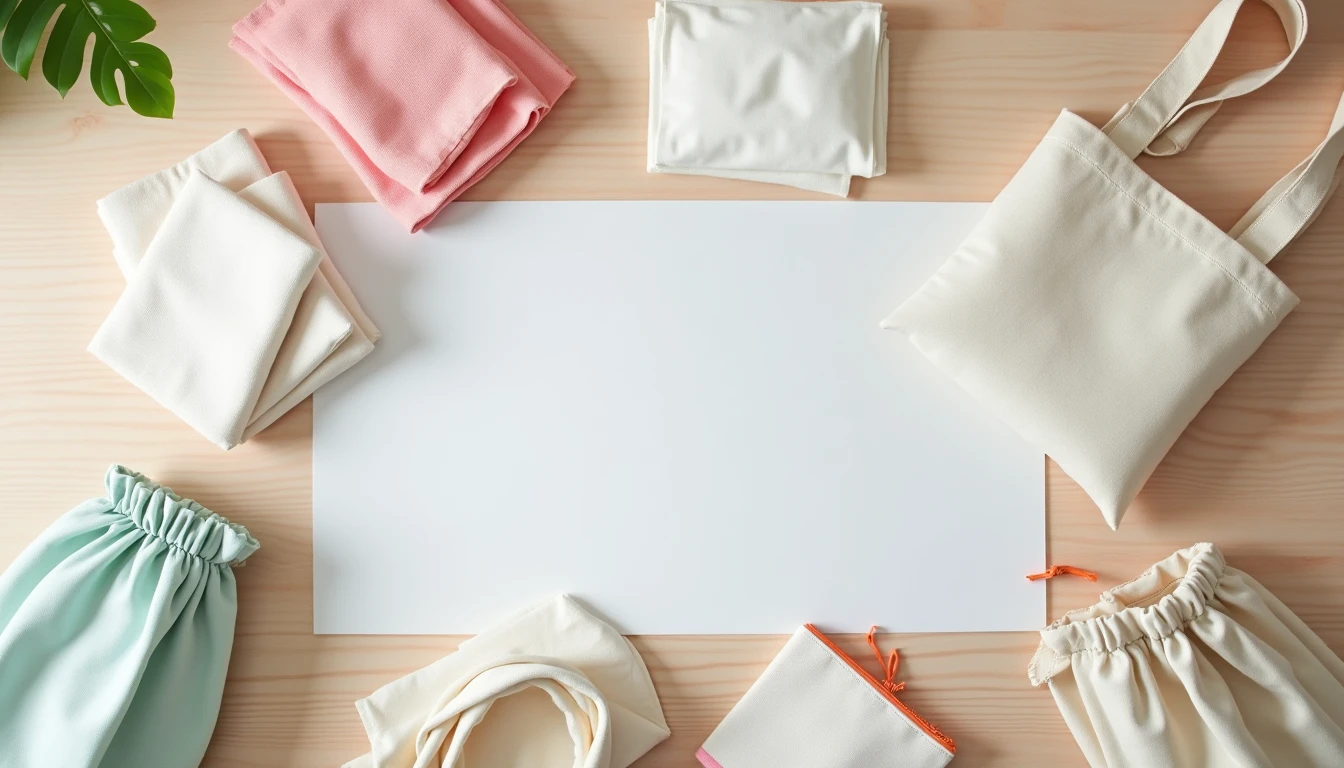
Project order matters more than most beginners expect. Each one below builds on the last, adding exactly one new skill at a time instead of throwing everything at you at once.
- Pillowcase or envelope cushion cover (1 to 2 hours). The most universally recommended true first project. It is flat and forgiving, and any wobble in your seam gets hidden inside the finished case.
- Tea towels or cloth napkins (about 1 hour). Reinforces straight stitching while adding the double-fold hem on all four sides. Cheap fabric means low stakes.
- Drawstring bag (1 to 2 hours). Your first step into a three-dimensional project instead of a flat one. Teaches you to sew a casing, the little fabric tunnel a drawstring runs through.
- Tote bag (about 2 hours). Introduces boxed corners and attaching handles or straps, plus bulkier seams and reinforced stitching at stress points.
- Zipper pouch (2 to 3 hours). The classic first-zipper project, and a commonly cited beginner milestone.
- Scrunchie (about 30 minutes). A fast confidence-builder that teaches you to work with elastic inside a narrow tube. Good as a quick win between bigger projects.
- Elastic-waist skirt (3 to 4 hours), your first garment. Combines everything above, seams, hems, a casing, and elastic, into something wearable, with no zipper or buttons to fuss over yet.
One rule worth following the whole way through: make the same pattern two or three times before moving to the next one. Repetition is what turns a skill you can technically do into a skill you can do quickly and without thinking hard about it.
Step 7: Read Your First Pattern
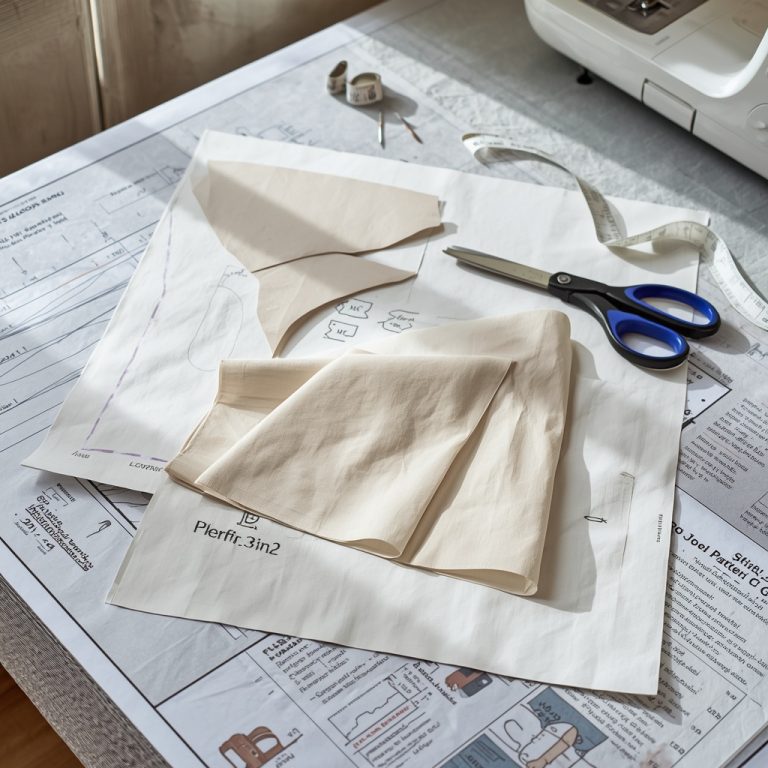
Once you are ready to sew from an actual pattern instead of a simple shape, it helps to know how to read the envelope. The front shows a photo of the finished garment and a skill-level label, often “Easy” or “Beginner.” The real information lives on the back: a body-measurement chart by size, a yardage chart cross-referencing size against fabric width, suggested fabric types, and a notions list covering anything else you will need, thread, a zipper, buttons, elastic.
Choose your pattern size using your actual body measurements compared against the envelope’s size chart, not your usual ready-to-wear clothing size. Pattern sizing runs on its own scale, and ready-to-wear vanity sizing does not correspond to it. Our guide to taking your sewing measurements walks through exactly how to measure yourself before you buy or cut anything. For your first pattern, pick one with few pieces and no closures, no zippers or buttonholes, so you are only practicing seams, hems, and maybe a casing.
If you are working with a PDF (print-at-home) pattern, look for the 1-inch test square printed on the first page. Print only that page first, with your printer scaling set to 100% or “None,” then measure the square with a ruler before you print or tape together the rest of the pattern. If the square is not exactly 1 inch, the entire pattern will be the wrong size, and even an eighth-inch printing error compounds across a full pattern piece.
How Long It Takes (and What It Costs)
A realistic timeline, based on how most beginners actually progress:
- About 1 hour to thread the machine correctly and sew a first straight seam
- About 3 hours to complete a first zipper pouch
- About 10 hours of practice to feel confident tackling simple projects and basic repairs
- A first simple garment, like an elastic-waist skirt, achievable within a few weekends of casual practice
And a realistic budget:
- Sewing machine: $100 to $250 new for a solid beginner model, less if buying used or borrowing one
- Basic tool kit: $50 to $100 for decent-quality scissors, pins, a ripper, tape measure, marking tool, needles, and thread
- Fabric for your first few projects: $5 to $15 per project in quilting cotton, or free if you repurpose old sheets or pillowcases
- Optional in-person instruction: $25 to $60 per single class, or $100 to $450 for a multi-week beginner course
- A hand-sewing-only starter kit, if you want to trial the hobby before committing to a machine: about $10 for needles, thread, and a thimble
Practice on Real Life: Basic Mending
Once you know the basics, mending is genuinely the fastest way to rack up real sewing hours between bigger projects, and it needs no pattern and no fabric purchase. Sewing on a button is a five-minute repair and a good way to practice hand-stitch tension. Fixing a popped or fallen hem reinforces the double-fold hem skill on clothing you already own. Patching a small tear teaches reinforcement stitching, and darning a sock or small knit hole is a classic, low-stakes repair. Our guide to mending and alterations covers all of these step by step, and it is worth bookmarking for practice you will come back to for years.
Common Beginner Mistakes to Avoid
- Buying an expensive, feature-loaded machine before you know whether you will stick with sewing. A $100 to $250 basic machine is enough to learn on.
- Using fabric scissors to cut paper (patterns, templates). This dulls the blades and ruins them for fabric.
- Skipping pressing between steps. Seams that are not pressed flat compound into a bulky, homemade-looking finished project.
- Starting with satin, silky, or stretchy and knit fabrics. These slip, pucker, and need techniques you have not learned yet.
- Choosing an ambitious first garment with a zipper, collar, or fitted shaping. Too many new skills at once leads to frustration and abandoned projects.
- Not testing your stitch settings on a scrap of the actual project fabric before sewing the real seam.
- Skipping the prewash step, so the finished project shrinks or distorts after its first wash.
- Buying the exact yardage listed with no cushion for cutting mistakes or shrinkage from prewashing.
Where to Go Next
Once the fundamentals in this guide feel comfortable, a few deeper resources are worth exploring next. If you are still deciding on equipment, revisit the sewing machine buying guide for a closer comparison of models. If you want the complete, tiered tool list, the sewing tools and notions guide has you covered. And as you branch out beyond the five skills in Step 5, our sewing techniques library is where to keep learning, one skill at a time.
Keep the classes, mending and alterations, and measurements guides in your back pocket too. You will likely need each of them within your first year of sewing.
If you would like a gentle head start on your very first project, a beginner-friendly printable pattern makes the early projects noticeably easier to follow. Our library of 155+ printable PDF sewing patterns comes with step-by-step instructions built for exactly this stage.
Frequently Asked Questions
Can I teach myself to sew?
Yes. Self-teaching from YouTube tutorials, blogs, and free patterns is the most common way beginners learn today, and it is free. Pairing it with one structured lesson or a thorough written guide up front helps you avoid picking up small bad habits.
How long does it take to learn to sew?
You can thread a machine and sew a straight seam within about an hour, complete a first small project like a zipper pouch within about 3 hours of total practice, and feel generally confident with simple projects and basic repairs after roughly 10 hours of hands-on time.
What should a beginner sew first?
A flat, straight-seam project like a pillowcase or envelope cushion cover is the classic first project, followed by hemmed tea towels, a drawstring bag, and a simple tote, all before attempting a garment.
Do I need a sewing machine to start sewing?
No. Hand sewing with a roughly $10 kit (needles, thread, thimble) is a genuine on-ramp for small projects and repairs, though it is not realistic for building a full garment. Most people move to a machine once they know they enjoy it.
How much does it cost to start sewing?
Budget roughly $150 to $350 total to start: $100 to $250 for a basic new machine (less used or borrowed), plus $50 to $100 for a starter tool kit, plus $5 to $15 per project in fabric.
What is the easiest fabric to sew for beginners?
Quilting cotton. It is stable, inexpensive, does not slip or stretch under the presser foot, and presses crisply, which forgives beginner mistakes far more than satin, silky, or knit fabrics do.
Should I learn hand sewing or machine sewing first?
Either is fine, but a brief hand-sewing on-ramp (running stitch, backstitch, sewing on a button) for about $10 in supplies is a low-cost way to build seam-allowance and tension feel before investing in a machine, and it stays useful afterward for mending.
What sewing machine should a beginner buy?
A basic mechanical or lightly computerized machine in the $100 to $250 range with straight stitch, zigzag, reverse, and adjustable stitch length is enough for sewing for beginners. The Brother CS7000X and Singer Heavy Duty 4423 are commonly recommended 2026 beginner picks, with the Brother XM2701 as a sub-$100 mechanical option.