
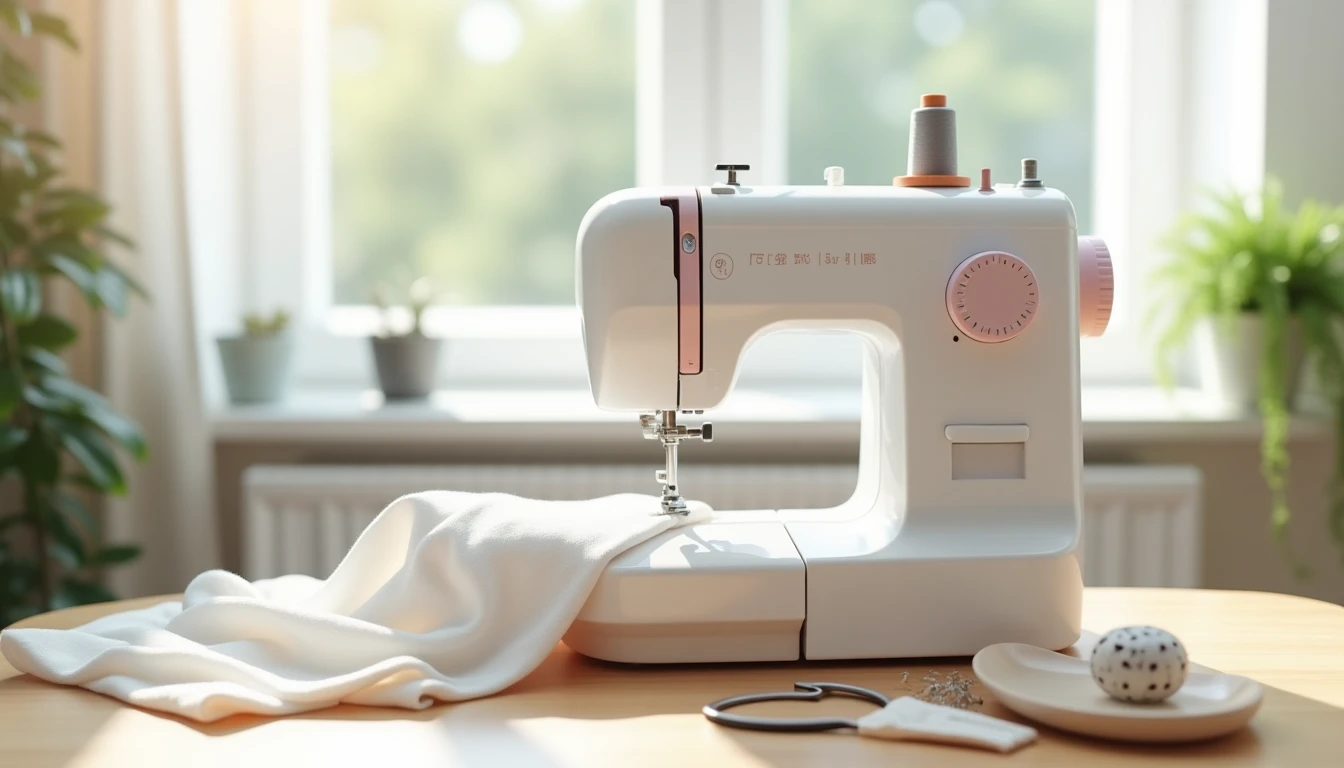
All those dials, levers, and threads can look like an airplane cockpit, and plenty of beginners leave the machine boxed up for months because of it. Learning how to use a sewing machine feels far harder than it actually is. A sewing machine is really just a straightforward tool with a handful of parts, and every one of them has a single job.
We will walk you through it in order. By the end you will be able to name the parts, wind and insert a bobbin, thread the top thread, balance the tension, and sew your first real seam. Your first few pieces might look a little wonky, and that is completely normal. It gets better fast.
Most tutorials skip the obvious steps that trip beginners up, so we won’t. And one thing worth holding onto: nearly every machine “problem” is really a thread-path problem, which we will make easy to spot. Let us start by meeting the parts, so nothing on your machine stays a mystery.
Meet Your Machine: The Parts You Actually Need to Know
A modern machine can carry twenty-five named parts, but you only need about ten to sew your first seam. Find these on your own machine, roughly in the order the thread travels:
- Spool pin: the vertical or horizontal peg that holds your main thread spool.
- Thread guides: small hooks and slots that steer the thread along the correct path.
- Tension dial and tension discs: two discs the top thread passes between. Tension means how tightly the machine holds the thread, and these discs pinch it just enough so the stitch locks evenly.
- Take-up lever: the metal arm the thread loops through last before the needle. It rises and falls with the needle and feeds thread into each stitch.
- Needle and needle clamp screw: the needle does the piercing, and the screw holds it in place. A needle has one flat side.
- Presser foot and presser foot lever: the foot holds fabric down against the feed dogs, and the lever raises and lowers it. That lever also opens and closes the tension discs, which matters when you thread.
- Feed dogs: the tiny teeth under the needle plate that grip the fabric and move it backward for you. You guide the fabric, but you never pull it.
- Bobbin and bobbin case: the bobbin is a small lower spool that supplies the underneath thread, and the case is its holder.
- Handwheel: the wheel on the right side. Turn it toward you to raise and lower the needle by hand.
- Reverse lever or button: sews backward to lock your stitches in place.
- Foot pedal: your gas pedal. Press it for speed.
- Needle plate seam guides: the etched lines beside the needle that measure your seam allowance, the distance between the needle and the fabric edge.
Brands differ slightly, so keep your manual open and match these names to your model. If the machine seems dead, check the power switch first. Instructors call a switched-off machine the number one false alarm. With the parts named, let us get the machine ready to sew.
Set Up Your Machine and Insert the Needle
The fastest confidence win is a machine that is plugged in, switched on, and holding a correctly seated needle. Most guides gloss over these boring-but-critical moves.
- Place the machine on a steady surface, then plug in both the power cord and the foot pedal.
- Turn the power switch ON, along with the light if it has a separate switch. If nothing works later, recheck this first.
- Raise the needle to its highest point by turning the handwheel toward you, never away from you.
- Loosen the needle clamp screw and remove any old needle.
- Insert the new needle with the FLAT side of the shaft facing the back of the machine, rounded side toward you, and push it all the way up to the stopper.
- Tighten the needle clamp screw firmly by hand.
- Match the needle to your fabric: a universal needle for most woven cottons, a ballpoint or knit needle for stretchy knits, and a denim needle for thick wovens.
A backward or half-inserted needle is the single most common cause of skipped stitches and thread nests, so double-check flat-side-back before you move on. With the needle set, let us prepare the thread that goes underneath: the bobbin.
How to Wind a Bobbin
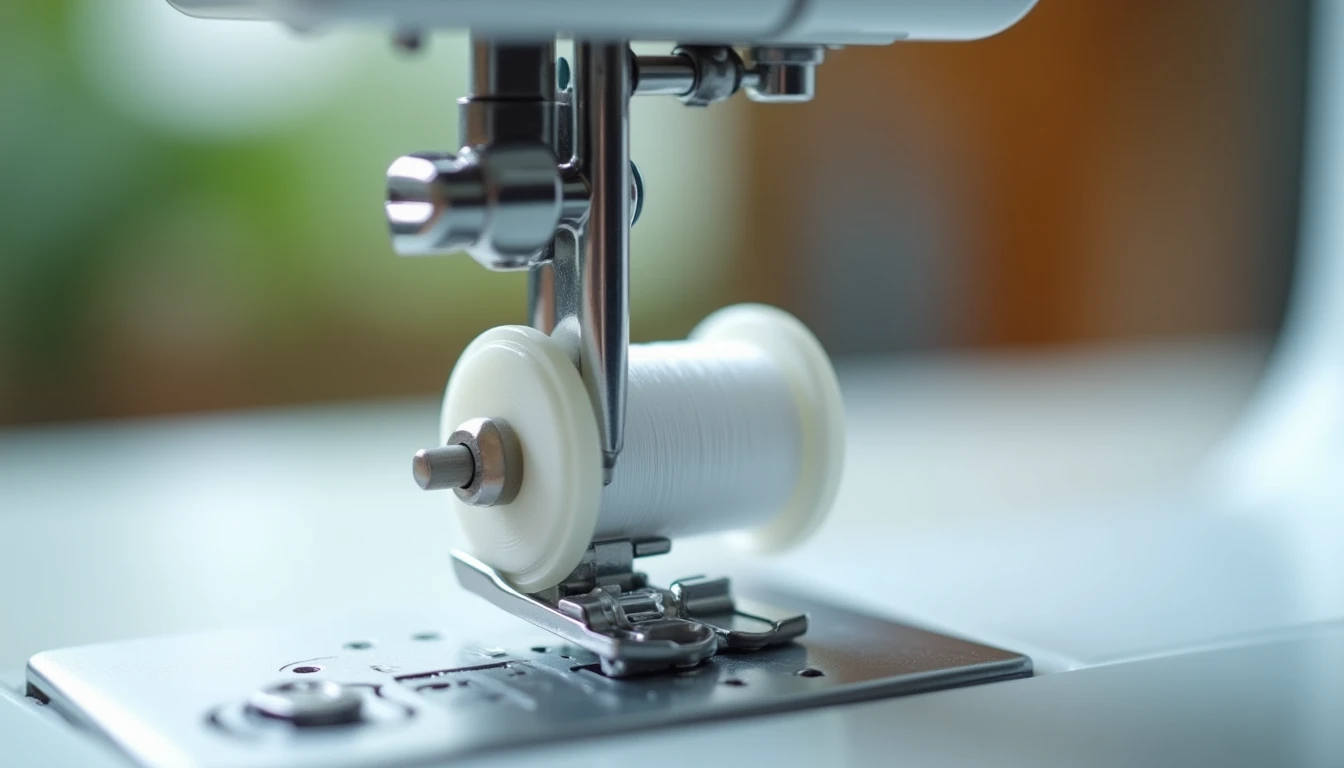
In under a minute you can have a neatly filled bobbin, and doing it now prevents loopy stitches later. Remember, the bobbin is the small spool that feeds the bottom thread.
- Put your thread spool on the spool pin, adding the spool cap if your machine uses one.
- Lead the thread through the bobbin-winder tension guide, the little spring or disc near the top. This step makes the bobbin wind with even tension. Skipping it gives you a loose, fluffy bobbin.
- Pass the thread up through the small hole in an empty bobbin, from the inside out, and hold a short tail.
- Push the bobbin onto the bobbin-winder spindle and slide it to the right until it clicks and engages.
- Press the foot pedal gently to start winding. Hold the tail for the first few turns, then stop and snip it off.
- Keep winding until the bobbin is full and the winder stops on its own, then cut the thread.
- Slide the bobbin back to the left and lift it off.
Thread that winder tension guide every single time. A bobbin wound loose will sew loopy no matter how perfect your top tension is. Winding slowly at first helps the thread lay flat. A full bobbin in hand, let us drop it into place.
How to Insert the Bobbin: Top-Drop vs Front-Load
There are two kinds of bobbin homes, and putting the bobbin in the wrong way round is a sneaky cause of bad stitches. A simple shape test tells you it is right.
Top-drop (drop-in) machines hold the bobbin in a clear-covered compartment on the flat bed of the machine.
- Open the clear cover and drop the bobbin in so the thread unwinds counterclockwise, forming a lowercase “p” shape when you look down at it.
- Pull the thread through the little slot or guide.
- Snap the cover shut. Use PLASTIC bobbins here, because these compartments use a magnet and a metal bobbin will unwind erratically.
Front-load machines hold the bobbin in a removable metal case.
- Drop the bobbin into the case so the tail forms the mirror shape.
- Tuck the tail under the tension finger, the little spring on the case.
- Slide the case back into the machine until it clicks. These use METAL bobbins.
Bobbins are not universal. Match the size your manual specifies, such as an 11.5mm bobbin for many Brother machines, and favor the manufacturer’s own bobbin. A cheap generic one is a real, rarely-blamed cause of thread bunching. Bottom thread ready. Now the part that scares people most, and it is easier than it looks: threading the top.
How to Thread the Top Thread (and Why the Order Matters)
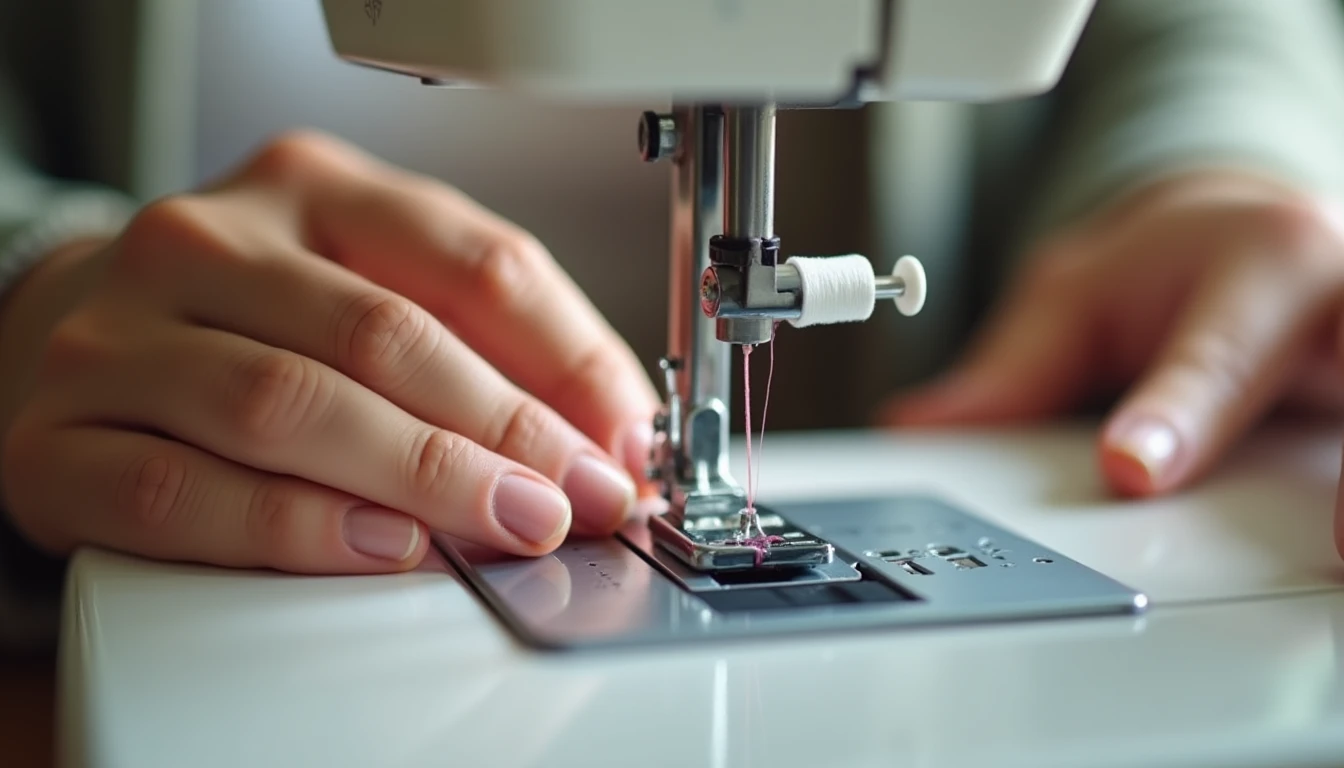
The single most important threading step is one most tutorials skip, and it has nothing to do with the path: raise the presser foot first. The presser foot lever also opens and closes the tension discs. Foot UP opens them so the thread can seat between them. Foot DOWN keeps them shut, so the thread never gets tensioned, and that is the root of the dreaded birdnest.
- Raise the presser foot, which opens the tension discs.
- Raise the needle and take-up lever to their highest point by turning the handwheel toward you, so you can catch the take-up lever.
- Place the spool on the spool pin.
- Lead the thread through the first thread guide near the spool.
- Bring the thread down the right channel, around the bottom, and back up the left channel, passing it through the tension discs on the way.
- Loop it through the take-up lever at the top. This step, missed most often, is what causes jams.
- Come back down through the lower guides just above the needle.
- Thread the needle from front to back, or use the built-in needle threader, leaving a four to six inch tail.
Confirm it seated with a quick pull test. With the foot UP the thread pulls out easily. With the foot DOWN it should feel taut. If it feels the same both ways, the thread missed the tension discs, so rethread with the foot up. That is the hard part behind you. Next we bring the two threads together and check they are balanced.
Bring Up the Bobbin Thread and Set the Tension
Plenty of beginners call a family member over because “the tension went weird” mid-project. Take a breath. Tension just means how tightly the top thread is held, and a good stitch simply locks the two threads in the MIDDLE of the fabric, invisible from both sides.
First, bring the bobbin thread up to meet the top thread:
- Hold the top thread tail loosely in your left hand.
- Turn the handwheel toward you one full turn so the needle goes down and back up. This catches the bobbin thread and pulls a loop up through the needle plate.
- Tug the loop to pull the bobbin tail all the way up, then lay both tails back and to the left under the presser foot.
Now set and read the tension. The dial runs from 0 to 9, and 4 (or 4.5) is the balanced factory setting for medium fabric. Most sewing lives between 3 and 5, and as a beginner you will rarely touch it.
To check your stitch, test on a scrap. Fold a double layer of fabric, use contrasting top and bobbin thread colors, and sew a straight line about 15cm long. Then read it:
- Balanced: smooth and flat on both sides, top color only on top, bobbin color only underneath.
- Loops on the UNDERSIDE: the top thread is too loose or never seated in the discs. Nudge the number UP.
- Bobbin thread pulled to the TOP: the top thread is too tight. Nudge the number DOWN.
Adjust in small steps and retest each time. One rule saves the most grief: before you touch the dial, rethread. Incorrect threading causes more “tension problems” than the setting itself, so a mess underneath usually means rethread with the foot up, not turn the dial. A balanced stitch means you are ready to sew. Let us pick a stitch.
Choose a Stitch and Stitch Length
Your machine may offer dozens of stitches, but you will build almost everything from two.
- Straight stitch: the workhorse for seams. Set stitch width to 0 and stitch length to about 2.5, up to 3.0. Go shorter (around 2) for delicate or curved areas, and longer for thick fabric like towels or denim.
- Zigzag stitch: for finishing raw edges so they do not fray, and for sewing stretchy knit fabrics that would snap a straight stitch.
Stitch length is simple once you know the trick: the higher the number, the longer each stitch and the more visible it is. A length of 2.5 is a tidy all-purpose default.
How you select the stitch depends on your machine. Mechanical machines use a dial, while computerized ones use a button or touchscreen. More on that difference later.
Start every practice run at straight stitch, length 2.5, width 0. That way you always have a known-good baseline to return to when something looks off. This is the moment you have been building toward: your first seam.
How to Sew Your First Seam, Step by Step
You are about to make a real seam. Hold onto this calming mental model first: your hands steer and your foot controls speed, exactly like driving a car. The feed dogs do the pulling, so you never tug the fabric.
- Raise the needle and take-up lever to the top, then raise the presser foot.
- Place your fabric under the foot, lining the raw edge up with a seam-allowance line on the needle plate, such as the 5/8 inch guide.
- Lower the presser foot onto the fabric.
- Hold both thread tails loosely behind the foot for the first couple of stitches.
- Press the pedal gently and hold the reverse lever to backstitch three or four stitches, locking the start. Backstitch simply means sewing backward over your stitches to anchor them.
- Release reverse and sew forward at a steady, slow speed, letting the feed dogs move the fabric while your hands only guide it along the line.
- Stop near the end and backstitch three or four stitches to lock it.
- Turn the handwheel to raise the needle to its highest point, lift the presser foot, and gently pull the fabric back and to the left.
- Snip the threads on the built-in cutter or with scissors.
Never pull or push the fabric, because pulling bends the needle and skews your stitches. To change direction, stop with the needle DOWN in the fabric, lift the foot, pivot, lower the foot, and carry on.
That is a real seam. Now that you can sew a straight line, the actual sewing techniques live in our sewing techniques guide, and our stitches and seams guide covers seam types and finishes in depth. Lock in these skills by sewing something small and low-stakes. Our library of 155+ printable PDF sewing patterns comes with step-by-step instructions and video tutorials, and gentle beginner makes are waiting for you to practice on. If your first stitches came out messy, do not worry. The fixes are almost always simple.
Fix the Most Common Beginner Sewing Machine Problems
The thread bunches into a nest underneath, the fabric gets “eaten,” and the machine suddenly feels like an enemy. Nearly every one of these is a simple thread-path problem, not a broken machine. Work each checklist in order, changing ONE thing at a time and testing on a scrap between changes.
Thread bunching or birdnest underneath (the big one):
- Rethread the top AND bobbin from scratch.
- Confirm the presser foot was UP while threading, so the tension discs closed on the thread.
- Check the tension dial has not been bumped off 4.
- Check the needle is flat-side-back and not old.
- Remove the needle plate and clean out lint. This is the single most common cause instructors see.
- Confirm the correct bobbin size and brand.
Thread keeps breaking: the thread may be caught on a guide or the spool pin, the thread may be cheap and shredding (buy brand-name thread), or old secondhand thread may be brittle. Recheck the threading path too.
Skipped stitches: almost always the needle. In order, confirm it is inserted correctly and pushed fully up, the right size for the fabric, the right type (ballpoint for knits), and not dull or bent. Only suspect machine timing after all of these.
Puckering: usually tension that is too tight, a dull or wrong-size needle, or stitches that are too long on thin fabric. Loosen tension slightly, fit a fresh needle, and shorten the stitch.
If the machine jams, do not panic. Wiggle the handwheel to free the needle, raise the foot, pull the fabric back, expose and snip the knot, remove the bobbin to clear tails, then rethread with the foot up. These fixes become second nature quickly. Once the basics click, you may wonder whether your machine is the right one.
Choosing Your First Sewing Machine, Briefly
A beginner needs far less machine than the showroom suggests. What actually matters comes down to two options.
- Mechanical machines are dial-controlled, simpler, and cheaper, usually $150 to $300. You get straight stitch, zigzag, and a buttonhole. Fewer variables means less confusion, and they gently force you to learn the mechanics.
- Computerized machines use buttons or a touchscreen, offer more stitches (entry models around 39, some over 600), and add some tension and buttonhole automation. They cost more, usually $250 to $500, and there is more to troubleshoot when something goes wrong.
For a first machine, simplicity is your friend. A solid mechanical machine that sews a clean straight stitch and zigzag is plenty, and you do not need 200 decorative stitches to learn. If you already own a machine that makes a straight stitch, it is the right machine.
Do not buy on stitch count. Buy a sturdy machine with good straight-stitch quality from a brand with easy access to the right bobbins and needles. We compare specific beginner models and features in our full sewing machine buying guide. A machine is the heart of your setup, but a few other tools make sewing far easier.
Beyond the Basic Machine: Sergers and the Tools You Will Want
Once your regular machine feels friendly, two things level you up: a serger, and a small kit of the right tools. Neither is urgent for your first seam.
A serger, also called an overlocker, is a second specialized machine that trims the raw edge and wraps it in thread in one pass. It gives clothes that professional inside finish and sews stretchy knits neatly. You do NOT need one to start, though. Your zigzag stitch finishes edges just fine for now. When you are ready, our guide to sergers and overlockers covers when one is worth it and how to use it.
For tools, a handful are worth owning early: good fabric scissors, pins or clips, a seam ripper, a measuring tape, a marking pen, and the right needles and bobbins for your machine. Our sewing tools and notions guide has the full beginner kit. Resist buying everything at once. Add tools as a project demands them, so you learn what you actually use.
The best next step is simply to sew. Grab an easy make from our library of 155+ printable PDF sewing patterns and put your new skills to work. One last habit keeps all of this running smoothly: a little machine care.
Keep Your Machine Happy: Care and Maintenance
Most “the machine is acting up” days are really maintenance days in disguise. Three small habits prevent the majority of beginner problems.
- Change the needle often. Swap it roughly every 8 hours of sewing, at the start of a big project, and any time stitches skip or you hear a punchy “thunk.” A dull needle causes skipped stitches, snags, and puckering.
- Clean out lint. Open the needle-plate and bobbin area regularly and brush out the fluff that collects underneath. Trapped lint is the single most common cause of thread bunching, so this one habit alone prevents most birdnests.
- Oil per your manual only. Some machines need a drop of proper sewing-machine oil at specific points, while many modern machines are self-lubricating and should never be oiled. Follow your manual, and use only sewing-machine oil.
Learn your machine’s normal sound. A new clicking or grinding noise is an early warning, so stop and check before it becomes a jam. Treat your machine kindly and it treats you kindly back. A few quick answers before you sew.
Frequently Asked Questions About Using a Sewing Machine
Is a sewing machine hard to use?
No. It looks intimidating, but it is a simple tool with about ten parts you need to know, and most beginners are sewing a straight seam within their first session. The first few pieces may look a little wonky, and that is completely normal. With a bit of practice, clean stitches come quickly.
Why is my thread bunching underneath the fabric?
Almost always a threading problem. The presser foot was likely down while you threaded, so the tension discs never closed on the top thread. Rethread with the foot UP, then check the needle is flat-side-back, the bobbin is seated correctly, and there is no lint trapped under the needle plate.
How do I set the sewing machine tension?
Leave the dial at the factory default of 4 to start, since most sewing sits between 3 and 5. Test on a scrap with contrasting threads. Loops underneath mean the top is too loose, so raise the number. The bobbin thread showing on top means it is too tight, so lower it. Always rethread before blaming the dial.
What stitch length should I use?
About 2.5 for everyday straight sewing on medium fabric. Go shorter, around 2, for delicate fabric and curves, where tighter stitches hold better. Go longer for thick fabric like denim or quilts. When in doubt, 2.5 is a reliable all-purpose starting point.
What is the best first sewing project?
Something small and forgiving on cheap or scrap fabric, like a pillowcase, hair bows, or a pin cushion. These let you practice threading, tension, and straight seams without the fear of ruining expensive material. Avoid stretchy and slippery fabrics while you are still learning, because they shift and pucker.
Should a beginner get a mechanical or computerized machine?
Either works. Mechanical machines are simpler and cheaper, about $150 to $300, and are great for learning the basics. Computerized machines, about $250 to $500, add more stitches and some automation but more to troubleshoot. For specific beginner models, see our sewing machine buying guide. Thread up, grab a scrap, and start practicing.