
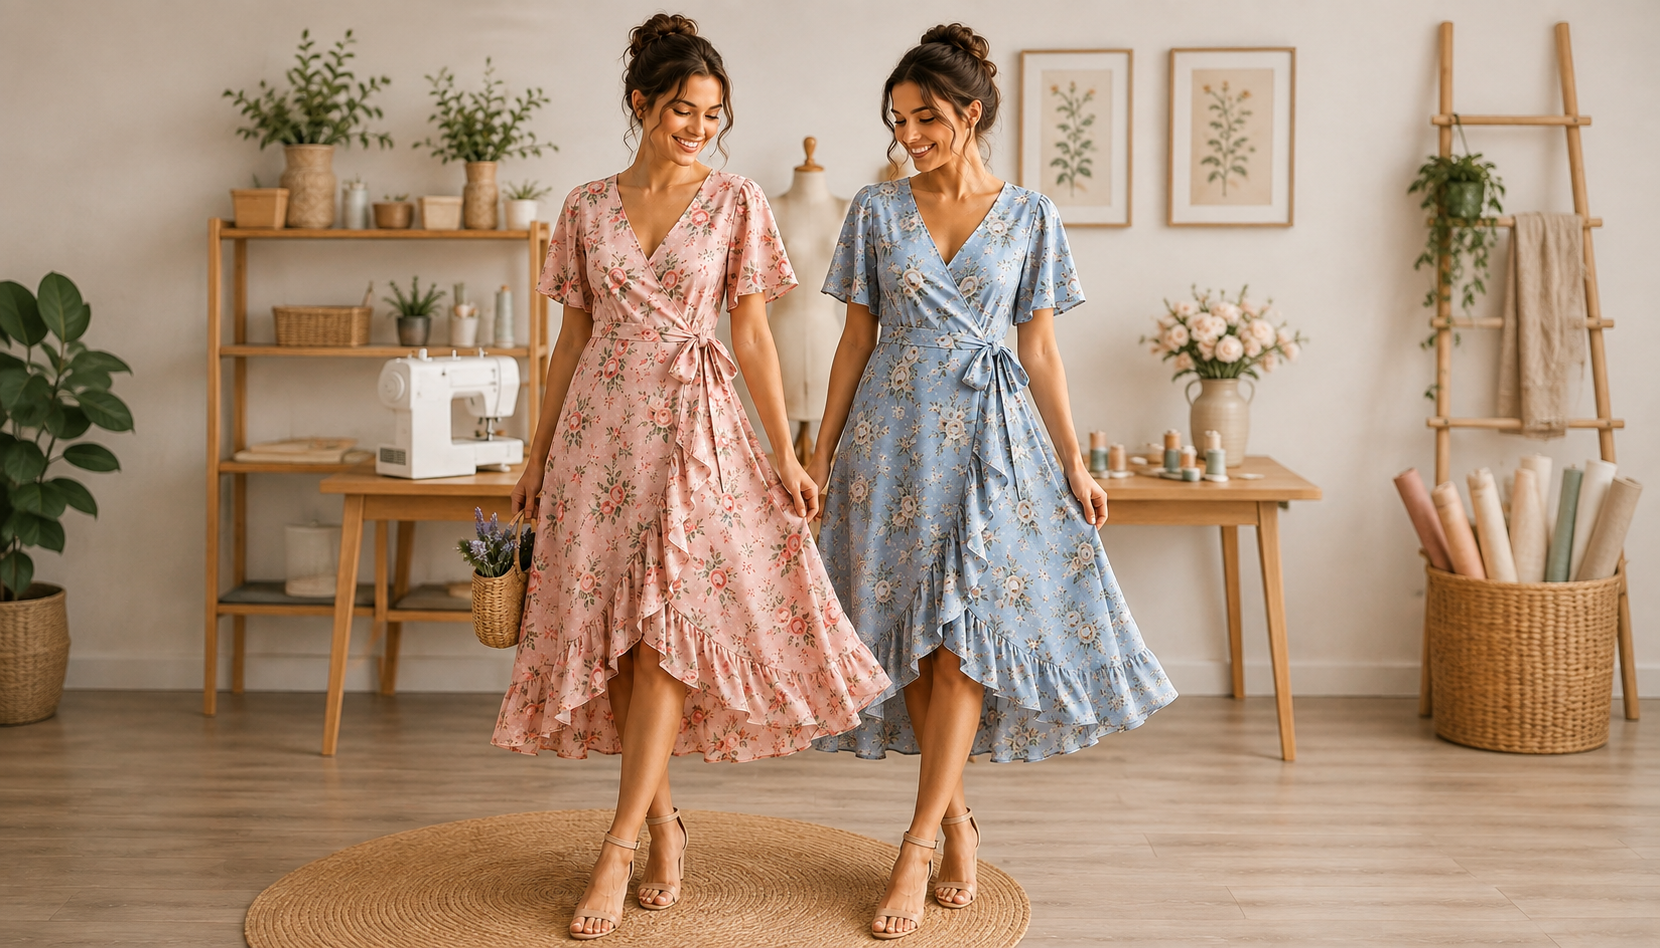
A wrap dress is one of the few real garments a beginner can finish over a single weekend, because the ties do the fitting work that a zipper or a row of buttons would normally do. Plan on 4 to 12 hours at the machine and roughly $25 to $60 in fabric and notions to sew a summer wrap dress sewing pattern yourself. One problem outranks every other on this garment: a wrap front that gapes open at the bust. Step 8 fixes it.
This guide runs in eight steps: real time and cost, fabric choice, yardage, getting a pattern or drafting your own, cutting, sewing the bodice, attaching the skirt and ties, and fixing fit. Both routes are covered, the $12 to $20 commercial PDF and the free self-draft from your own measurements. If you have never sewn a garment before, read our sewing for beginners guide first.
Some links below are affiliate links. Prices are 2026 estimates and change often, so always check current pricing.
Step 1: Know the Real Time, Cost, and Difficulty First
The sewing is not what eats your weekend. Cutting and fitting are.
A full wrap dress takes a beginner 4 to 12 hours depending on pattern complexity, against 2 to 4 hours for a simple wrap top (under 2 hours for an experienced sewist). Across a real build, that time splits roughly like this:
- Layout and cutting: 1 to 2 hours
- Bodice: 1 to 3 hours
- Skirt and ties: 1 to 3 hours
- Hemming and finishing: 1 to 2 hours
- A muslin test bodice, if you make one: add 1 to 2 hours
Difficulty comes down entirely to the closure you pick. Tie-only is genuinely beginner work. The moment a pattern calls for a 14-inch invisible zipper and an invisible zipper foot, as the Seamwork Posie does, you are in intermediate territory. Skip the zipper on your first dress.
Here is what the project actually costs:
| Item | Cost |
|---|---|
| Fabric, 2 to 4 yards | $6 to $25 per yard |
| All-purpose thread | $3 to $5 |
| Interfacing or stay tape | $3 to $6 |
| Invisible zipper (optional) | $3 to $8 |
| Commercial PDF pattern | $12 to $20, or $0 self-drafted |
Self-drafted in rayon challis, the whole dress lands around $25 to $60. Linen plus a commercial pattern pushes past $110 for the same garment. Both are fine choices, and Step 2 covers what you get for the difference.
Step 2: Choose Your Fabric (With 2026 Prices)
The wrong fabric is why a homemade wrap dress looks homemade, no matter how clean your stitching is. Stiff cloth makes the ties stand away from the body and the under-bust tucks pop up instead of lying flat. Drape does more for this silhouette than sewing skill does.
Four fabrics are worth your attention:
| Fabric | 2026 price per yard | Drape | Ease of sewing | Best for |
|---|---|---|---|---|
| Rayon challis | $6 to $15 | Excellent | Moderate, it shifts | Best drape per dollar, the budget pick |
| Cotton lawn | $6.65 to $21 standard | Good | Easiest of the four | Crisp, breathable, forgiving of beginner seams |
| Linen blend | $12 to $25 retail | Good, softens with wear | Moderate | Coolest to wear, but it wrinkles |
| Ponte knit | $18.99 to $24.99 | Structured | Hardest to sew accurately | Most forgiving fit |
Premium cotton lawn runs much higher. Liberty of London sits near $39.80 per yard and organic lawns reach $40 to $50, which is real money for a first dress you may want to remake.
Knit versus woven is a straight tradeoff, not a winner. Stretch knit gives the easiest, most comfortable fit for a wrap specifically, since it moves with you instead of pulling at the overlap. Woven is more stable and far easier to sew accurately, because knit stretches out of place or puckers under the presser foot even for experienced sewists. For a first wrap dress, we would take a drapey woven every time, and rayon challis at $6 to $15 per yard is the pick.
Run two tests before you pay. The drape test: bunch a yard in your fist and let it fall. If it holds its shape rather than pooling, your ties and tucks will stand up instead of lying flat. The recovery test, for knits only: stretch a swatch lengthwise and widthwise several times, then remeasure. If it pings back to its original size, it has the recovery to resist gaping over months of wear.
Step 3: Buy the Right Yardage for Your Length and Fabric Width
One number solves most of the guesswork here. A wrap dress needs roughly 0.75 yard more than a standard non-wrap dress of the same length, to cover the front overlap and the self-fabric ties. Almost no tutorial mentions it, which is why people get home short.
The figures below are planning estimates, built by adding that 0.75 yard surcharge to standard dress yardage conventions. Check them against the envelope for your summer wrap dress sewing pattern before you cut anything.
| Dress length | 45-inch fabric | 60-inch fabric |
|---|---|---|
| Mini | 3 yd | 2.5 yd |
| Knee | 3.5 yd | 3 yd |
| Midi | 4.25 yd | 3.5 yd |
| Maxi | 5 yd | 4.25 yd |
A 60-inch bolt fits more pattern pieces across the width, so the same dress usually needs less total yardage than it would on 45-inch goods. Real patterns bear this out. The Closet Core Elodie calls for about 3.5 meters (3.8 yards), and the Ageberry self-draft knit method uses about 3 yards.
Check your cutting space before you check out. Reviewers of the Elodie report that its large skirt pieces often will not fit on the fold even on 60-inch fabric, which means you need a floor or a table as wide as the full single layer. Discovering that with 3.8 yards already unrolled is a bad evening.
Buy a cushion of 0.25 to 0.5 yard on top of whatever the pattern envelope says. Exact yardage leaves no room for a cutting mistake or prewash shrinkage, and dye lots rarely match on a second trip.
Step 4: Get a Pattern or Draft Your Own for Free
The free route is not a downgrade. Drafting from your own measurements is how you get a wrap front that meets where your body needs it.
Option A: buy a commercial pattern. Two summer wrap dress sewing patterns are worth naming, each with a real weakness.
The Closet Core Elodie Wrap Dress spans sizes 1 to 20 and 14 to 32 and includes a sew-along. It costs you the 3.8 yards and cutting space from Step 3, and needs real drape or the under-bust tucks stand up.
The Seamwork Posie Surplice Wrap Dress suits light-to-medium wovens (linen, chambray, challis), with a lined front bodice, bust and waist darts, and a waist tie on thread-chain belt loops. It needs a 14-inch invisible zipper plus a zipper foot, and is not drafted for knits.
Option B: draft it yourself for $0. Measure neck, high bust, full bust, waist, across shoulder, shoulder-to-waist, shoulder-to-bust-point, armpit-to-waist, and center back length. Then draft the block:
- Front neckline: across 1/5 of your neck plus 1/2 inch, down 1/5 of your neck plus 1/4 inch.
- Back neckline: across 1/5 of your neck minus 1/8 inch, down 3/8 inch.
- Waist width: 1/4 waist plus 1/4 inch ease. Side seam: 1/2 front bust plus 1/4 inch. Back width: 1/2 back bust plus 1/4 inch.
- Make it a wrap: measure one-third of your waist along the side seam, then cut a vertical line up from the hem.
- Add 5/8 inch seam allowance to every edge, then muslin the bodice in cheap fabric first.
Print any PDF pattern at 100% scaling and measure its 1-inch test square first.
Step 5: Prewash, Lay Out, and Cut Your Pieces
Fabric you cut wrong is fabric you cannot un-cut. This is where beginners lose the most yardage.
- Prewash and dry exactly as you will wash the finished dress. Rayon challis and linen both shrink noticeably, and skipping this is how a finished dress distorts after its first wash.
- Lay out on grain. Grainline arrows run parallel to the selvage (the tightly woven, non-fraying edge of the fabric).
- Clear your cutting space first. If the pattern says do not cut on the fold, you need floor or table space as wide as the full fabric width. Clear it before you unroll anything.
- Cut the full piece list: front bodice (cut 2, mirrored), back bodice, skirt front (cut 2), skirt back, sleeves if you want them, neckline and front-edge facings, and two tie strips.
- Cut ties at roughly 4 inches wide by 40 to 45 inches long, on the straight grain, so you are not guessing later.
- Cut the interfacing for your facings now, while the pieces are still laid out.
By the end of this step every piece should be cut, labelled, and stacked in build order.
Step 6: Sew the Bodice and Stabilize the Neckline
The fix for a gaping wrap front costs about $4 and five minutes, and you apply it before the dress exists. A roll of stay tape does more for the neckline than any alteration you can make afterward.
- Staystitch first. Run a line about 1/2 inch from the raw edge along the neckline and both front diagonal edges. Those bias-cut diagonals are the most stretch-prone seam in the dress.
- Sew the darts. Press bust darts down and waist darts toward center front.
- Join shoulder seams, then side seams. On wovens, use a 5/8 inch seam allowance and finish the raw edges with a zigzag or pinking shears. On knits, use a stretch stitch or a serger 4-thread 2-needle stitch.
- Stabilize the neckline seam before you finish the edge. Apply stay tape or twill tape on wovens, or iron-on seam tape or narrow interfacing strips on knits, stitched close to the neckline seam. That prevents gaping from developing instead of correcting it later.
- Interface the facings, attach them to the neckline and front edges, understitch, then turn and press to the inside. Understitching is what stops the facing rolling to the outside.
Press every seam before the next one crosses it. Our beginner guide covers staystitching and seam finishing in more depth.
Your milestone here is a complete bodice that holds its neckline shape when you tug gently at the front edges.
Step 7: Attach the Skirt, Ties, and Hem
Tie length is half the fit of a wrap dress, and almost nobody gives you the number.
- Sew the skirt panels together at the side seams, leaving the wrap front edges open. Match the front skirt edges to the bodice wrap edges so the overlap runs unbroken from neckline to hem.
- Join skirt to bodice at the waist. Match side seams and center back first, then ease between. Press the waist seam allowance up toward the bodice.
- Make the ties. Fold each 4 by 40 to 45 inch strip lengthwise, right sides together, stitch the long edge and one short end, turn, and press flat. Attach at the waist seam ends.
- Get the tie length right. Each tie must reach halfway around your waist plus about 20 inches for the knot and tails. Cut them long. You cannot add length once the fabric is cut.
- Route the underlap tie through a buttonhole or a gap left open in the right side seam at waist level, so it exits and ties at the opposite hip. The overlap tie wraps outside.
- Pick your closure honestly. Ties alone are enough on most patterns. A button or clasp fastener at the underlap adds security without a zipper foot. A 14-inch invisible side zipper gives the closest fit but is an intermediate skill.
- Hem last. Double-fold hem on wovens, twin needle or coverstitch on knits. Let a rayon or bias-heavy skirt hang 24 hours before cutting the hem, or it will keep dropping.
Step 8: Fix Gaping, Coverage, and Fit Problems
One sewist’s wrap dress exposed her bra at the bust days before a wedding. Another sewed the fronts of all her wrap dresses shut because the gape could not be trusted.
Diagnose it first. If the bust fits everywhere else but the neckline gapes, your bust-area length is shorter than the pattern assumes. Pinch out the excess at the gape point, measure it, and remove that much from the shoulder seam.
Fix the pattern for your next make. Draw two slash lines from the neckline gape points to the top of the waist dart, cutting to but not through the dart tip so the piece stays hinged. Pivot the neckline closed until your marks meet, tape it, and let the waist dart open to absorb the fullness.
Do any full bust adjustment first, so the wrap fronts still meet at center front. Add about 1 inch to the front bodice per cup size, 0.5 inch in width and 3/8 inch in length, by slash and spread at the bust point.
For more coverage on a finished dress, extend the shoulder seam toward center front by 1 to 1.5 inches, or widen the underlap so the overlap meets past the side seam. On knits, steam-press a loose neckband, then shorten it 1 to 2.5cm.
Same-day fixes count. A small dart per side at the neckline plus a matching dart in the facing, fashion tape, or a lace vest layered underneath gets you through an event.
The second dress goes faster: the fitting decisions are already made. Our sewing patterns guide covers picking your next project.
Frequently Asked Questions
How much fabric do I need for a wrap dress?
Plan on roughly 0.75 yard more than a non-wrap dress of the same length, for the overlap and self-fabric ties. The Closet Core Elodie needs about 3.8 yards, and 60-inch fabric needs less total yardage than 45-inch.
Do I need a zipper for a wrap dress?
No. Most free and self-drafted wrap dresses close with ties alone, and a button or clasp fastener adds security with no hardware skills. Fitted patterns like the Seamwork Posie use a 14-inch invisible side zipper instead.
Why does my wrap dress neckline gape open?
Usually the pattern’s bust-area length is shorter than your body even when the bust circumference fits, or the neckline seam was never stabilized. Stay tape, a pivoted waist dart, or a shortened shoulder seam all fix it.
Is knit or woven fabric better for a wrap dress?
Knit wears more forgivingly. Woven sews more accurately, since it will not stretch or pucker under the presser foot. For a first dress, rayon challis at $6 to $15 per yard is the safer pick.
How long does it take to sew a wrap dress as a beginner?
About 4 to 12 hours, depending on pattern complexity and skill. A wrap top runs 2 to 4 hours, or under 2 for an experienced sewist. Cutting and fitting take longer than the sewing.
Can I make a wrap dress without buying a commercial pattern?
Yes. Draft a basic bodice block from your measurements, then make the wrap opening by measuring one-third of your waist along the side seam and cutting a vertical line up from the hem. Muslin it first.
How do I get more bust coverage on a wrap dress that runs too low-cut?
Extend the shoulder seam toward center front by 1 to 1.5 inches to raise the neckline without losing the wrap, or widen the underlap so the overlap meets past the side seam. Fashion tape is the same-day fix.