
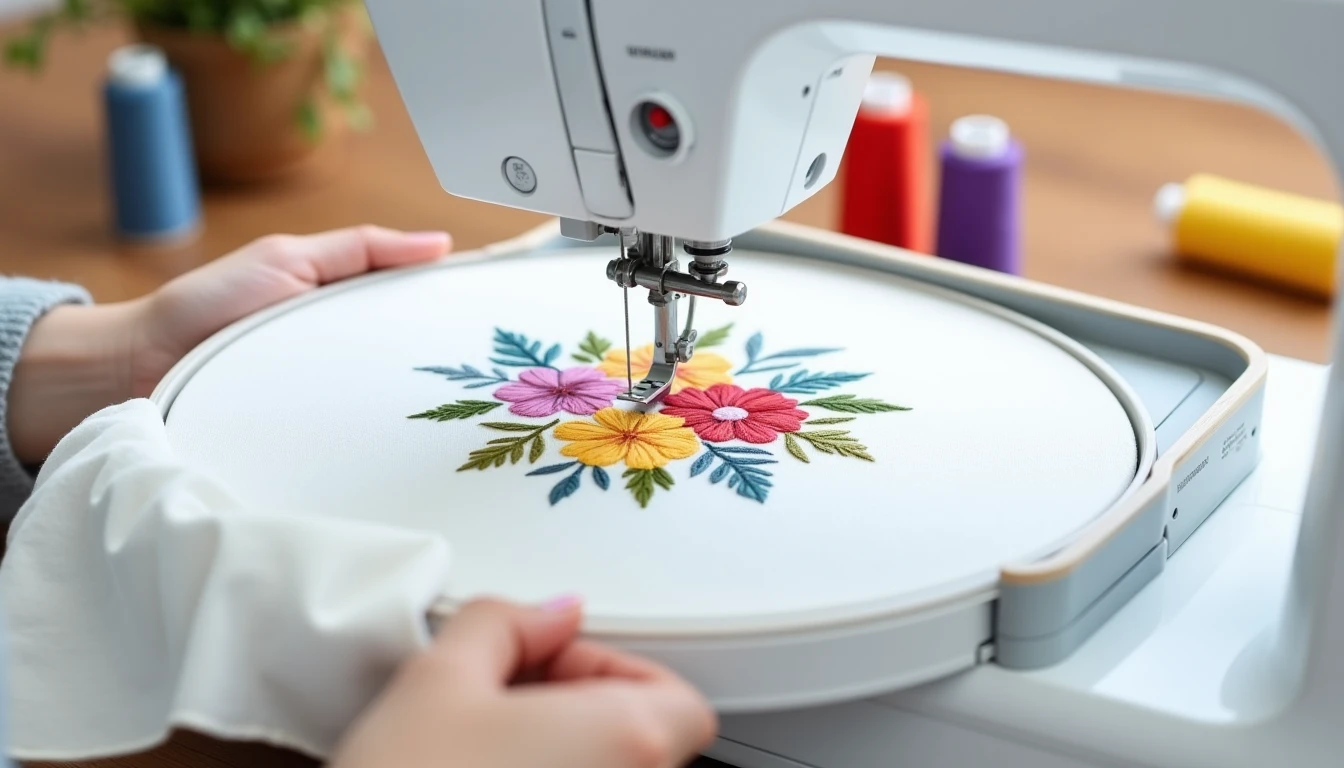
If you are shopping for an embroidery machine for beginners, the first thing worth knowing is that machine embroidery is not really “sewing.” You hoop the fabric, load a design file, and the machine stitches while you supervise and change thread colors when it asks. That is a different world from hand embroidery, where you guide every stitch yourself (our guide to hand embroidery stitches at https://sewingpatternsexplain.com/embroidery-stitches covers that side of the craft), and a different purchase than a standard sewing machine (see our sewing machine buying guide at https://sewingpatternsexplain.com/sewing-machine-buying-guide if you just need something that sews a seam). This guide covers how machine embroidery works, which spec matters most, what starter machines cost, and the hidden costs that catch almost everyone off guard.
Some links below are affiliate links. Prices are 2025-2026 estimates and change often, so always check current pricing.
How Machine Embroidery Actually Works
A computerized embroidery machine reads a digitized design file and moves the hoop automatically in X and Y directions while the needle stays in a fixed stitching position. You are not freehanding a shape as you would with hand embroidery. The machine executes a stitch map someone else built, following the exact path, density, and color sequence baked into the file.
The workflow: hoop the fabric with the right stabilizer so it sits taut inside the plastic hoop, load a design file from USB or WLAN, then let the machine stitch one thread color at a time. Home machines read machine-specific formats (PES for Brother, JEF for Janome, DST as the more universal commercial format).
That single-needle, one-color-at-a-time workflow is the biggest adjustment for beginners picturing commercial shop machines, which hold 4 to 16 pre-loaded needles and never pause for color changes. Home machines run roughly 400 to 650 stitches per minute, versus 800 to 1,200-plus commercially, so a dense 5×7 design can take 30 to 60 minutes with color-change pauses included.
The One Spec That Matters Most: Field Size
Forget stitch count, touchscreen size, or the number of built-in fonts. The single most consequential buying decision is embroidery field size, also called hoop size, because it caps which designs will actually fit on the machine.
A 4×4 field is roughly 4×4 inches (about 3.8×3.8 inches of real stitching area once you account for the hoop frame), enough for small monograms, patches, and single-word text but not much more. A 5×7 field is a larger rectangle that fits full designs, bigger lettering, and most designs sold on marketplaces, since designs are commonly digitized in both sizes but the detailed ones lean toward 5×7.
The consensus across embroidery forums and reviewers is blunt: people who buy a 4×4-only machine to save money tend to outgrow it within weeks. Buy 5×7 (machine or combo) from the start if the budget allows. If 4×4 is genuinely all you can afford right now, it is still a reasonable way to test the hobby before spending more.
Starter Machines Worth Considering
Brother PE535 (4×4, roughly $300): embroidery-only, 80 built-in designs, 10 frame shapes, 9 fonts, USB port. The cheapest legitimate entry point and a fine way to test the hobby, but reviewers consistently note the 4×4 field feels limiting after a few months. Compare current listings for the Brother PE535.
Brother PE800 (5×7, roughly $550 to $750): embroidery-only, USB transfer only, 138 built-in designs, 11 fonts. The machine most reviewers point beginners toward once budget allows, since 5×7 matches the size most designs are digitized for. See current pricing for the Brother PE800.
Brother PE900 (5×7, roughly $1,000 to $1,230): same field and stitch quality as the PE800, but adds WLAN transfer, 193 designs, jump-stitch trimming, and color-sort. The extra money buys convenience, not a bigger hoop.
Brother SE600 (4×4 combo, roughly $420 to $600): sewing plus embroidery, 103 sewing stitches, 80 embroidery designs. Budget combo pick, still shares the 4×4 limitation.
Brother SE700 (4×4 combo, roughly $530 to $580): adds WLAN transfer and 135 embroidery designs over the SE600. Popular mid-tier combo, still capped at 4×4.
Brother SE2000 (5×7 combo, roughly $1,500): the combo for a machine that sews and embroiders without hitting the 4×4 wall.
Janome Memory Craft 400E (7.9×7.9, typically $1,000-plus at Janome dealers): embroidery-only, a field larger than 5×7, 160 built-in designs. Worth a look once you outgrow Brother’s home tier.
Combo or Dedicated?
Combo machines like Brother’s SE-series and Janome’s Skyline fold sewing and embroidery into one footprint and price tag, which appeals to beginners with limited space or budget who do not already own a sewing machine. The tradeoff is real: you cannot sew and embroider at the same time. Switching modes means removing the embroidery arm and reconfiguring the machine, which gets tedious if a project needs both a seam sewn and a design stitched. Combo fields also skew smaller, since most sub-$700 combos top out at 4×4, because Brother reserves 5×7 for the pricier SE2000 or the dedicated PE800/PE900.
If you already own a decent sewing machine, the honest recommendation is a dedicated embroidery machine rather than replacing a working one with a combo unit. You typically get a bigger field for the same dollar and skip the mode-switching hassle entirely.
The Hidden Costs Nobody Mentions
This is the part most buying guides gloss over. The machine price is the down payment, not the total cost.
Stabilizer. A consumable you buy for every project, matched to fabric type, not preference. Tearaway suits stable wovens like totes and felt. Cutaway is for anything with stretch, like t-shirts, and stays behind the stitches permanently. Washaway (a water-soluble film) tops napped fabrics like towels so stitches do not sink into the pile. Using the wrong type is the single most common cause of puckering. A stocked assortment saves a lot of trial and error; see current options for an embroidery stabilizer assortment.
Thread. Embroidery thread is a different product from the thread you sew a seam with (our guide to sewing machine thread at https://sewingpatternsexplain.com/sewing-machine-thread covers the differences). The standard weight is 40wt rayon or polyester, and polyester is generally the better beginner choice, more forgiving on tension and more colorfast. Regular sewing thread is not a substitute, its tighter twist causes bunching in dense fills. You also need a separate, lighter bobbin thread, usually 60 to 90wt.
Needles. Embroidery needles in size 75/11 have a wider eye than universal sewing needles, which cuts down on shredding (our notions guide at https://sewingpatternsexplain.com/sewing-tools-and-notions covers needles and other small supplies).
Designs. Built-in libraries get boring fast. Free sources like Urban Threads and OESD cover casual use; paid marketplaces (Urban Threads, Embroidery Library/emblibrary.com, OESD) typically run $2 to $8 per design.
Extra hoops. The hoop that ships with the machine covers one size. Specialty shapes like cap frames and magnetic hoops are separate purchases, often $30 to $100-plus each.
Software. Ink/Stitch is a genuinely free, open-source Inkscape extension, no subscription, that can digitize and edit designs. Paid options add convenience but cost extra.
Add it up and a realistic first-year total beyond the machine runs about $150 to $400 for stabilizer, thread, bobbins, needles, and a handful of paid designs, more if you add extra hoops or software.
Your First Five Projects
Start with projects that forgive small mistakes and do not need specialty hooping. A kitchen towel with a built-in design is a good first project, since terry cloth needs a washaway topper over a cutaway or tearaway base so the loops do not swallow fine stitch detail, and towels are cheap enough that a flawed attempt does not sting. A simple monogram on a tote bag works well too, on stable woven fabric with straightforward tearaway stabilizer. Felt patches embroider cleanly and can be cut out and appliquéd onto other projects. In-the-hoop keychains are a beginner favorite, built entirely inside the hoop in one run, finished with a metal eyelet or key ring after unhooping.
What to avoid at first: caps, which need a separate cap frame and curved-surface hooping technique, and stretchy knit tees, which need cutaway stabilizing and hooping practice to avoid puckering or hoop burn.
Beginner Mistakes
- Skipping stabilizer, or using the wrong type. Match it to the fabric every time: tearaway for wovens, cutaway for stretch knits, washaway topper for towels.
- Hooping too loose, or overstretching thin fabric. Keep the sandwich drum-tight, not stretched out of shape, to avoid shifting and puckering.
- Using generic sewing thread instead of embroidery thread. Regular sewing thread shreds, breaks, and looks bulky in dense fills.
- Expecting commercial-shop speed from a single-needle home machine. Manual color changes and 30-plus-minute run times are normal, not a defect.
- Buying a 4×4-only machine to save money. Most beginners hit the design-size wall within weeks.
If you want a project to practice these skills on once your machine arrives, our pattern library has more than 155 printable PDF sewing patterns at https://02d624xwwl5tak9emrnfsnp-2n.hop.clickbank.net, which pairs well with a few of the embroidery projects above.
Frequently Asked Questions
What is the best embroidery machine for beginners?
A dedicated 5×7 machine like the Brother PE800 (roughly $550 to $750) offers the best balance of price and design compatibility, since 5×7 fits far more designs than 4×4. Budget-constrained beginners often start with the roughly $300 Brother PE535 (4×4) to test the hobby, while those who want sewing and embroidery in one machine choose the SE700 (4×4, roughly $530 to $580) or step up to the SE2000 (5×7, roughly $1,500).
What is the difference between 4×4 and 5×7 embroidery hoops?
4×4 is a roughly 4×4 inch hoop (about 3.8×3.8 inches of actual stitching area), suited to small monograms and patches. 5×7 is a larger rectangular field that fits full designs and most marketplace designs. Both sizes are common, but detailed designs favor 5×7, and most embroiderers say it is worth the extra cost.
Can embroidery machines also sew?
Only combo machines can do both. Brother’s SE-series and Janome’s Skyline combine a sewing machine with an embroidery unit, but you switch modes rather than doing both at once. Dedicated machines like the PE535, PE800, and PE900 are embroidery-only and cannot sew a straight or zigzag stitch.
What do I need besides the machine?
At minimum: stabilizer (tearaway, cutaway, washaway), 40wt embroidery thread, lightweight bobbin thread, embroidery needles (75/11), a source for design files, and eventually extra hoops. Free software like Ink/Stitch covers basic design editing without a subscription.
Are embroidery designs free?
Some are. Urban Threads and OESD both publish rotating free-design collections, and built-in libraries include 80 to 193 designs. For on-trend or detailed designs, paid marketplaces like Urban Threads, Embroidery Library (emblibrary.com), and OESD typically charge a few dollars per file.
How hard is machine embroidery to learn?
The mechanics, hooping, loading a file, changing colors when prompted, are approachable within a first session. The real learning curve is stabilizer selection, hooping tension, and thread and needle choices, easy to get wrong at first but straightforward to correct once fabric and stabilizer are properly matched.