
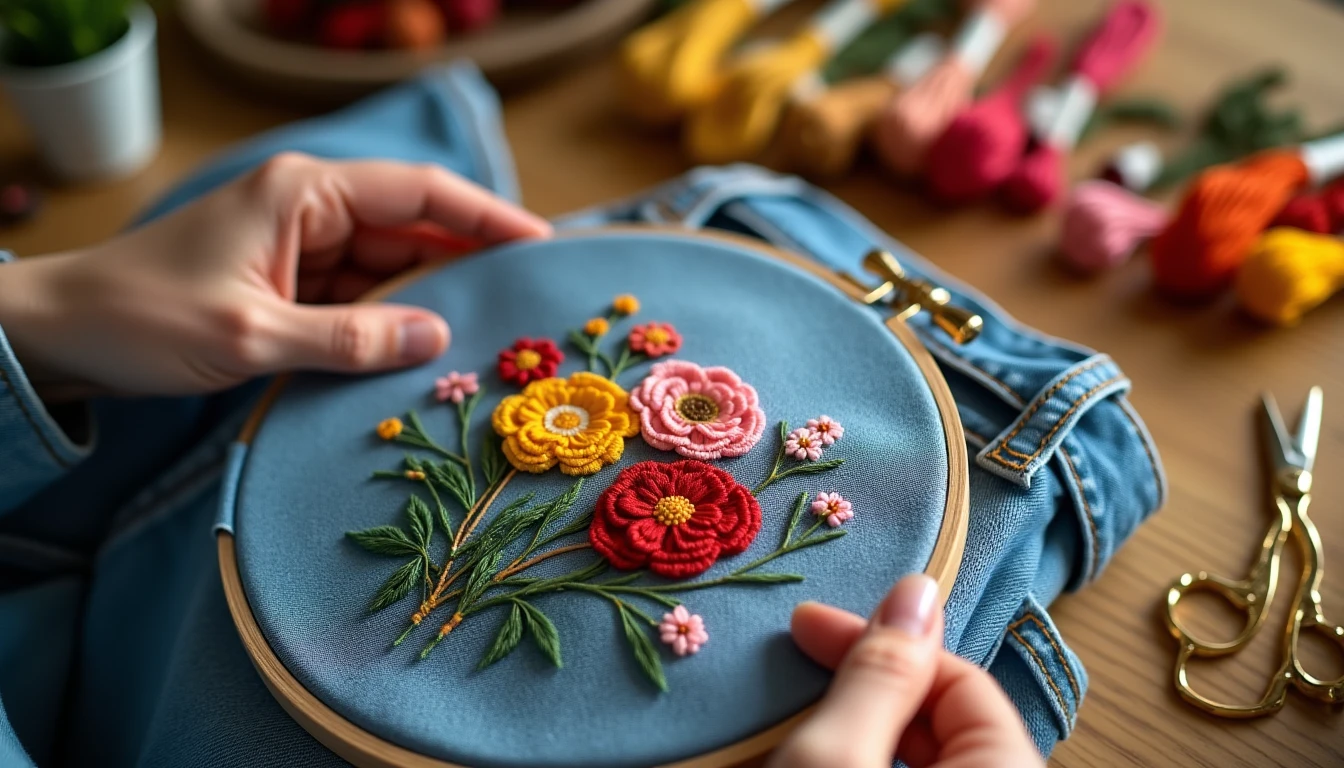
If you’ve never tried embroidery on jeans, denim might be the friendliest fabric you’ll ever put a needle through. It’s sturdy, it’s already in your closet, and it forgives beginners in a way silk or fine cotton never will. Pull out an old pair you were about to donate, or a jacket with a stain you gave up on, and turn it into something you want to wear again. New to stitching? Start with our embroidery stitches guide first, then come back here for everything specific to denim.
Some links below are affiliate links. Prices are 2025-2026 estimates and change often, so always check current pricing.
Why Denim Loves Embroidery
Denim’s tight, sturdy cotton twill weave is part of why it works so well for hand embroidery. That close weave holds stitches securely and resists the puckering and fraying that looser, lighter fabrics suffer, so it can carry heavy fill stitches, dense French knots, and bold outlines without warping out of shape.
That same toughness is why jeans and jackets became everyday, hard-wearing garments in the first place, and it makes them a natural fit for the visible-mending and slow-fashion movement. Instead of tossing worn or thrifted denim, embroiderers turn it into one-of-a-kind pieces, using the stitch work to extend the garment’s life and show it off as a design feature rather than hide it.
Supplies for Stitching Denim
Denim asks a little more of your tools than a quilting cotton would.
Needle. Use a chenille needle, roughly size 18-22, instead of a fine embroidery or crewel needle. Its larger eye threads floss easily, and its sharp point paired with a sturdy shaft punches through the tight weave with much less effort. A standard crewel needle (size 3-5) can get by on lighter denim but struggles on thick seams. Note this is different from a denim “jeans” needle, which is a sewing-machine needle made for machine stitching, not hand work.
Floss. Standard 6-strand cotton embroidery floss is the default. Separate out 2-3 strands for fine outlines and detail lines, and 3-6 strands (3 is common) when you want a plump, dimensional look on filled motifs like satin-stitched petals.
Hoop or no hoop. Pant legs and other tubular areas can be hooped in short sections using a small hoop, around 4-6 inches, shifting it along as you finish each area. Or skip the hoop entirely and baste or stick a stabilizer to the wrong side to stop puckering wherever a hoop won’t fit, like a curved thigh or a seam.
Thimble and pliers. A thimble and a needle puller earn their keep on thick double layers, waistbands, and flat-felled seams, where pushing through by finger alone gets old fast.
For a refresher on basic hand stitches, our hand sewing stitches guide covers the fundamentals.
Getting a Design Onto Denim
Knowing how to embroider jeans without leaving stray marks comes down to picking the right transfer method for the wash of denim you’re working with and how permanent you want the guide lines to be.
Printable wash-away stabilizer (the current favorite). Print or trace your design onto a sheet of printable water-soluble stabilizer, peel off the backing, and press it onto the denim for a few minutes to adhere. Stitch through both the stabilizer and the fabric, then soak the finished piece in warm water for 5-15 minutes until it fully dissolves. Lines stay crisp and no marks are left on dark fabric, which is why it’s the current favorite. This printable wash-away stabilizer is a straightforward place to start.
Water-soluble fabric pen or pencil. Tape your printed design to a light box, lay the denim over it, and trace with a water-soluble or vanishing-ink pen. Works best on lighter washes where lines show through, and rinses out completely without bleeding.
Chalk or pounce powder. Good for dark denim where pen lines won’t show. Trace the pattern with a tracing wheel or pin-pricked paper, then dab chalk or pounce powder through the holes, or draw directly with tailor’s chalk. Chalk fades as you handle the fabric, so plan to re-mark sections as you go.
Transfer paper or iron-on transfer pencil. Trace the design onto tracing paper with a transfer pencil (mirror image), then iron it face-down onto the denim to leave a heat-set line. Best for one-time use, but it gives clean, durable guide lines.
What to avoid. Skip ordinary ballpoint or gel pens. That ink isn’t formulated to wash out and can bleed or set permanently once the fabric gets wet.
Where to Stitch
Back pockets are the classic spot. Most tutorials recommend seam-ripping the pocket off first, leaving the top line of stitching as a hinge, embroidering it flat or in a small hoop, then pinning and sewing it back on along the original seam. Stitching straight through an attached pocket sews it shut, so unpicking is the standard approach for anything beyond a tiny motif.
Front thigh placement makes a bold, visible statement piece, usually worked hoop-free with a stick-on stabilizer since the curve and surrounding seams make hooping awkward.
Hems and cuffs suit smaller motifs like vines, dots, or a scattered floral border. The flat, open hem area is easier to hoop than higher up the leg.
Jacket backs offer the biggest open canvas on any denim piece, ideal for large-scale florals, scenes, or lettering. Some open the side seams to lay the panel flat for full hooping; others work it as a floating panel with stabilizer stuck to the back.
Collars and cuffs are small-scale spots suited to simple motifs, initials, or a monogram, an easy first project since there’s little surface area to cover.
Knees double as a visible-mending opportunity. Holes or thin spots can be covered with a fabric patch stitched behind the gap, then embroidered over the top with florals, geometric patterns, or sashiko-style running stitch, functional mending and decoration combined. For more on repairing worn spots before you stitch over them, see our guide to mending and alterations.
The Six Stitches That Work Best on Denim
Backstitch gives clean, continuous outlines and fine detail lines, like vein lines on leaves or lettering.
Satin stitch fills small shapes solidly with color, such as petals or leaf bodies. Keep it tight, since loose satin stitching won’t hold up to repeated washing.
Chain stitch produces bold, textured outlines, lettering, and words or dates, and reads well against denim’s busy texture.
French knots add texture and dimension, especially as flower centers or scattered filler dots.
Lazy daisy stitches make individual petal shapes for simple flowers, quick and beginner-friendly.
Stem stitch handles flowing vines, stems, and curved connecting lines between motifs.
Florals are by far the most popular denim motif, followed by celestial designs (moons, stars, suns), insects and bees, and simple words, initials, or dates. For a first project, keep the design palm-sized or smaller. It finishes faster, hoops or stabilizes more easily, and is more forgiving while you’re learning how the thicker fabric handles a needle.
Making It Survive the Wash
Secure every thread end with a firm knot or by weaving it back through several stitches on the wrong side, rather than trusting a loose tail. For high-stress spots like a back pocket that gets hands in and out constantly, back the stitching on the inside with a scrap of interfacing or leftover stabilizer to reduce friction on the floss.
Wash finished pieces inside-out on a cold, gentle cycle, or hand wash in cold water, and air dry flat instead of tumble drying, since heat and wet weight can distort both the stitches and the denim. Our fabric care guide covers washing and drying hand-stitched pieces in more depth.
Expect some gradual fuzzing of stitches over years of wear; that patina is part of denim embroidery’s charm rather than a flaw to fight. Avoid the highest-abrasion zones, like inner thigh seams and pocket edges that take constant rubbing, since friction wears stitches out fastest.
A Note on Machine Embroidery
Home embroidery machines can stitch denim, but only on pieces that physically fit in the machine’s hoop, such as a flat panel, a pocket removed from the garment, or a jacket back opened at the seams. For an already-assembled pair of jeans, many machine embroiderers deconstruct the relevant section by unpicking seams to lay it flat, hoop and embroider it, then reconstruct and re-sew the garment. It works, but it’s best attempted once you’re comfortable with both machine embroidery and garment construction.
If you’d rather work from a printed pattern than freehand every design, our library of 155+ printable PDF sewing patterns is worth a look: browse the pattern library.
Frequently Asked Questions
Can you embroider jeans without a hoop?
Yes. Curved thighs, seams, and pocket flaps aren’t hoop-friendly, so embroiderers commonly stick or baste a stabilizer to the back of the fabric instead. That keeps the weave from puckering while you work hoop-free, and it suits simpler motifs best.
What stitches are best for embroidering denim?
Backstitch and stem stitch for outlines, chain stitch for bold lines or lettering, satin stitch for solid fills, and French knots or lazy daisy stitches for texture and petals. They combine well in one floral design: chain or backstitch outlines, satin-stitch fills, French knot centers.
How do you transfer a design onto jeans?
The most popular method is a printable wash-away stabilizer, stitched through and dissolved away in warm water. Alternatives include a water-soluble fabric pen over a light box, chalk or pounce powder for dark denim, or an iron-on transfer pencil. Avoid regular pens, since the ink won’t wash out.
Can you embroider over the back pocket?
You can, but most guides recommend seam-ripping the pocket off first, embroidering it separately, and sewing it back on along the original seam. Stitching through an attached pocket without unpicking it sews the pocket shut.
Will embroidery on jeans survive the washing machine?
Yes, with a few precautions: knot or weave in thread ends securely, back heavily-stitched areas with a scrap of stabilizer, and wash inside-out on a cold, gentle cycle, then air dry flat. Expect slight fuzzing of the stitches over years of wear.
How many strands of floss should I use for denim?
Separate 2-3 strands of standard 6-strand cotton floss for fine outline work, and 3-6 strands (3 is common) for filled shapes like satin-stitched petals, which gives a slightly raised look that holds up against denim’s heavier texture.