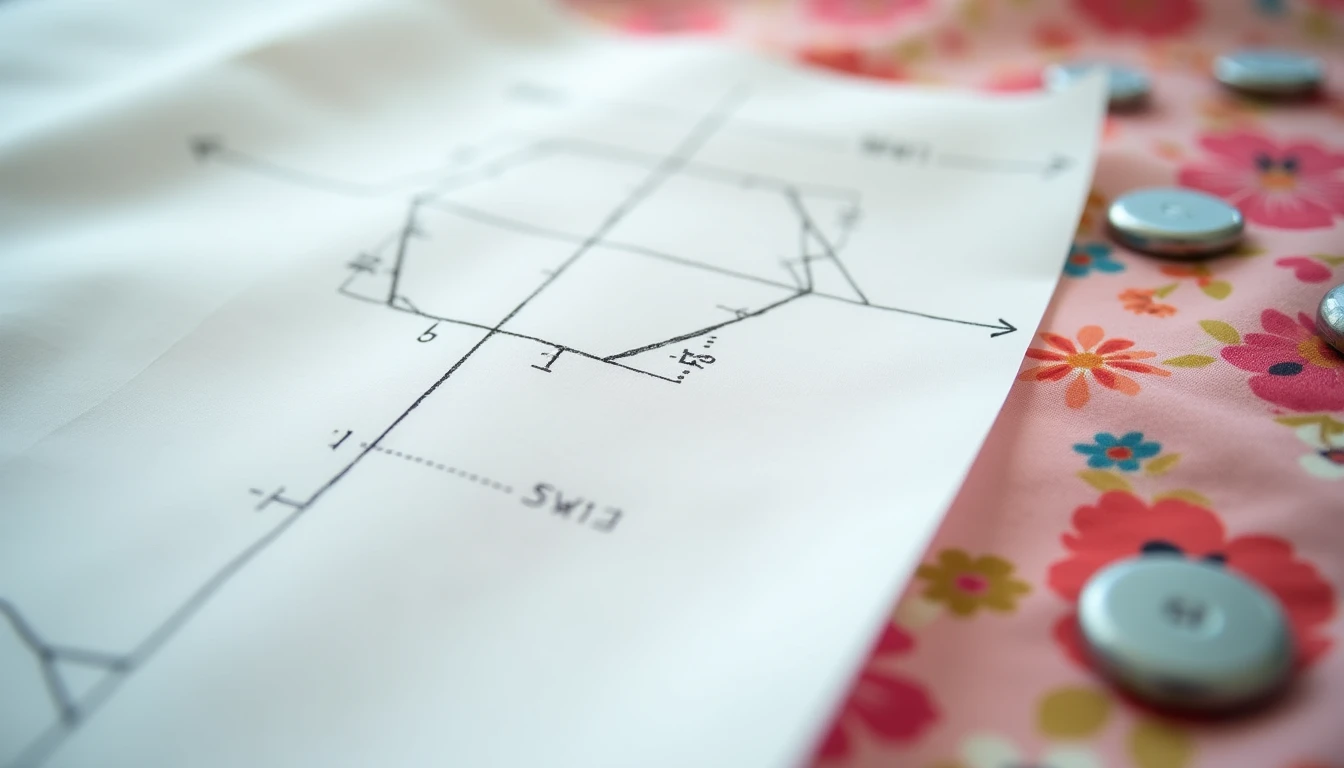
You pull a pattern out of the envelope, unfold it, and it looks like a page of hieroglyphics. Arrows, dashes, tiny triangles, a grid of numbers on the back, and a booklet full of diagrams that assume you already know what you’re doing. Nobody hands you a decoder ring with your first pattern, so most sewists just guess and hope.
This page is that decoder ring. We’ll walk through the envelope or online listing, every symbol printed on the tissue or PDF, the instruction sheet’s logic, and the mechanics of laying out, marking, and cutting fabric. By the end, a pattern will read like a set of directions someone left for you on purpose. For the bigger picture of how the pattern world fits together, from envelope types to skill levels, see our overview of sewing patterns.
Some links below are affiliate links. Prices are 2025-2026 estimates and change often, so always check current pricing.
The Envelope (or Listing), Decoded
The front
The front of a printed pattern envelope handles sales and orientation at once. It shows the design in line drawings or photos, broken into “views,” usually labeled A, B, C, and so on. Each view is a variation on the same base pattern: sleeveless versus sleeved, mini versus midi, with or without a collar. You’ll also spot a skill-level label (Beginner or Easy, Intermediate, Advanced, or a dot-rating system, depending on the company) and the size range that envelope covers.
The back
The back is where the useful data lives, and it’s worth reading before you buy fabric, not after. You’ll find:
- A body measurement chart, listing bust, waist, and hip by size, which tells you which line to cut.
- A yardage or fabric requirement grid, with sizes running across the top and fabric widths (commonly 45in and 60in) down the side, so you read straight across to see exactly how much fabric your size and view need.
- A notions list: zipper length, button count, interfacing, elastic, thread.
- Suggested fabric types, including whether the design wants a woven or a knit, and how much drape or stretch it needs to hang correctly.
- The finished garment measurements.
The goldmine most people skip: finished garment measurements
That last item deserves its own paragraph, because it’s the single most underused number on the envelope. Finished garment measurements describe the actual bust, waist, hip, and length of the sewn garment, already including the designer’s built-in ease. They are not your body. The body measurement chart only tells you which line to cut. The finished measurements tell you how the piece will actually sit on you.
Compare your own bust, waist, and hip measurements to the finished measurement at each matching point. A small gap means a close, fitted result. A large gap means a loose, relaxed result. This is what lets you blend sizes across the pattern, or deliberately size up or down for a fit you actually want, instead of trusting a single “your size” number. For a full walkthrough of taking and comparing body measurements, see how sizing works on sewing patterns.
PDF and digital listings
Digital and PDF patterns carry the same information in different packaging. Product photos stand in for the envelope’s views. The listing states the skill level, size range, and finished measurements, or links out to a separate size chart. A “what’s included” section lists notions and fabric requirements. And you’ll usually see a note about “layers,” meaning the PDF works like a nested multi-size printed pattern: open it in a PDF reader that supports layers and toggle the file to show only your size’s cutting lines.
The Symbols Glossary
Every mark printed on a pattern piece is shorthand for an instruction, and once you know the vocabulary, the tissue stops looking like noise. Here’s what you’ll actually run into, and what to do the moment you see it.
| Symbol | What it means | What you do |
|---|---|---|
| Grainline arrow (a straight, double-pointed arrow printed on the piece) | Shows the lengthwise fabric grain the piece has to follow, so the finished garment hangs and drapes correctly instead of twisting. | Pin one end of the arrow to the fabric, measure from that tip to the selvage, then measure the other tip to the selvage. Adjust the piece until both distances match exactly before you pin down the rest. |
| Place-on-fold bracket (an arrow bent 90 degrees at both ends, hugging a solid edge with no cut marks) | That edge must sit exactly on the folded edge of the fabric, so the piece opens into one full symmetrical shape (a center-front bodice, for example) once unfolded. | Lay the marked edge directly on the fold and never cut along it. Cut only the piece’s other edges. |
| Single notch (one small triangle or diamond on the seam edge) | A match point, most often on front pieces, showing exactly where this edge lines up with the corresponding edge on the piece it joins. | Snip or mark the notch, then match it to the single notch on the other piece when you pin the seam. |
| Double notch (two triangles or diamonds together at the seam edge) | Conventionally marks back pieces (back bodice, back skirt, back sleeve), so front and back, or left and right, don’t get swapped or sewn in backwards. | Match double to double, and treat the pair as one unit rather than snipping them apart into two separate notches. |
| Dots or circles | General match points for spots a notch can’t cover on an interior edge: pivot points at corners (collar points, pocket corners), dart tip placement, or placement for internal details like pockets. | Transfer with a fabric pen, chalk, or a tailor’s tack, then match it exactly to the corresponding point, pivoting the stitching line there if it marks a corner. |
| Squares or triangles as extra match points | Additional alignment points spaced along long or curved seams (princess seams, set-in sleeve caps) beyond the basic notches, used to distribute ease evenly. | Mark and match the same way as notches and dots, so the two layers of fabric ease in evenly instead of shifting while you stitch. |
| Dart legs and point | A dart prints as a narrow triangle, or a diamond for a double-pointed dart. The two long lines are the “legs” you stitch, and the tip is the “point” where stitching tapers to nothing. | Mark both legs and the point, fold the fabric right sides together matching the legs, then stitch from the wide end and taper to a single thread’s width exactly at the point. |
| Buttonhole bar (a short solid line, sometimes with a small crossbar at each end) | Marks the exact placement and finished length of a buttonhole. | Transfer the bar to your fabric, stitch the buttonhole between the marked ends, then carefully cut it open. |
| Button X (or dot) | Marks the exact center placement for a button, on the side of the closure opposite the buttonholes. | Finish and assemble the garment first, overlap the closure as it will be worn, push a pin through the buttonhole to mark the button’s true center underneath, then sew the button there rather than trusting the printed mark alone. |
| Multi-size cutting lines (nested lines in different dash styles, one per size) | One printed piece contains the cutting line for every size in the envelope or PDF, each in its own line style, identified in a key on the instruction sheet. | Find your size’s line style in the key first, then trace or cut only that line, blending smoothly between two sizes at the waist or hip if your body falls between them. |
| Lengthen/shorten double parallel lines | Marks the best spot on the piece to add or remove length without distorting the garment’s proportions or curves. | To shorten, fold the pattern between the two lines by the amount you need to remove. To lengthen, cut along one line, spread the halves apart by the needed amount, tape in extra paper, and redraw the cutting line straight afterward. |
| Seam line vs cutting line | On vintage, single-size, or some specialty patterns, the piece prints both an inner dashed seam line (where you stitch) and an outer solid cutting line (already including seam allowance). Most modern multi-size patterns print the cutting line only and state the seam allowance as text instead. | If two lines are printed, stitch on the inner line and cut on the outer one. If only one line is printed, check the general instructions page for the stated seam allowance and use a seam gauge or your machine’s guide. |
| Zipper placement marks (a bracket, short line segment, or dots along a seam) | Marks exactly where the zipper opening begins and ends along that seam. | Transfer both end points to your fabric, sew the seam closed up to that point, press the seam allowance open, then install the zipper following the pattern’s construction steps. |
| Hem allowance note (a line plus text near the lower edge, such as “1 1/4in hem”) | Marks extra fabric already built in below the finished hemline, so you have material to turn up and stitch. | Fold the fabric up along that marked line by the stated depth before stitching. Don’t mistake it for the cutting line. |
The Instruction Sheet
The general instructions page
The first page or spread of the booklet is worth reading in full before you touch fabric. It states the seam allowance used throughout the pattern (commonly 5/8in on most home-sewing patterns from the major brands, often 3/8in to 1/2in on many indie and PDF patterns, so always check the specific pattern). It provides a symbols key for that pattern. And it lists every pattern piece with its abbreviation, so you can confirm you’ve cut everything your chosen view needs.
Cutting layouts
Layout diagrams are provided per view, per size, and per fabric width, typically two or three options such as 45in, 54in, and 60in. Each diagram shows the pieces arranged on the fabric as small outline shapes, so you can copy the arrangement and cut the correct quantity of each piece while using fabric efficiently.
What “with nap” means
“With nap” layouts require every piece to point the same direction, top to bottom. Napped or pile fabrics (velvet, corduroy), satin, and one-directional prints reflect light or show pattern differently depending on which way the piece is turned. Cut pieces in mixed directions on fabric like that, and it can look like two different fabrics were used. “Without nap” layouts let you flip pieces either direction for maximum efficiency, because the fabric looks identical regardless of direction.
Shaded areas on diagrams
Here’s a convention worth knowing before you stare at a layout wondering why half the pieces look gray. Shaded or gray areas on cutting-layout and construction diagrams conventionally represent the right side of the fabric facing up, while white or unshaded areas represent the wrong side. A piece placed wrong-side-up for a mirror-image cut is sometimes additionally flagged with dotted or textured shading. This is the standard convention across most commercial and indie patterns, but always check that specific pattern’s own printed key, since not every company applies it the same way.
The order things happen in
Instructions are sequenced in the order you’ll actually sew. Markings and interfacing get applied first, then darts, then smaller flat details, pockets, plackets, pleats, that are easiest to attach while the piece is still flat. Then the major seams, shoulders and side seams, that join pieces into a garment shape. After that, set-in elements: sleeves, collars, waistbands, zippers. Hems come last. Reading the whole booklet once before cutting reveals this logic and lets you prep the right piece at the right stage instead of discovering a missed step mid-seam. For a closer look at how a garment comes together piece by piece, see our guide to garment construction.
Layout, Pin, Mark, Cut
Reading the symbols is half the job. Here’s how to put that reading to work on an actual cutting table.
- Press the tissue first. Use a completely dry iron on a low, warm setting, no steam, before you lay the piece out. Wrinkled or folded tissue distorts the printed lines and can throw off your cut size. Press from the back in short dabs rather than dragging the iron across a large piece.
- Prep your fabric, then match the right layout. Prep and press your fabric first, then follow the cutting layout that matches your exact view, size, and fabric width. Switching to a different diagram than the one specified can leave you short on yardage. For fabric prep steps in more depth, see our fabric prep guide.
- Use the grainline measuring trick. Measure from one grainline arrow tip to the selvage, then the other arrow tip to the selvage, and shift the piece until both measurements are equal. Don’t eyeball it; a piece that’s even slightly off grain will twist once it’s sewn.
- Anchor before you cut. Use pattern weights with a rotary cutter, or pins placed inside the seam allowance only, never through the area that becomes the finished garment, so pinholes don’t show. See our tools and notions guide for what’s worth owning here.
- Never cut a fold line. A “place on fold” line is a positioning guide for the fold, not a cutting edge. Cut it, and one symmetrical piece becomes two mismatched halves.
- Transfer markings before you unpin. Use chalk or a washable/air-erasable fabric pen for lines and dots, and tailor’s tacks for dots or dart points where a drawn mark might not survive handling.
- Snip notches shallow. About 1/8in to 1/4in into the seam allowance, never deeper than half its width, so the seam stays strong. Or cut small triangles pointing outward from the cutting line instead, which removes nothing from the seam allowance at all.
Tracing and PDF Assembly
Why trace at all
Tracing instead of cutting straight into the pattern preserves the original nested multi-size sheet, so you (or someone you pass it to) can reuse it at a different size later. It keeps a clean master if you ever resell or lend the pattern. And it gives you a disposable working copy for fit alterations, lengthening, grading between sizes, sway-back or full-bust adjustments, without cutting into or damaging the original.
Materials worth using
Swedish tracing paper is a sew-through, semi-sheer nonwoven that drapes like fabric, and can even be basted together as a quick fit-check muslin. Medical exam table paper is a cheap, semi-transparent roll paper, often sold in bulk boxes, that works for tracing but tears more easily and isn’t purpose-built for the job. Baking or cooking parchment paper is an inexpensive, widely available, translucent-enough stand-in that plenty of sewists reach for too.
The process
Lay your tracing material over the original pattern piece, weighting or lightly pinning it in place, then trace the cutting line for your size plus every notch, dot, grainline, and label using a pencil or fine marker. Cut out the traced copy and use it exactly like the original for layout and cutting, while the master pattern stays untouched underneath.
Assembling a PDF pattern
- Print page 1 alone with printer scaling set to “None,” “Actual size,” or 100 percent, never “fit to page.” Measure the printed test square with a ruler to confirm it matches the pattern’s stated size, commonly 4in or 10cm, before printing the rest of the file.
- If the pattern has “layers,” open it in a PDF reader that supports them, such as Adobe Acrobat Reader (Mac Preview does not support layers), and toggle on only your size’s layer plus the text layer. That way you print just your size instead of every nested line.
- Print the remaining pages, then trim the margins per that pattern’s method. Some ask for two edges trimmed, commonly right and bottom, so pages butt together. Others ask you to trim one margin and overlap it onto the next page.
- Match up the alignment marks or page numbers and tape or glue the sheets together in rows first, then join the rows into the full assembled sheet.
- For a tape-free option, send that pattern’s copyshop or A0 file (roughly 36in to 48in wide) to a print shop with a wide-format plotter, and have it printed on one continuous sheet at true 100 percent scale.
When the Instructions Confuse You
Every sewist, beginner or not, eventually hits a step that doesn’t parse on the first read. A few habits fix most of it:
- Read the entire step from start to finish before picking up fabric or touching the machine. Instructions are often written in an order that only makes sense once you can see where the step is headed.
- Trust the diagrams over the wording when the two seem to disagree. Diagrams tend to stay consistent across translations and edits in a way phrasing sometimes doesn’t.
- Look up an unfamiliar term in the pattern’s own glossary first, then in a general sewing-terms glossary, before assuming the instructions contain an error.
- Search for a sew-along for that exact pattern. Many designers publish free step-by-step photo or video walkthroughs that clarify exactly the steps beginners get stuck on.
- Check community reviews, on a site like PatternReview, for notes on errata other sewists found for that specific pattern.
One more thing worth knowing: not every pattern has been through the same quality checks. Free and uncurated patterns typically haven’t gone through the same tech-editing as most paid indie or major-brand patterns, so treat them with a bit more patience and a closer read of the diagrams. If you’re working from one, our guide to free sewing patterns covers what to watch for.
The best way to make this stick is to practice on a real pattern with clear instructions. Our library of 155+ printable PDF sewing patterns comes with step-by-step instructions built for reading symbol by symbol, so you can put this page into practice on something you’ll actually finish and wear.
Frequently Asked Questions
How do you read a sewing pattern for beginners?
Start with the envelope or listing. Check the skill level, pick your size from the body measurement chart rather than your usual clothing size, and note the finished garment measurements to see how the piece will fit. Then open the instruction sheet, find the seam allowance and symbol key on the general instructions page, and skim the whole booklet once before cutting anything.
What do the symbols on sewing patterns mean?
They’re a compact visual shorthand. A grainline arrow tells you how to angle the piece on the fabric, notches and dots show where pieces match up, dart lines tell you what to stitch and where it tapers, and the line style at the piece’s edge, solid, dashed, or dotted, usually signals size or distinguishes cutting from seam lines. Every pattern includes its own key because a few details vary by company.
What is the grainline on a pattern?
It’s the double-pointed arrow printed on each piece that must run parallel to the fabric’s selvage, following the lengthwise grain, when you lay the piece out. Getting it right keeps the garment hanging straight instead of twisting. Check it by measuring from each arrow tip to the selvage and confirming the two measurements match before pinning.
What do the notches mean?
Notches are the small triangles or diamonds along a piece’s cut edge that mark where it should meet the corresponding edge on another piece. You line up notch to notch when pinning a seam. Single notches conventionally mark front pieces and double notches mark back pieces, a fast way to tell a front from a back piece that otherwise look similar.
What does place on fold mean?
It’s a bracket-shaped arrow along one edge telling you to lay that edge exactly on the folded edge of your fabric instead of cutting it. Once unfolded, the piece opens into one full symmetrical shape, like a center-front bodice, so that edge should never be cut.
Do I cut on the solid or dashed line?
It depends on the pattern. Multi-size patterns nest every included size’s cutting line onto one piece, each in a different line style, with a key telling you which style matches your size. Older single-size and some specialty patterns instead print a solid outer cutting line plus a separate dashed inner seam line, so check that specific pattern’s key rather than assuming one convention applies everywhere.
How do you put together a PDF sewing pattern?
Print page 1 alone with scaling set to none, 100 percent, or actual size, and measure the printed test square with a ruler before printing the rest. If the pattern has layers, turn on only your size, plus the text layer, in a PDF reader that supports layers. Trim the remaining pages per that pattern’s method, match up the alignment marks, and tape or glue the sheets together in rows, or send the file to a copyshop for a single large-format print.
Should I trace my pattern instead of cutting it?
Tracing keeps the original multi-size sheet intact so it can be reused at a different size later, and gives you a disposable copy to test fit changes on without risking the master pattern. It’s especially worth it for printed patterns you paid for or plan to reuse, using materials like Swedish tracing paper, medical exam table paper, or parchment paper.