
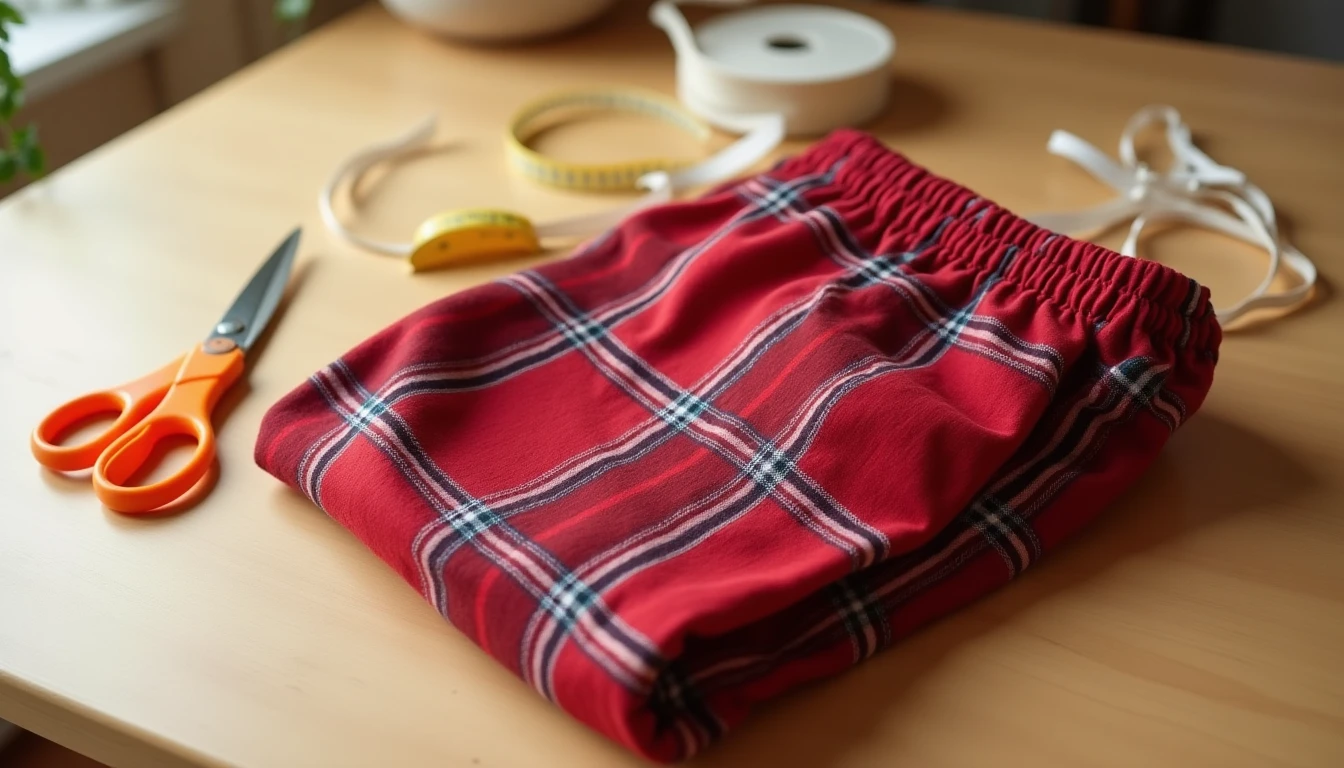
If pants feel like the scariest thing on your sewing to-do list, you are not alone. Tops forgive you. Skirts forgive you. Pants sit right against your body and broadcast every fit problem to the world, so it is no wonder so many sewists put them off for years. Here is the good news: your first pair of pants does not need to be a fitted pair of trousers at all. It can be a pair of flannel pajama pants with an elastic waist, no zipper, no darts, and no precise crotch curve fitting to worry about. From there, you can climb a ladder at your own pace, from lounge pants to shorts to wide, flowy styles, and only tackle a fitted crotch curve once you are ready for it.
This guide walks you through that whole ladder. If you have not sewn a garment before, start with our how to sew clothes guide first, and if you want a refresher on what separates joggers from trousers from palazzo pants, our garment styles guide covers pant type names and rise in more depth.
Some links below are affiliate links. Prices are 2025-2026 estimates and change often, so always check current pricing.
Pants Anatomy in 2 Minutes
Strip pants down to their basics and they are really just two tubes, one for each leg, joined together at the crotch. Each tube is built from a front piece and a back piece, and while those two pieces look almost identical at a glance, they are not the same. The back piece is cut roomier and longer through the seat, because your body needs that extra room and length to sit, bend, and walk without the fabric fighting you.
That extra length shows up as rise. Rise is simply the vertical distance from your waistline down to the crotch point. Front rise (front waist to crotch) is usually shorter. Back rise (back waist to crotch) is longer, because it has to travel further to clear and support the seat. Add the two together, measured as one continuous line from the front waistband, under the legs, to the back waistband, and you get the total rise, also called the crotch length.
The seam that connects the front and back pieces between your legs is called the crotch curve, and it is shaped like a J. The front curve is shallow and short. The back curve is deeper and more scooped, closer to an L or a hook, so it can wrap around your seat without pulling or riding up.
You will also hear the terms inseam and outseam. The inseam is the inner leg seam, running from the crotch point down to the ankle on the inside of the leg. The outseam is the outer leg seam, from waist to hem on the outside, often where side seams or side pockets sit. As for the waist, you have two basic choices: an elastic casing, which is stretchy, forgiving, and beginner friendly, or a fitted waistband, which sits closer to the body but needs more precise measuring and often a zipper.
Here is the one sentence worth remembering before you cut any fabric: almost every classic homemade-pants complaint, a saggy seat, pulling across the front, drag lines down the legs, a waistband that gaps at the back, traces back to the crotch curve not matching the wearer’s actual body shape. Get that one seam right and everything else, leg width, length, waist finish, is comparatively easy to adjust. That is exactly why elastic-waist styles that sidestep precise crotch curve fitting, like pajama pants, palazzo pants, and harem pants, are so much friendlier for a first project.
Your First Pants: Pajama Pants
Pajama pants are the obvious starting point, and for good reason. There is no zipper, no darts, and no need to fit a crotch curve exactly to your body, because the loose fit and elastic waist absorb small errors instead of showing them off.
For an adult pair, plan on about 2 to 2.5 yards of 44/45in flannel or quilting cotton, though the exact amount depends on your height and leg width. If you would rather sew with a knit, you can usually get away with less, around 1.3 to 1.5 yards of 58/60in wide fabric. Our sewing fabrics guide can help you choose between a soft flannel, a quilting cotton, or a stretch knit if you are not sure which to buy. You will also need roughly 1in wide elastic, cut to about your waist measurement.
If you do not own a pajama pants pattern, you can trace a pair you already own and love the fit of. Here is how:
- Fold an existing pair of well-fitting pants in half lengthwise so one leg lies flat, and pin it onto paper (kraft paper over cardboard works well).
- Trace around the front leg first, following its own shallower crotch curve, marking the seam and hem lines.
- Unfold and reposition to trace the back leg the same way, following its own deeper, more scooped crotch curve. Note how far the back piece wraps around to the front at the crotch and at the ankle.
- Add a 1/2in seam allowance around all edges of both pieces.
- Add about 1.5in at the top edge for the elastic casing.
- Add about 1in at the hem edge for the leg finish.
- True up the lines with a ruler so the front and back inseam lengths match before cutting fabric.
Construction, two ways
Once your pieces are cut, you have two common ways to put a pair of pajama pants together. Both are correct, and which one your pattern uses usually just depends on whether it is drafted with side seams or not.
The 4-piece method (separate front and back pieces, sewn with side seams):
- Cut 4 pieces total: 2 front legs and 2 back legs.
- With right sides together, sew the two front pieces together along the front crotch curve.
- With right sides together, sew the two back pieces together along the back crotch curve.
- Open the joined piece flat and sew the full inseam, from one ankle, through the crotch point, to the other ankle, in one continuous pass.
- Sew the side seams (outer leg), from waist to hem.
- Sew a second reinforcing line of stitching close to the first along the crotch seam, since it carries the most stress.
- Turn right side out.
The classic 2-piece method (no side seams, one leg turned inside the other):
- Cut 2 pieces (no separate front and back cutting, and no side seams), or cut each leg’s front and back and join them at the outer leg only, so you end up with two leg tubes.
- With right sides together, sew each leg’s inseam, from waist edge to ankle, closing each leg into its own tube.
- Turn one leg right side out and leave the other leg wrong side out.
- Slide the right-side-out leg down inside the wrong-side-out leg so the raw crotch edges line up, right sides together, with the inseams and side creases matching up.
- Pin and sew the crotch curve in one continuous U-shaped pass, from the front waist edge, down through the legs, to the back waist edge.
- Sew a second reinforcing line of stitching close to the first along that same crotch curve.
- Pull the whole thing right side out through the waist opening. The pants are now assembled with no side seams at all.
With either method, the waist finish is the same. Cut your elastic about 1 to 2in shorter than your actual waist measurement (our sewing measurements guide walks you through taking that measurement accurately) so it sits snugly without cutting in. Fold the top edge of the pants over to form a casing and stitch around it, leaving a 2 to 3in opening. Attach a safety pin to one end of the elastic and feed it through the casing without twisting it. Overlap the two elastic ends by about 1in and stitch them securely together, then close the opening in the casing.
Last step is the hem. Fold up the raw edge at each ankle and stitch it in place. Our how to hem guide covers a few different hem finishes if you want a cleaner edge than a simple double fold.
One note worth taking seriously: the crotch seam carries more strain than any other seam in the pants, since it takes the stress of sitting, bending, and walking every single time you wear them. Sew it twice, a normal construction stitch plus a second row close to the first, before finishing the raw edge with a zigzag or serger. Skipping this is the single most common reason a first pair of pajama pants blows out at the seam within a few wears.
Budget roughly 2 to 4 hours for your first pair, once the fabric is cut. That is a very reasonable afternoon project, and a real pair of pants to show for it.
Shorts
Shorts use the exact same crotch curve and inseam construction as full-length pants. The real differences are less fabric, a shorter inseam, and less hemming, so many patterns simply mark a shorter cut line directly on a pants pattern rather than needing a separate draft entirely.
A few common types you will run into:
- Denim cutoffs (refashioned from old jeans)
- Chino or twill shorts (structured, often with a waistband and fly)
- Athletic shorts (stretch knit with recovery, usually elastic or drawstring waist)
- Pajama or lounge shorts (flannel or cotton, elastic waist)
- Board shorts (quick-dry woven fabric, often with a liner and drawstring)
Cutoff jeans in 15 minutes
If you have an old pair of jeans that no longer fits right but the fabric is still in good shape, cutoffs are the fastest shorts project there is.
- Put the jeans on and mark the desired finished length with chalk on both the front and back leg while standing straight, since denim shifts position when you bend or sit.
- Cut about 1/2 to 1in below your mark. This extra length is a fringe allowance that gives room to fray or hem without ending up shorter than planned.
- Cut through both legs, folding the jeans in half first to check both sides land at the same length.
- To fray, machine wash and dry on a hot cycle a few times, then pull loose weft threads with tweezers or a seam ripper for an even fringe.
- Alternative: fold the raw edge under twice and topstitch for a clean, non-fraying hem instead of a raw edge.
- Optional: turn up a cuff before hemming for a rolled look.
If you want something sewn from scratch rather than refashioned, pajama shorts are generally the easiest first shorts project. They use minimal fabric, about 1 yard, the same simple elastic-waist construction as pajama pants, and a short inseam that hides beginner stitching wobbles better than a fitted, structured pair would.
Wide, Flowy, and Gathered
Once pajama pants feel comfortable, wide-leg styles are a natural next step. They look more dramatic than lounge pants but are often just as forgiving, because loose, flowing fabric hides fit issues rather than exposing them.
Palazzo pants have very wide, straight-hanging legs that flare out from the waist or hip, usually finished with an elastic waist. Because the legs are so wide and loose, they hide fit issues rather than expose them, which makes elastic-waist palazzo pants genuinely beginner friendly despite the dramatic silhouette. They are fabric hungry compared to fitted pants, roughly 2.5 to 3 yards, and look best in fabric with real drape and movement, like rayon challis, crepe, or a soft ponte knit, so the legs swish instead of standing stiff.
Harem pants combine a dropped, roomy crotch with a gathered or cuffed ankle. Because the crotch is dropped well below your body’s actual crotch point, the precise crotch curve fitting that trips people up on fitted trousers barely matters here. Many harem patterns are just two big wide-leg pieces sewn together at the inseam and crotch, finished with an elastic waist and an elastic or cuffed hem. That built-in looseness is exactly what makes them forgiving for a first or second pants project.
Culottes are wide, often knee-to-calf-length pants cut full enough through the leg to read as a skirt when standing still and move like pants when walking or sitting. Construction sits between fitted trousers and palazzo pants: the waist is often more fitted or uses darts, but the leg width stays generous and forgiving, similar in spirit to palazzo pants, just shorter.
Moving to Fitted Pants, Honestly
Sooner or later, most sewists want a pair of fitted trousers, and it is worth being honest about what changes when you move in that direction. Moving from elastic-waist lounge pants to fitted trousers is where fit actually becomes the project instead of an afterthought. Now you have to choose the right rise for your body, shape the crotch curve to your own front and back proportions instead of a generic average, sew darts to shape the waist and hip, install a fitted waistband instead of an elastic casing, and often insert a fly-front zipper.
Because of all that, a muslin, a test version sewn in cheap fabric before you cut into your good fabric, is treated as non-negotiable by every fitting guide worth reading. Pants fit is so individual that even a well-drafted commercial pattern usually needs tweaks, and it is far cheaper to discover that on scrap muslin than on fabric you already paid for.
When you try on that muslin, here is how to read what you are seeing:
| Sign | What it means | Fix |
|---|---|---|
| Smile lines or whisker-like wrinkles radiating from the crotch, pointing up toward the hip | Not enough room or length in the crotch curve under the seat, often the back curve | Lengthen or scoop the front and/or back crotch curve slightly (roughly 1/4 to 1/2in) to give the fabric more room to travel |
| Frown lines, folds, or loose bagginess sagging under the seat | Too much fabric or length in the back crotch curve for this body | Take a shallow wedge out of the back crotch curve and seat area to remove the excess length and fabric |
| Diagonal or vertical drag lines pulling across the thighs or down the legs | The pants are too narrow, or occasionally too wide, through the hip or thigh for the wearer | Let out or take in the inseam and/or side seam through the thigh so the leg circumference matches the body |
| Waistband gapes or stands away from the body at the center back | The waistband curve is straighter than the wearer’s lower back, common with curvier waist-to-hip ratios | Pinch out the excess as a fitted dart, or re-curve the waistband pattern piece by hinging it and removing width from the top edge only, between the side seam and center back |
Once the fit is dialed in on the muslin, you can move on to the parts that make fitted trousers look finished, including the fly-front zipper. Our how to sew a zipper guide covers that construction step by step, since it trips up a lot of first-time trouser sewists.
Jeans are the natural summit fit project once trousers feel comfortable. They add a proper fly-front zipper, heavy topstitching in contrast thread, and hardware like rivets and a jeans button. Beginners commonly report somewhere between 6 and 15 hours for a first pair, mostly due to the fly construction and careful topstitching, well beyond the 2 to 4 hours a first pair of pajama pants takes. Think of jeans as the project you graduate into, not one you start with.
Fabric Notes
Match the fabric to the pants type and the sewing gets a lot easier. Pajama and lounge pants want soft, low-stretch wovens like flannel, quilting cotton, or seersucker that press and gather easily into a casing. Palazzo and other wide-leg drama pants want fabric with real drape and movement, rayon challis, crepe, or a soft ponte knit, so the legs swing instead of standing stiff like a tent. Shorts, especially chino-style or cutoffs, do best in sturdier mid-weight wovens like twill, denim, or linen that hold a crease and a hem. Athletic shorts and joggers need knits with good stretch and recovery so they move with the body and bounce back instead of bagging out.
Want more patterns to practice on beyond pants? Our library has over 155 printable PDF sewing patterns, including pants and shorts, at Sewing Pattern Secrets pattern library.
Frequently Asked Questions
How do you sew pajama pants step by step?
Trace an existing pair of pants (front piece with its own crotch curve, back piece with its own crotch curve), add a 1/2in seam allowance plus about 1.5in for the waist casing and 1in for the hem, cut your fabric, sew the crotch seam(s), sew the inseam, sew the side seams if your pattern has them, add an elastic waistband casing, and hem the legs. Reinforce the crotch seam with a second row of stitching.
How much fabric do I need for pants?
Adult pajama pants in flannel or cotton typically need about 2 to 2.5 yards. Palazzo pants in drapey fabric need more, about 2.5 to 3 yards. Shorts need much less, around 1 yard for pajama-style shorts. Fitted trousers or jeans usually fall around 1.5 to 2.5 yards depending on width and size.
Can I make pants without a pattern?
Yes. The most common beginner method is tracing an existing pair of well-fitting pants: fold them to trace the front leg with its own crotch curve, then trace the back leg with its own, deeper, crotch curve, and add seam, casing, and hem allowances.
Why do homemade pants fit badly?
Almost always the crotch curve. If the J-shaped seam between the front and back leg pieces does not match the wearer’s actual front and back proportions, you get smile-line wrinkles, sagging, drag lines, or a gaping waistband, no matter how carefully the rest of the pants is sewn.
What are the easiest pants to sew?
Elastic-waist styles that do not require precise crotch curve fitting: pajama or lounge pants, harem pants (dropped crotch is forgiving by design), and palazzo pants (wide legs hide fit issues). Pajama shorts are the easiest of all, since they use the least fabric and the shortest inseam.
How do you cut jeans into shorts?
Put the jeans on and mark your desired finished length with chalk while standing straight. Cut about 1/2 to 1in below that mark to leave a fringe allowance. Then either wash and dry on hot repeatedly to fray the edge, or fold and topstitch a clean hem instead.
What is the rise on pants?
Rise is the distance from the waist down to the crotch point. Front rise is the front waist-to-crotch measurement, back rise is the back waist-to-crotch measurement, and total rise (or crotch length) is front rise plus back rise measured as one continuous seam.
How do you fix a baggy or tight seat?
A baggy seat with frown lines or folds means there is too much fabric in the back crotch curve, fixed by taking a shallow wedge out of that curve. A tight seat with smile-line wrinkles radiating from the crotch means there is not enough room, fixed by lengthening or scooping the crotch curve slightly.