
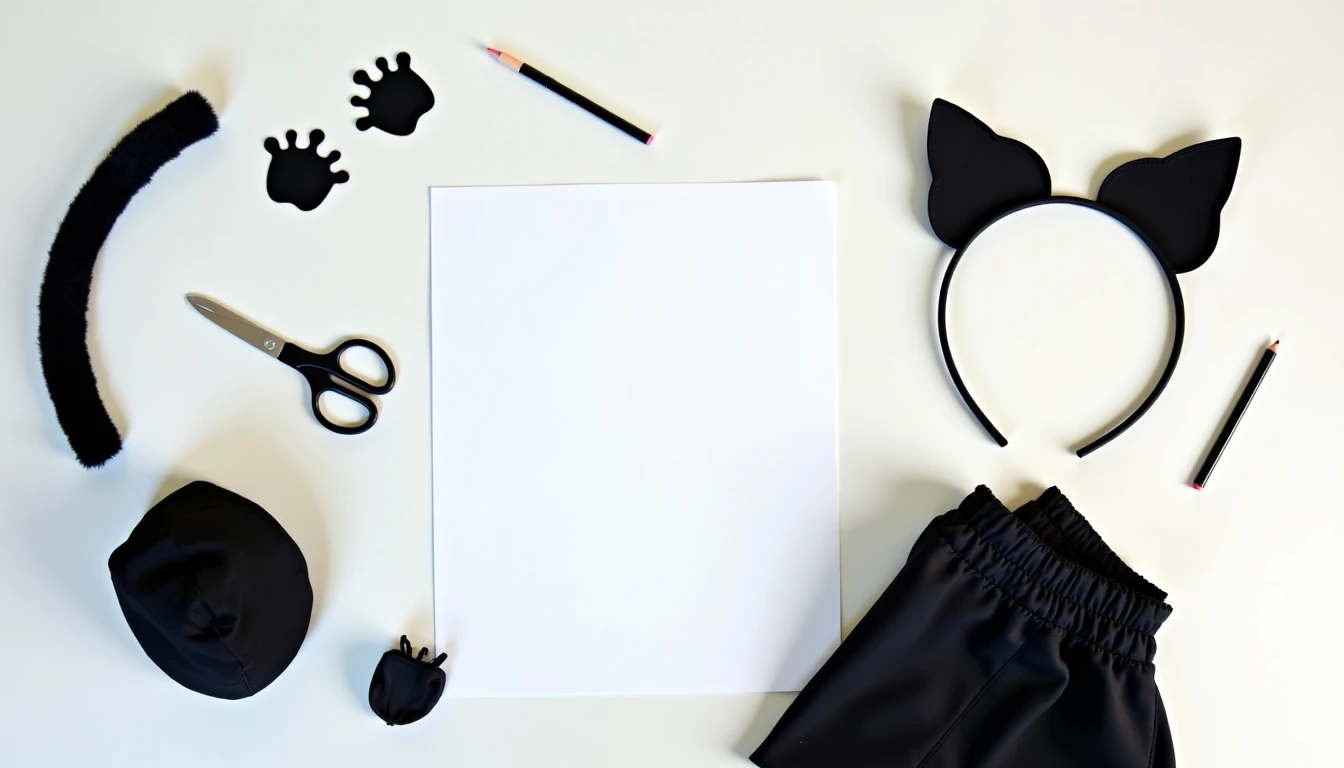
A cat costume is the one that never fails you. It’s what you throw together at 9pm the night before a party and it still looks put-together in every photo. That’s because a good DIY cat costume isn’t one project, it’s four small ones: an all-black base you probably already own, a pair of ears, a tail, and five minutes with an eyeliner pencil. Put those together and you have a costume that reads as “cat” from across the room, no pattern required.
For more general costume-building tips, see our halloween costume ideas hub, or read how to make a costume for the basics of turning any idea into a wearable outfit. Below, we’ll break the cat costume down piece by piece.
Some links below are affiliate links. Prices are 2025-2026 estimates and change often, so always check current pricing.
The Cat Costume Formula
Every DIY cat costume, fancy or last-minute, comes down to the same formula: an all-black base plus three add-ons.
The base is leggings or tights with a fitted top, bodysuit, or catsuit, all in black. You likely have most of this already.
The three add-ons turn “person in black clothes” into “cat”:
- Ears on a headband (or clipped into your hair)
- A tail pinned or looped onto your waistband
- Makeup, a black nose triangle, whiskers, and winged eyeliner
Once that formula clicks, it’s endlessly variable. Swap black for white and you’ve got a white cat. Add brown and orange faux fur patches for a tabby or calico. Use pink and purple striped fabric for a Cheshire Cat. Try gold-and-black print for a leopard. Keep it sleek and black for a panther. Same three accessories, different color story underneath. We’ll cover all of these variants below.
Cat Ears Three Ways
Which method you pick mostly depends on how much time you have and how dressed up you want to look.
1. Felt triangle headband (the standard, low-sew method)
Fold a sheet of felt in half and cut a large triangle with about a 3-inch base, then unfold into a diamond. Cut a matching second diamond for the other outer ear, plus two smaller contrasting triangles (pink, white, or tan) for the inner ears. Hot-glue an inner triangle onto each outer diamond, then center a plain plastic headband inside the fold of each diamond and glue it closed around the band, sandwiching it inside. No wire needed. Let the glue set fully before wearing.
2. Faux fur ears (the dressier upgrade)
Cut two ear shapes from faux fur using a craft knife or fresh razor blade through the backing only, not scissors, which chop the pile into a patchy mess. Cut smaller inner-ear triangles from contrasting fabric or felt and glue or stitch them on (backing the fur with stiff felt first adds structure). Attach both ears to a headband the same way as the felt method, then brush the fur out with your fingers to hide the seam.
If you need supplies for either method, a pack of craft felt sheets is an easy one-stop grab.
3. Bobby-pin or clip-in ears (no headband)
Cut small felt or fur ear shapes as above, sized down slightly, and glue or stitch two pieces together with a small fold at the base so the ear cups for a more three-dimensional look. Hot-glue the folded base onto a bobby pin or small alligator clip, then slide it into your hair angled slightly forward, mimicking real ear placement.
Sizing and placement: Outer ears run about 3-4 inches at the base for adults, 2-2.5 inches for kids. Angle them slightly forward and outward rather than straight up, a couple of inches apart. For a “realistic” pairing, try white with pink inner lining, black with white, or brown/tan with pale orange, though any color combo works.
The Tail
1. Sewn stuffed tube tail (most common method)
Cut a fabric strip roughly 2.5 inches wide by 17-24 inches long (longer for adults) from stretch fabric, felt, or fleece. Fold it lengthwise, right sides together, and sew down the long edge with about a 1/4-inch seam to make a tube, leaving one short end open. If you’re new to finishing seams by hand, our hand sewing stitches guide covers the basics. Turn the tube right-side out with a safety pin: pin the point through the closed end, catching one layer, then push and scrunch the fabric down over the pin until it pops out the open end. Press the tube flat, lightly stuff with polyester fiberfill (don’t overstuff or it won’t bend naturally), then sew the open end closed and attach a fabric loop or safety pin.
2. Faux fur boa tail (fast, no-sew)
Buy a fur or feather boa (or a length of faux fur trim), bunch or twist one end into a tail taper, and secure with a rubber band or a few stitches. Attach the secured end to a belt or pinned loop. This is the fastest option when you’re short on time.
3. Wire-core posable tail
Straighten a wire coat hanger and bend it into a gentle curve. Wrap it in polyfill for padding, then wrap faux fur or fabric around it and glue or stitch the seam closed. Attach the base to a waistband. This lets the tail hold a curl instead of hanging straight, a step up in effort but worth it for a photo-focused costume.
Attaching a tail without ruining your clothes: Safety pins through the base into a waistband are fastest, though not ideal for young children. A sewn fabric loop threaded onto a belt or elastic waistband skips the pins entirely. For an easy on/off tail, use a strip of hook-and-loop (Velcro) on the tail base and a matching strip pinned inside the waistband.
Cat Makeup in Five Minutes
One black eyeliner pencil does the whole job.
- Nose: Shade a solid black triangle onto the tip of your nose, then draw a thin line down to the top of your lip.
- Whiskers: Flick three or four thin lines outward from each side of your nose or upper lip, or from the apples of your cheeks.
- Winged liner: Draw a small diagonal line from the outer corner of each eye, connect it back to the lash line to form a triangle, then fill it in.
- Optional highlight: White or shimmer along the brow bone adds contrast.
Face paint works too and gives a bolder, more opaque look, better for a stage-worthy finish, while eyeliner is faster for everyday wear. Either way, set the finished design with a light dusting of translucent setting powder pressed on with a sponge. It’s the step people skip most, and the one that keeps makeup smudge-free all night.
Kids Cat Costumes
Comfort and safety come before exact accuracy here. See our full sewing for kids guide for more on kid-friendly costume builds.
- Use a soft base they’d already wear comfortably, like leggings and a long-sleeve tee or a black fleece pajama set, instead of a tight bodysuit.
- A felt collar or bowtie, glued or sewn into a loop that slips over the head (not tied), adds a cute detail without a choking risk. A black tulle tutu tied onto a ribbon waistband is an easy no-sew “kitten” addition.
- Skip safety pins on very young children (use a sewn fabric loop instead), skip drawstrings near the neck, and patch-test face paint 24 hours ahead for sensitive skin.
- Many parents skip the tail entirely for school events and keep just the ears and painted whiskers, since it’s simpler and won’t get caught on furniture.
Beyond the Black Cat
- Cheshire Cat: Pink and purple striped fabric instead of black, a longer wire-cored tail so it can curl, a painted or foam-board grin as a prop, plus standard felt or fur ears.
- Black panther: A black catsuit or leotard-and-tights combo for a smoother silhouette, small rounded-tip ears, a black stuffed tube tail, and minimal makeup, just winged liner and a black nose.
- Leopard/cheetah glam: Gold-and-black print fabric, ears and tail cut from the same print or matching faux fur, bronze eyeshadow, and a brown nose triangle for warmth.
- Cat burglar (joke costume): A striped shirt with black pants, a black felt eye mask instead of ears (or small ears on a beanie for the pun), a white bag with a hand-drawn dollar sign, and the usual whisker eyeliner.
- Group costume: One person plays “crazy cat lady” in a robe with plush toy cats glued on and a lint roller prop, while everyone else wears the classic all-black cat costume as the litter of kittens.
Working With Faux Fur
Cut faux fur from the back, through the woven backing only, with a craft knife or fresh razor blade rather than scissors, which chop the strands and leave a messy edge. Faux fur also has a nap, or pile direction. Feel which way the fibers lie flat and cut all pieces the same direction for a uniform look. Expect some shedding as you cut and sew; shake pieces outside and lint-roll them.
If your actual cat has been eyeing you suspiciously while you cut felt at the kitchen table, resist the urge to costume them too. Most cats tolerate a full costume poorly, especially anything with a headpiece. If you do dress up your pet, stick to a lightweight felt collar, avoid elastic near the neck, and only leave it on for a few supervised minutes at a time.
Once your own costume is done, you might want more patterns to sew from all year, not just for Halloween. Our library of 155+ printable PDF sewing patterns covers clothing and home projects if you want to keep the machine out past October.
Frequently Asked Questions
How do you make a cat costume at home?
Start with an all-black (or colored) base you likely already own, like leggings and a fitted top or a black bodysuit. Add felt or faux fur ears on a headband, a stuffed fabric tail pinned or looped onto the waistband, and eyeliner cat makeup: a black nose triangle, whiskers, and winged liner. That three-piece formula is what turns any dark outfit into a recognizable diy cat costume.
How do you make cat ears with a headband?
Cut two triangle or diamond shapes from black felt for the outer ears and two smaller contrasting triangles (pink, white, or tan) for the inner ears. Glue the inner triangle onto each outer piece, then fold the base of each outer ear around a plain plastic headband and glue it closed so the band is sandwiched inside. Let the glue dry fully before wearing.
How do you make a cat tail?
Sew a fabric strip into a tube (right sides together, leave one end open), turn it right-side out with a safety pin threaded through the closed end and worked down over the pin until it pushes through the open end, then stuff lightly with polyester fiberfill. Sew the open end shut and attach a loop or safety pin so you can secure it to a waistband or belt.
How do you do cat face makeup with eyeliner?
Shade a solid triangle on the tip of your nose with black eyeliner and draw a thin line down to your upper lip. Flick a few whisker lines outward from your cheeks or upper lip. Finish with winged cat-eye liner: a small diagonal line from the outer corner of each eye connected back to the lash line and filled in. Set with translucent powder so it doesn’t smudge.
What can I use for a last-minute cat costume?
Put on any all-black outfit you own, add a cat-ear headband (felt triangles glued on, or folded cardboard stapled to one), draw a nose and whiskers with black eyeliner or eyebrow pencil, and pin on a quick tail made from a stuffed old sock, a stuffed leg cut from black tights, or a feather boa twisted into shape.
How do you attach a cat tail to clothes?
One or two safety pins through the tail’s base into a waistband or belt loop is fastest. For kids or anyone avoiding pins, sew a fabric loop onto the tail base and thread it onto a belt or elastic waistband instead. A strip of hook-and-loop (Velcro) on the tail base with a matching strip pinned inside the waistband also works for an easy on/off tail.