
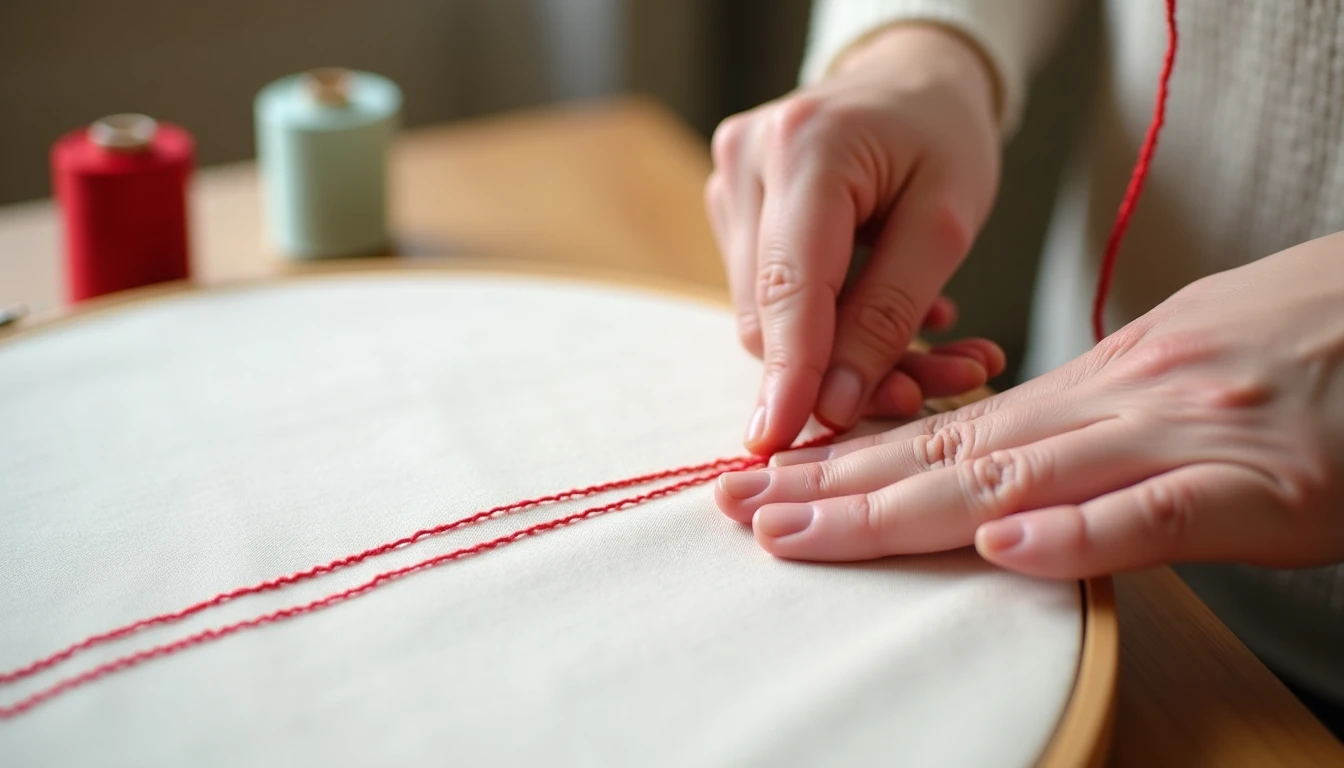
Backstitch is one word with two jobs. By hand, it’s a stitch you build a whole seam or embroidery line from, needle by needle, and it’s widely considered the strongest basic hand stitch there is. On a machine, “backstitching” means sewing a few stitches in reverse at the start and end of a seam to lock the threads so it can’t unravel. Both use the same idea, doubling back over stitching to lock it, but they show up in different parts of a project. This guide covers how to sew a backstitch by hand, when to reach for it, when to skip it on a machine, and how it fits into the broader world of hand-sewing stitches.
Some links below are affiliate links. Prices are 2025-2026 estimates and change often, so always check current pricing.
The Two Backstitches: Hand vs. Machine Backtack
It’s worth clearing this up first, because the same word covers two different techniques and beginners mix them up constantly.
The hand backstitch is a stitch you use to build an entire line, whether that’s a seam, a repair, or an embroidery outline. Each new stitch comes up ahead of the last one, then goes back down into the same hole where the previous stitch ended, which is what gives it strength and a clean, continuous look on top.
Machine backstitching (also called backtacking or reverse-stitching) only happens at the two ends of a seam that’s already being sewn forward on a machine. You sew a few stitches, reverse over them, then continue forward. It’s a locking move, not a stitch you build a whole line out of, done so the top and bobbin threads stay locked together once you trim the tails.
How to Sew a Backstitch by Hand
Here’s the step-by-step for building a hand backstitch line, whether you’re sewing a seam or outlining an embroidery design.
- Thread a needle and knot the end. Double the thread for extra strength on load-bearing seams.
- Bring the needle up through the fabric from the wrong side at your starting point.
- Take the needle back down a short distance behind the starting point (or take one small stitch backward for your very first stitch) to anchor the thread.
- Bring the needle back up one stitch-length ahead of where the thread last came out, then insert it back down into the same hole where the previous stitch ended, so the new stitch closes the gap and sits flush against the last one.
- Bring the needle back up again one stitch-length ahead, then repeat that back-and-forward motion (forward on top, back into the last hole) along the whole seam or design line.
- Keep stitches an even 1/16 to 1/8 inch (about 2-3mm) for structural seams. Go shorter on curves and lettering, and a touch longer on long straight seams.
- Keep entry and exit points right on the marked line, so the finished row looks continuous and unbroken, almost like machine stitching.
- Finish with a few small backstitches or a knot on the wrong side, then trim the thread.
A good needle makes this easier, especially on tighter weaves or doubled thread. If your current needles are bent, dull, or too thick for the fabric, a fresh pack of hand sewing needles is a cheap fix.
Where the Hand Backstitch Earns Its Place
Backstitch isn’t just a beginner exercise. It shows up in real sewing situations where nothing else does the job as well.
Repairs a machine can’t reach. Armholes, crotch seams, small pockets, anywhere a machine’s arm and bed can’t maneuver, backstitch is the go-to repair stitch, because it reproduces the strength and look of machine stitching. For a fuller rundown of repair techniques, see mending and alterations.
Whole hand-sewn seams. In slow sewing and couture construction, entire seams get sewn by hand with backstitch, either because there’s no machine handy or because a couture finish is the goal. Doubled thread is standard for any seam that will bear load.
Pick stitch and prick stitch. These couture variants take only a tiny bead of thread on the right side while the needle travels further underneath. Pick stitch skips through-layers and stays invisible on the back. Prick stitch goes through all layers and is the traditional technique for hand-picking zippers and topstitching lapels and collars.
Strength versus running stitch. Backstitch beats running stitch on durability because it gives continuous, overlapping coverage, while running stitch only touches the fabric at separate points that concentrate stress under tension. Running stitch is fine for basting and gathering. Backstitch is what you reach for when durability matters.
Backstitch in Embroidery
In hand embroidery, backstitch is the classic beginner outline stitch, used for outlining shapes, block lettering, and fine linear detail like facial features on cross-stitch and evenweave fabric, because the overlapping construction produces a clean, crisp line that’s easy to control. Shorter stitches smooth out curves and lettering.
Two decorative upgrades build on a plain backstitch foundation row. Whipped backstitch starts with a row of even backstitches, then a tapestry needle (blunt tip, so it doesn’t split the base stitches) weaves a second strand under each backstitch, consistently in one direction, without piercing the fabric. That raises the line into a smooth, corded, rope-like texture, and a contrasting color gives it a two-tone effect. Threaded backstitch is similar but laces the second thread through in a criss-cross or wave pattern instead of simple whipping, for a more textured, plaited look.
Both variants typically use standard embroidery floss, with the number of strands adjusted for the effect you want (fewer strands for fine detail, more for a bold raised line). For more outline and filling stitches to pair with backstitch, check out embroidery stitches.
Machine Backstitching Done Right
Machine backstitching locks the start and end of a seam so it can’t pull loose once you trim the thread tails. The common approach: sew a few stitches forward, press the reverse lever or button and sew about 3-5 stitches backward over them, release the lever and continue forward to sew the seam. Repeat the reverse pass, about 4-5 stitches, at the very end of the seam. Do this at both ends of any seam meant to be permanent.
If your machine has a dedicated lock-stitch or tie-off button, that’s a solid alternative. Instead of reversing over a run of stitches, it sews about 3-5 tiny stitches in place, essentially tying a knot rather than doubling the seam line. It’s less bulky and works well on fine fabrics or anywhere you don’t want extra thickness.
When Not to Backstitch
Backstitching is the default for permanent seams, but a few spots actually cause problems.
Gathering and basting stitches. Gathering threads need to stay unsecured so you can still pull them; basting is meant to come out later. Backstitching locks both in place and defeats the point.
Dart tips. This is the one that trips people up most. Backstitching right at the point of a dart creates a hard lump or dimple exactly where the seam needs to taper smoothly to nothing. Instead, shorten your stitch length to about 1.5mm for the last inch before the point, stitch off the fold at the very tip, and leave 3-4 inch thread tails to hand-tie in a knot rather than reversing over it. For more on getting darts and other shaping details right, see pleats, gathers, and darts.
Quilting and piecing seams crossed by another seam. The raw ends get caught and secured inside the next seam’s allowance anyway, so backstitching there just adds bulk. The same goes for straight-line quilting stitched off the edge into the backing and batting, since the ends get secured in the binding.
Whenever a lock-stitch or tie-off function is available. It ties an actual tiny knot rather than doubling a run of stitches, a less bulky finish that’s useful on fine fabrics and near dart points.
Troubleshooting
Line looks uneven or wobbly. Mark the stitching line first with chalk, a water-soluble pen, or a printed pattern, and take smaller, more consistent bites. Shorter stitches are easier to keep straight on curves and lettering.
Thread shreds or frays on thick fabric. Use a shorter length of thread per needle-full, since a long thread dragged repeatedly through coarse fabric wears out faster. A thimble reduces friction, and a slightly heavier or waxed thread holds up better on dense fabrics.
Machine jams or fabric bunches at the edge. Don’t start exactly at the raw edge. Lower the needle about 1/4 to 1/2 inch in first, then backstitch back to the edge before sewing forward. This keeps the edge from getting pulled into the needle plate and jamming the feed dogs, common on lightweight fabric.
Dart tip forms a dimple. Never backstitch directly at the point. Shorten the stitch length to about 1.5mm for the final inch, stitch the last couple of stitches along the fold, then leave 3-4 inch thread tails and hand-tie a knot instead of reversing over the point.
Want more patterns to practice these stitches on? The Sewing Pattern Secrets pattern library has 155+ printable PDF sewing patterns to print at home and sew straight away.
Frequently Asked Questions
What is a backstitch used for?
By hand, it sews strong seams (especially where a machine can’t reach), mends and repairs, and works as the classic outline and lettering stitch in embroidery, plus its pick-stitch and prick-stitch variants for couture topstitching and hand-picked zippers. On a machine, “backstitching” means locking the start and end of a seam by sewing a few stitches in reverse so it can’t unravel.
How do you sew a backstitch by hand?
Bring the needle up through the fabric, then insert it back down at the end of the previous stitch while bringing it back up one stitch-length ahead on top. Repeat this motion along the stitching line, keeping stitches an even 1/16 to 1/8 inch for seams (shorter for curves and lettering), so the stitches sit edge-to-edge with no gaps.
Is backstitch the strongest hand stitch?
Yes. It’s widely regarded as the strongest basic hand stitch because each stitch overlaps the last, giving continuous, gap-free coverage along the whole seam, unlike a running stitch, which only contacts the fabric at separate points and concentrates stress there under tension.
When should you not backstitch on a machine?
Skip it on gathering stitches and basting (both need to stay loose or removable), at dart tips (it causes a dimple, so tie off by hand instead), on quilt-piecing seams crossed by another seam, and whenever a machine’s lock-stitch or tie-off button is available instead.
How many stitches should you backstitch?
The common guidance is about 3-5 stitches in reverse at the start of a seam, then 4-5 in reverse again at the end, sewing back over the same line before continuing forward, enough to lock the threads without adding excess bulk.
What is a whipped backstitch?
It’s a decorative embroidery variation made by first stitching a row of even backstitches, then whipping (weaving) a second thread under each stitch with a blunt tapestry needle without piercing the fabric. This raises the line into a corded, rope-like texture, often used for lettering and borders, and can be worked in a contrasting color for a two-tone effect.