
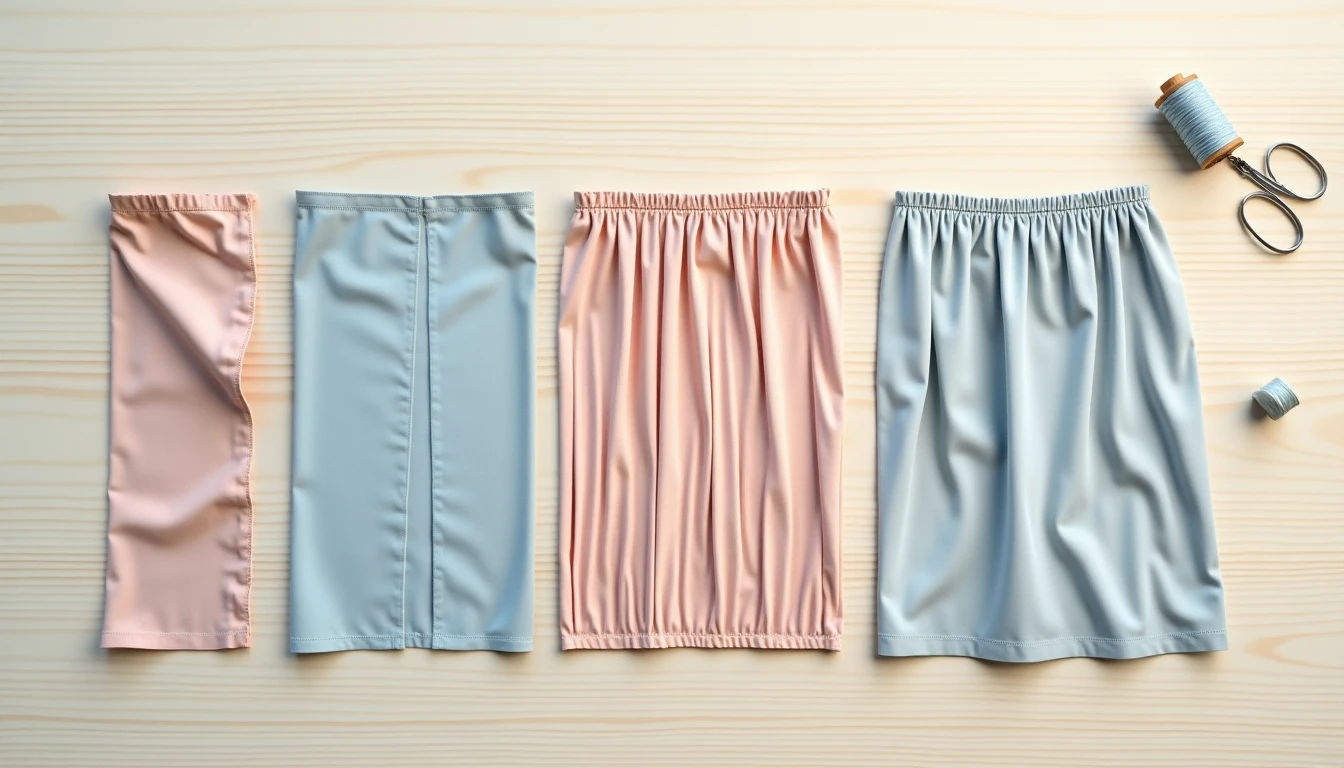
Your pattern says “sew the dart,” and you stop cold. What is that little triangle, and why does the fabric suddenly need one? If you have ever felt that freeze, or watched your first attempt come out puckered and wonky, you are in exactly the right place. Learning how to sew darts is the moment flat fabric starts to feel like a real garment, and it is far simpler than it looks.
This one page covers all three (really four) ways flat fabric gets shaped into a body: darts, gathers, pleats, and tucks. Each is just a controlled way of taking a flat piece and giving it a curve or some fullness. Your body is round, fabric comes off the bolt flat, and shaping is what bridges the two.
Fabric shaping is one of the core sewing techniques every home sewist grows into, and you can absolutely learn it. Let’s make each method feel small.
How Fabric Gets Its Shape: Darts vs Gathers vs Pleats vs Tucks
All four shaping methods do the same job, turning flat fabric into a body shape, but they do it in opposite ways. Knowing which is which is what stops you reaching for the wrong one.
Each term, defined the first time you meet it:
- Dart: a stitched wedge, shaped like a triangle, that removes fullness so the fabric curves inward toward the body. “Fullness” just means extra fabric. Darts show up at the bust, waist, and hips wherever a garment needs to nip in.
- Gathers: soft, even, organic fullness created by drawing fabric up along a stitch line. Think puff sleeves and gathered skirts.
- Pleats: structured, uniform folds that add controlled fullness and stay crisp. Think of a classic pleated school skirt.
- Tucks: folds of fabric stitched down flat, mostly decorative, sometimes lightly shaping.
The mental model is worth holding onto. Darts subtract fabric. Gathers and pleats add it. The difference between gathers and pleats is soft versus structured. Tucks are simply folds you sew down flat. Once that clicks, every pattern instruction starts to make sense.
A few supporting terms will keep the later sections clean. The right side of fabric is the outer face that shows when the garment is worn; the wrong side faces in. Seam allowance is the strip of fabric between your stitching line and the raw edge, usually 1.5cm or 5/8 inch. Ease is the small amount of extra room a pattern builds in so you can move and breathe.
Shaping is a core part of how a garment is built, so it fits naturally into the wider garment construction guide. The dart is the method most beginners meet first, so that is where we start.
How to Sew a Dart Step by Step
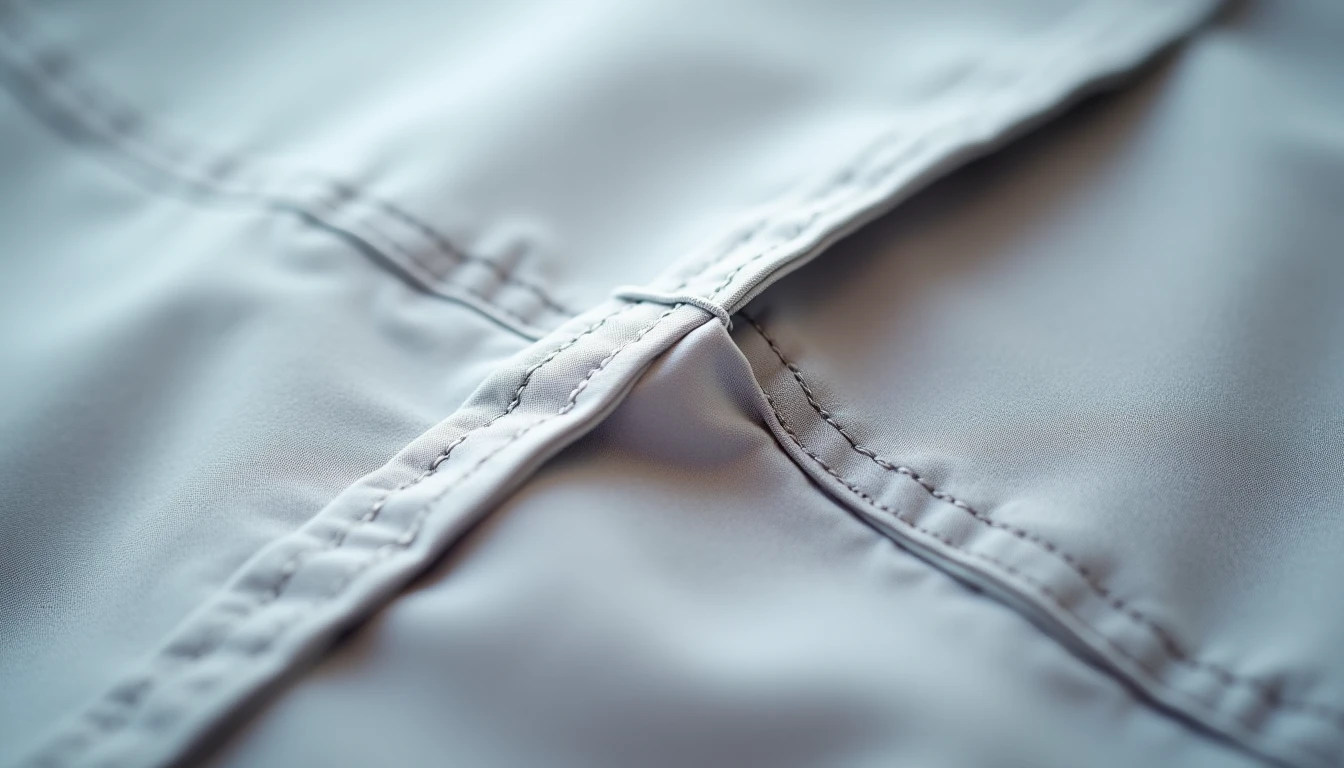
A dart is genuinely just three moves: fold, stitch to a point, tie off. Get the sequence right and you end up with a smooth, pucker-free dart on your first honest try.
First, the terms. The dart legs are the two marked lines you fold together and match up. The dart point (or apex) is the tip that tapers away to nothing. The bobbin is the lower thread, wound onto a small spool that sits under your fabric.
Follow this method for a basic single-point straight dart:
- Transfer the dart markings, both legs and the point, to the wrong side of the fabric right after cutting, before the pieces shift.
- Fold the dart with right sides together, matching the two legs. Pin along the line, with a pin at the tip and one in the middle.
- Start at the wide end, take a couple of anchoring backstitches, then stitch along the marked line toward the point.
- About 1cm (3/8 inch) from the tip, shorten your stitch length to roughly 1.0 to 1.5mm (down from a normal 2.0 to 2.5mm), and curve the last two or three stitches slightly so they hug the fold.
- Sew right off the edge of the fold at the tip. Do not backstitch the point.
- Leave long thread tails, lift the fabric off the machine, and hand-tie the tails in a knot.
- Press the dart flat as sewn to set the stitches, then press it to one side over a curved surface. Vertical darts press toward center front or center back; horizontal darts press downward.
Shortening the stitch near the tip and tying off instead of backstitching keeps bulk out of exactly the spot that needs to taper to nothing.
The common mistake here is not your pressing. That pucker at the tip almost always comes from keeping too straight and aggressive a stitching angle all the way into the point. Curving those last few stitches to follow the fold is the fix. If straight stitching or backstitching still feels shaky, our stitches and seams guide walks through the basics.
Practicing on a simple pattern is the fastest way to make darts feel automatic. Our library of 155+ printable PDF sewing patterns, with step-by-step instructions and video tutorials, is full of beginner-friendly pieces to practice shaping on: browse the pattern library. The first dart is the hardest one you will ever sew.
Types of Darts and How to Sew Each One
Not every dart is a simple triangle. Two of the three common types need a small change to the method, and skipping it is exactly why bust darts point and contour darts pucker.
Straight (single-point) dart. This is the basic triangle from the section above, used at the waistline and back shoulder. The method you just learned covers it completely, so there is nothing new to memorize.
Curved (bust) dart. This is a single-point dart shaped to follow the curve of the bust. The key difference is pressing. Press it over a tailor’s ham, which is a firm, ham-shaped cushion that mimics a body curve (a tightly rolled towel works as a substitute), rather than flat on the board, so the curve is molded in. One pattern tip before you cut: lower the dart point at least 2.5cm (about 1 inch) from the true bust point to avoid a pointy, unnatural apex.
Double-pointed (contour or fish-eye) dart. This diamond shape is really two darts in one, used at the waist of dresses and fitted jackets. Sew it like this:
- Fold with right sides together and match the notches at both ends.
- Start at the center, the widest point, with a backstitch. Sew out to one tip, tapering the stitch as you go, and finish with no backstitch.
- Return to the center, overlap your earlier backstitching to lock it, then sew out to the opposite tip the same way.
- Clip horizontally at the widest middle point to release tension so the dart lies flat.
- Press it open toward the center of the garment, over a ham.
That middle clip is the step beginners skip, and it is what stops the waist from bunching. From here, we move from taking fabric away to adding it.
How to Gather Fabric: The Two-Row Method Plus Faster Alternatives
Gathering is really just two rows of loose stitching and a gentle pull. The trick that makes it even, rather than a bunched mess, is knowing which thread to pull.
Basting means long, temporary stitches you will remove later. The reliable two-row method goes like this:
- Set your machine to its longest straight stitch, around 4.0 to 5.0mm.
- Sew a first row inside the seam allowance, leaving long tails and no backstitch.
- Sew a second row about 1/4 inch (0.6cm) from the first, still inside the seam allowance. The gap between the rows keeps the fabric from twisting as you pull.
- Tie off the tails at one end so pulling from the other end does not loosen them.
- From the free end, pull only the bobbin threads (the looser threads on the underside), sliding a finger along to feed the gathers.
- Gather to the measurement you need, distribute the fullness evenly by eye, then pin the piece with the gathered layer facing down against the feed dogs when you sew the real seam.
- Reset the stitch length to normal before the permanent seam, then press without flattening the gathers, working the iron only up to the stitch line, not over the folds.
When you need speed or your fabric fights you, three alternatives help. A gathering presser foot (a snap-on attachment) set to a 3 to 4mm straight stitch with raised tension gives soft gathers, ideal for lightweight fabric. Zigzagging over a laid-in cord, like embroidery floss or even dental floss, then pulling the thick cord, is easier to pull and far less likely to snap. For knits, reach for clear elastic or elastic shirring bobbin thread instead.
The most common frustration is a snapped gathering thread from pulling too hard or too far from the fabric. Pull close to the fabric and ease it along gently. If fine thread keeps breaking, the zigzag-over-cord method is your reliable fix. Gathers give softness; pleats give the crisp opposite.
How to Sew Pleats: Knife, Box, Inverted, and Accordion

Every pleat, from a school-skirt knife pleat to a formal box pleat, is built from the same move: fold, press, baste. The fancy names only describe which way the folds face.
The core method works for all of them:
- Mark the fold lines accurately, using notches at both the top and bottom edges so the folds stay straight and parallel.
- Fold along the marked lines and press a crisp crease.
- Baste across the top to hold the pleats in place before final construction.
- Give a final press or steam once the seams are set.
The taxonomy comes down to fold direction:
- Knife pleat: all folds face the same direction.
- Box pleat: two knife pleats folded away from each other, opening outward.
- Inverted box pleat: two knife pleats folded toward each other, meeting at a center point, so the fullness is hidden.
- Accordion pleat: narrow, tightly and evenly spaced folds, like a bellows.
A real skirt shows how this plays out. You might mark a stop point about 14cm down from the waist, stitch each pleat from the waistline only to that mark, then leave the rest free to swing below it. A center inverted box pleat flanked by knife pleats folded toward the front is a common, tidy layout. If you sew pleats often, a ruffler foot forms them mechanically, with a lever that drops a tuck every 1, 6, or 12 stitches for repeatable spacing.
Pleats eat fabric, so plan for roughly 2 to 3 times the finished width. To pin that down instead of guessing, sew a test strip, then divide the original length by the finished pleated length. That number is your “ruffle factor,” the multiplier telling you how much fabric to cut for the look you want.
The usual mistake is marking only one edge, which leaves pleats mismatched and leaning. Mark both the top and bottom with notches and the folds stay parallel down their whole length. Next comes the simplest fold of all.
Tucks: The Simplest Shaping Fold
If you can sew a straight line near a fold, you can sew a tuck. It is the friendliest shaping method to practice on, with almost nothing to go wrong.
A tuck is a fold of fabric stitched down along its length. A pin tuck is a very narrow tuck, usually 1/8 to 1/4 inch wide, used mostly for decorative texture and light shaping on bodice fronts, cuffs, and heirloom sewing.
Sew one like this:
- On the right side of the fabric, mark straight parallel lines, typically 1/8 to 1/4 inch apart.
- Fold along each line, check it is straight and on-grain, then press.
- Stitch along the fold with a normal straight stitch (2.0 to 2.5mm). A pintuck foot’s grooves keep the spacing even, but careful eyeballing works too.
- Press each tuck gently to one side with a steamy iron.
Keep tucks in lightweight fabric. Heavy cloth gets bulky fast when tucks sit close together. With tucks covered, you now know all four shaping methods. The next question is when to reach for each one.
Darts vs Gathers vs Pleats vs Tucks: Which to Use When
Most of the time your pattern picks the method for you. But when you are altering a garment or drafting your own, this table tells you which one to reach for.
| Method | Effect / look | Best for | Fabric |
|---|---|---|---|
| Dart | Removes fullness, precise contour | Fitted bodice, waist, hip shaping | Wovens, structured fabric |
| Gathers | Soft, even, organic volume | Gathered skirts, puff sleeves, ruffles, cuffs | Light or drapey wovens, knits (with elastic) |
| Pleats | Structured, crisp, uniform folds | Pleated skirts, controlled waistline fullness | Crisp or medium wovens that hold a press |
| Tucks | Decorative texture, light shaping | Bodice fronts, cuffs, heirloom detail | Thin-to-medium fabric |
The tie-breaker is simple. Choose darts to take fabric away and pull the garment in close to the body. Choose gathers or pleats to keep fullness in. Between those two, pick by the look you want: soft and flowing means gathers, crisp and tailored means pleats. Reach for tucks when the goal is decoration more than fit.
For the bigger picture of choosing among all your sewing techniques, the technique hub ties these decisions together. Now for what to do when a shaping method fights back.
Common Fabric Shaping Mistakes and How to Fix Them
Almost every shaping problem comes down to one of four small habits. If your darts are coming out wonky, puckered, and creased rather than neat, you are not doing anything unusual, and each fix is quick.
1. Puckered dart point. The cause is too straight or steep a stitching angle into the tip, often paired with backstitching there. Taper the stitch length near the point, curve the last two or three stitches to hug the fold, tie off instead of backstitching, and press over a tailor’s ham rather than flat.
2. Uneven gathers. This happens when you try to distribute the fullness before the measurement is right, or the presser foot pushes the gathers around. Gather to the measurement first, then even them out, and sew with the gathered layer against the feed dogs.
3. Snapped gathering thread. The cause is pulling too hard or too far from the fabric. Pull the bobbin threads close to the fabric and ease them along. If fine thread keeps breaking, switch to the zigzag-over-cord method, since thick floss resists snapping.
4. Mismatched pleats. This comes from marking only one edge. Mark the fold lines at both top and bottom with notches, press each crease crisp, and baste across the top before construction.
One bonus habit checks all of these mid-sew: watch whether your bobbin thread color shows through on the top of the work. If it does, your top tension is too tight, so drop it a notch and test again.
The surest fix for every one of these is reps on a low-stakes project. Our library of 155+ printable PDF sewing patterns gives you beginner-friendly pieces to practice darts, gathers, and pleats on before you cut into your good fabric: start with a simple pattern. Shaping is the step that turns flat panels into a garment, and it slots right into finishing, covered in our garment construction guide.
Fabric Shaping FAQ: Darts, Gathers, and Pleats
How do you sew a dart without a pucker?
Taper the stitch length to about 1.0 to 1.5mm as you near the tip, and curve the last two or three stitches so they hug the fold. Do not backstitch the point; tie the thread tails by hand instead. Finally, press over a tailor’s ham rather than flat, so the dart molds to a body curve.
Which way do you press a dart?
Press it flat as sewn first to set the stitches into the fabric. Then press it to one side: vertical darts toward the center front or center back, and horizontal or bust darts downward. For curved and bust darts, press over a rounded tailor’s ham so the shape sets into a smooth curve rather than a flat crease.
How do you gather fabric fast?
Use a gathering foot set to a 3 to 4mm straight stitch with the tension raised, which produces soft gathers in one pass. Alternatively, zigzag over a laid-in cord like embroidery or dental floss and pull that cord. Both are quicker than fine basting thread and far less likely to snap.
What is the difference between pleats and gathers?
Both add fullness, but they look and feel opposite. Pleats are structured, crisp, uniform folds that you press in and that hold their shape. Gathers are soft, organic fullness drawn up along a stitch line. Choose pleats for a tailored, tidy look and gathers for a soft, flowing one.
Do you sew darts before or after seams?
Sew darts first, while the fabric piece is still flat and easy to handle. A dart is much simpler to fold, stitch, and press before it is attached to anything. Once your darts are done and pressed, join the piece to its neighbors at the seams.
How much fabric do you need for gathers or pleats?
Plan for roughly 2 to 3 times the finished width as a starting point. For an exact figure, sew a test strip in your actual fabric, measure it before and after gathering or pleating, and divide the original length by the finished length. That “ruffle factor” tells you precisely how much to cut.
Once darts, gathers, and pleats feel comfortable, the next skill is only a page away in our full sewing techniques guide.