
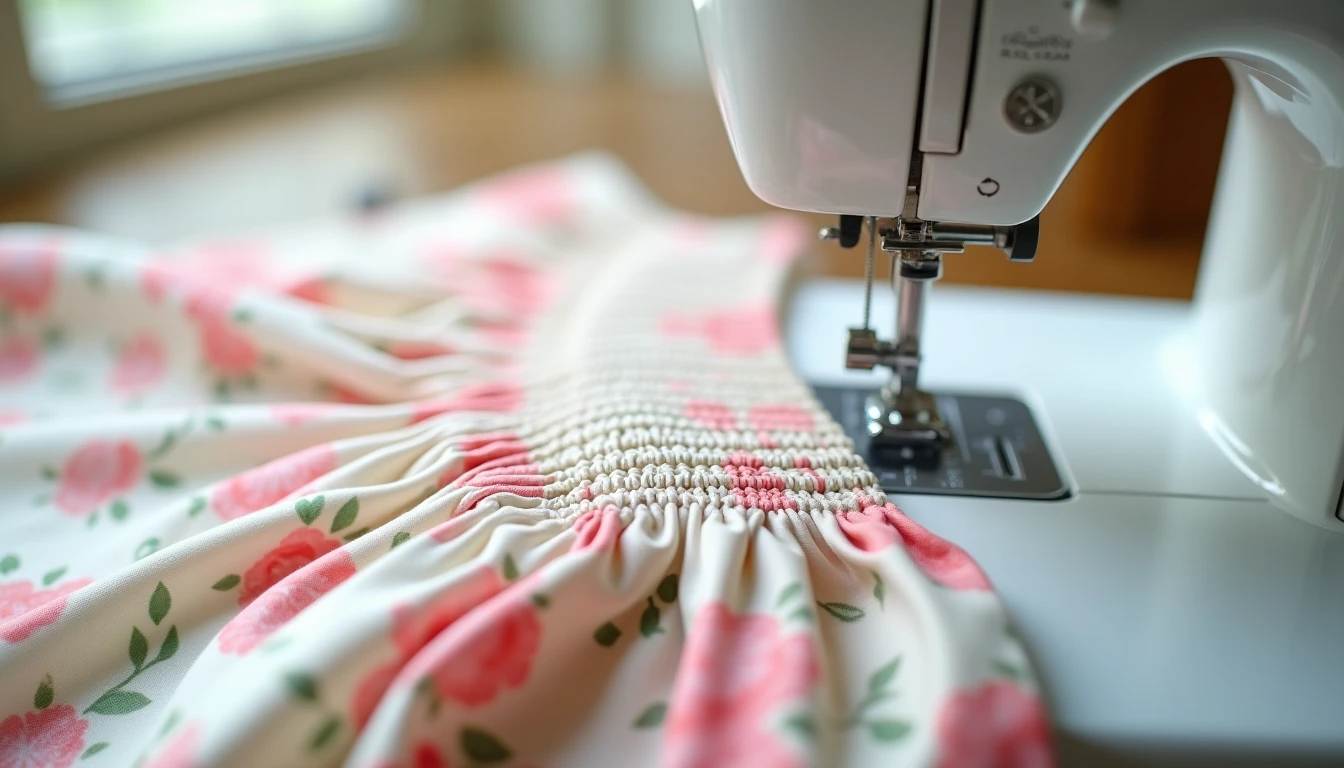
If you’ve worn a sundress with a bodice that hugs your ribcage without a button or zipper, you’ve worn shirring. It’s the technique behind nearly every summer sundress bodice, plenty of elasticized waistbands, and the stretchy backs on kids’ dresses. All it takes is elastic thread, a bobbin, and a few rows of straight stitching. Shirring sits in the same family as pleats, gathers, and darts, the shaping tools sewists use to fit flat fabric to a body (see pleats, gathers, and darts for the bigger picture). This guide covers shirring alone: the bobbin setup, machine settings, and the steam trick that finishes the look.
Some links below are affiliate links. Prices are 2025-2026 estimates and change often, so always check current pricing.
What Shirring Is (vs Gathering vs Smocking)
Shirring is a machine technique. You wind elastic thread onto a bobbin, load it like normal bobbin thread, and sew several parallel rows of straight stitching with regular thread on top. Each row pulls the fabric into small gathers underneath. One row alone does almost nothing; stack five, ten, or fifteen and you get a stretchy panel that expands to fit and springs back when you take it off.
That’s different from ordinary gathering, where basting stitches get pulled up to bunch fabric into a fixed width, like the top edge of a ruffle, with no elastic and no stretch afterward. See our guide on how to sew ruffles for that fixed-gather approach.
Shirring also gets confused with smocking. Traditional smocking is hand-stitched with embroidery floss in decorative patterns like honeycomb or cable over pre-formed pleats, decorative, non-stretch, and it eats roughly 3x the flat fabric width. Shirring needs only about 1.5-2x the fabric width and gets its stretch from the elastic thread itself. “Smocked bodice” gets used loosely for a machine-shirred one, but the tools and results differ.
The Bobbin Is Everything
Shirring lives or dies on the bobbin. Get this right and the rest is easy.
- Hand-wind the elastic thread onto an empty bobbin, letting it wrap on its own without stretching or pulling it taut, so it sits near its relaxed length and can contract fully once sewn.
- If you use the machine’s bobbin winder instead, run it slow and guide the thread lightly with your fingers rather than letting the machine’s tension stretch it. Drop-in machines sometimes do better machine-wound, so test both ways.
- Fill the bobbin only two-thirds to three-quarters full, not to the top, or it can bind and feed unevenly. Keep regular thread in the needle; only the bobbin gets the elastic.
- On a top-loading (drop-in) bobbin, thread the elastic through the small tension notch in the bobbin case, same as normal bobbin thread. That notch gives it the resistance it needs so it doesn’t loop on the fabric back.
- On a front-loading bobbin case, thread it through the tension spring as usual. If gathering looks weak, loosen the tension screw a quarter to half turn counterclockwise (tighten if too loose), adjusting in small increments and testing on scrap.
- Always start with fresh elastic thread. Old spools harden and lose stretch, sometimes after just a year in storage, a common overlooked cause of weak gathers. Grab elastic thread on Amazon if yours has been sitting a while.
New to bobbins and tension in general? Our sewing machine basics guide covers that groundwork first.
Machine Settings
Set a straight stitch with a long stitch length, generally 3-4mm (near the maximum on some machines, sometimes labeled 4-5), so the elastic has room to pull gathers in.
Leave the top thread tension at its normal default; most well-known tutorials say not to touch it. A few sewists nudge it up slightly if gathers still look weak after steaming, but treat that as a last resort, changing only one thing at a time.
Sew with the right side of the fabric facing up. The bobbin thread, your elastic, always lands on the wrong side, so a right-side-up seam keeps it hidden on the inside.
Whatever settings you land on, test on a scrap of your actual fabric first, results vary by machine, bobbin case, and fabric weight.
Sewing the Rows
- Mark the first row with chalk and a ruler so the shirred section starts exactly where you want it, at the natural waist for instance.
- Space rows about 1/2 inch apart, though tutorials range from roughly 3/8 inch (presser foot edge as a guide) to 3/4 inch. Closer spacing gives a finer gather, wider spacing a puffier look.
- Sew every row in the same direction rather than alternating, to keep gathering even and stop the fabric from twisting.
- Hold the fabric flat and slightly taut in front of and behind the presser foot with both hands, so it’s the elastic creating the gather, not accidental puckers.
- Expect the first couple of rows to barely gather anything. That’s normal; the effect is cumulative and only looks dramatic after several rows.
- Aim for a practical minimum of 5-6 rows. Full bodice or waistband panels typically use 8-15+.
- Don’t backstitch over elastic thread, it tends to jam in the bobbin case. Instead, pull both tails to the wrong side and hand-tie them, or take one or two tiny stitches at a shortened stitch length first.
The Steam Trick
This is the step that separates loose gathers from tight, professional-looking shirring, and most tutorials treat it as the essential finishing move. Once all your rows are sewn, apply steam to shrink the elastic thread further.
Set your iron to hot steam and hover it about an inch above the shirred rows, moving continuously, or lightly mist the area with water and lower the iron onto the right side, still keeping it moving. Do both front and back for the strongest effect.
Never let a hot iron rest directly on the elastic side (the wrong side, where the bobbin thread sits). Sustained direct heat can melt the elastic instead of shrinking it, so keep the iron moving or hovering rather than pressing down and holding still.
Fabric and the Math
Lightweight, drapey wovens gather best: cotton lawn, voile, double gauze, chiffon, batiste, and rayon challis. Lightweight quilting cotton and light poly-blends work reasonably well too. Heavy or stiff fabrics (canvas, denim other than thin dress-weight, flannel, wool suiting, home-dec fabric) resist gathering because the elastic isn’t strong enough to pull that much bulk in. Knits can technically be shirred, but it’s rarely done since they already stretch on their own.
Because shirring pulls fabric in so much, cut the panel far wider than the finished measurement, typically 1.5 to 2 times the target, roughly a 40-60% width reduction once every row is sewn and steamed. Shirring patterns often call for at least 8-10 inches of extra ease. Final shrinkage depends on fabric weight, row count, and how much you steam, so a test swatch is the only reliable way to know your exact ratio before cutting garment fabric, the exact math behind sundress bodices, where a shirred panel needs to stretch over the bust and ribcage while still looking gathered rather than baggy.
Troubleshooting
Fabric isn’t gathering at all, or barely gathers. The bobbin was likely wound too loosely, or the elastic isn’t seated in the tension notch or spring. Rewind by hand with firmer, even tension (still without stretching it), and rule out old thread.
Elastic or top thread keeps breaking mid-row. Top tension is probably too high, or the bobbin was wound too tight. Lower the top tension slightly and rewind without pulling the elastic taut.
Rows come out crooked or uneven. Mark guide lines with chalk first, and sew using a consistent reference, the presser foot edge, a seam guide bar, or the previous row. Keep the fabric taut and flat with both hands.
Elastic thread shows on the right side. The fabric was sewn upside down. Elastic belongs in the bobbin and should land on the wrong side; sew right side up.
Gathers look weak or relax over time. Steam heavily, front and back. Add more rows, or shorten the stitch length so more elastic packs into each row. Hand-wash finished garments rather than machine-washing and tumble-drying, which stretches elastic out over time.
If you’d rather skip the trial and error, our library of 155+ printable PDF sewing patterns at Sewing Pattern Secrets has shirred-panel projects already mapped out.
Frequently Asked Questions
What is shirring in sewing?
Shirring creates stretchy, gathered fabric panels by sewing parallel rows of straight stitches with elastic thread in the bobbin and regular thread on top. Rows of elastic pull the fabric into even gathers, giving it stretch and a smocked-like texture. It’s commonly used on sundress bodices, waistbands, and cuffs.
How do you wind a bobbin with elastic thread?
Hand-wind it onto an empty bobbin without stretching or pulling it taut, letting it wrap at its natural relaxed length, and fill the bobbin two-thirds to three-quarters full. On top-loading bobbins, thread it through the small tension notch; on front-loading cases, thread it through the tension spring and adjust the screw slightly if needed. Always test on scrap first.
What stitch length should I use for shirring?
A long straight stitch, generally 3-4mm, near the longer end of most stitch length dials. Leave top thread tension at its normal default to start, and only adjust it if a test swatch shows weak gathering.
Why is my shirring not gathering?
Usually a bobbin wound too loosely, or elastic not threaded through the tension guide. Rewind with firmer (not stretched) tension, confirm it’s seated in the notch or spring, switch to fresh elastic thread, and steam the finished rows to tighten the gather further.
What is the steam trick for shirring?
After sewing all your rows, hold a hot steam iron just above the shirred fabric (or lightly mist with water and press) on both front and back. The heat and moisture shrink the elastic further, tightening and evening the gathers. Keep the iron moving or hovering rather than resting on the elastic side, since prolonged direct heat can damage it.
How much wider should fabric be for shirring?
Cut the panel roughly 1.5 to 2 times the finished body measurement, for example 1.5x your waist for a shirred waistband. This accounts for the roughly 40-60% width reduction once all rows are sewn and steamed.