
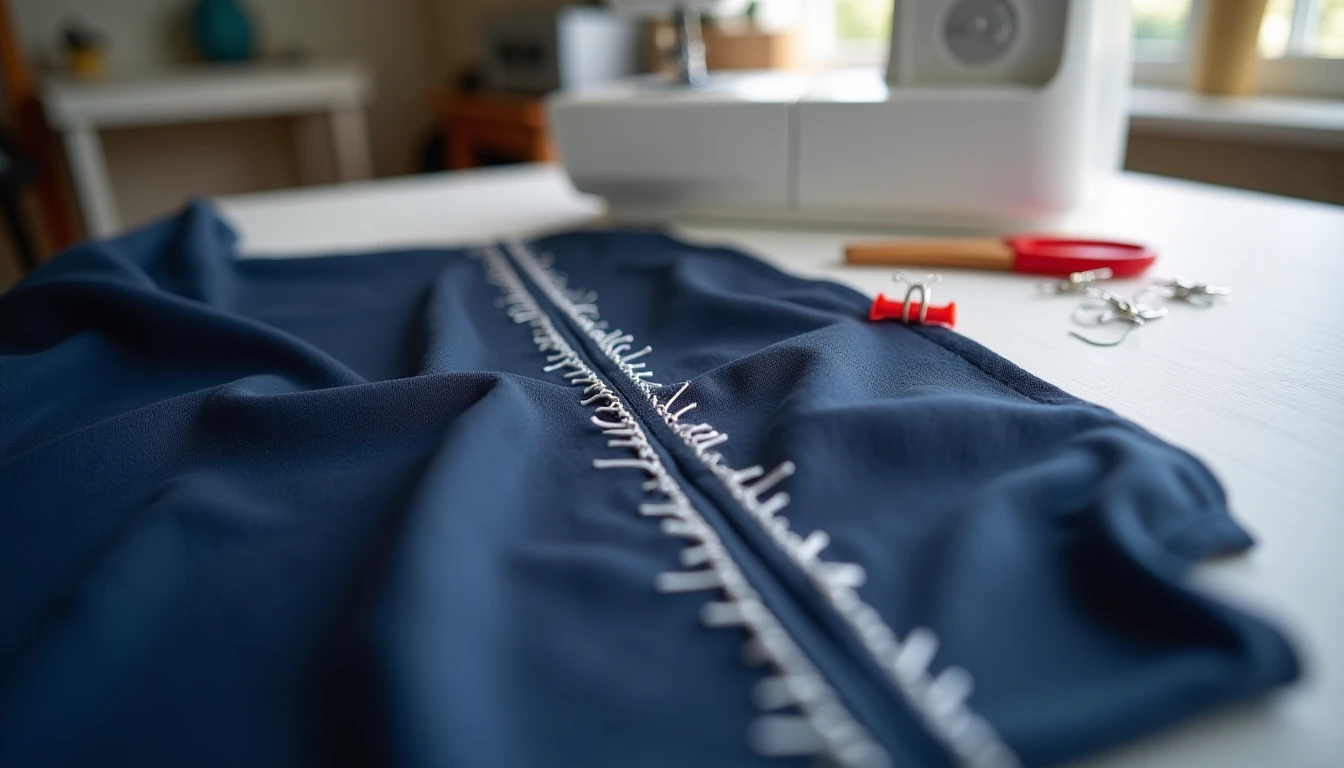
A basting stitch is cheap insurance. It takes ten minutes now so you don’t lose an evening later, unpicking a sleeve that’s twisted, a zipper that puckers, or a plaid that doesn’t line up. If you already know your way around a running stitch and a backstitch, basting is the missing piece that ties those skills together before the permanent seam goes in. For a refresher on the stitches basting builds on, see our guide to hand sewing stitches.
Some links below are affiliate links. Prices are 2025-2026 estimates and change often, so always check current pricing.
What Basting Is
Basting is temporary stitching that holds two or more layers of fabric together before you commit to the permanent seam. It comes in three forms: hand basting, sewn with a needle and long running stitches; machine basting, done on your sewing machine at its longest stitch setting; and pin or adhesive basting, which skips thread altogether in favor of pins, clips, spray, or tape.
What ties all three together is that they’re built to come out fast. No backstitching, no tight knots, no locked-in tension. Every basting method is designed so you can snip it and pull it free in seconds once the permanent seam is done and you’re ready to move on.
Hand Basting
Hand basting is the most flexible form, and it’s worth learning properly since it shows up in fitting, zippers, tailoring, and more.
- Thread a needle with a contrasting color so the basting stands out against your fabric and you can spot every stitch when it’s time to remove it.
- Secure the start with a single loose knot, or a couple of small backstitches, rather than a tight knot that’s hard to pick out later.
- Sew a running stitch about 1/4 to 1/2 inch long, just inside or directly on your intended seamline.
- Leave the thread end loose or knotted lightly at the finish, so it pulls out cleanly.
- For fine or delicate fabrics such as silk, velvet, or wool, especially if the garment needs pressing before the basting comes out, switch to silk basting thread. It’s slippery and won’t leave press marks even under steam.
A few variants are worth knowing by name, since patterns and tailoring books reference them directly:
- Even basting: stitches and spaces are the same length, usually around 1/4 inch each. This is your everyday basting stitch for seams, muslins, and fitting.
- Uneven basting: alternates a long stitch with a short one, giving a bit more grip in one direction. Good for basting a hem or holding a folded edge without adding bulk.
- Tailor basting (diagonal basting): diagonal stitches worked in parallel rows to hold flat layers together over a wider area. It’s the classic tailoring method for keeping canvas, interfacing, and lining flat against the outer fabric of a jacket or coat, and for holding layers still during a fitting.
- Thread tracing: long, even basting stitches sewn on the right side of the fabric to mark seamlines, pocket placement, or foldlines directly on the cloth, visible from both sides without chalk or pen.
Machine Basting
When hand basting would take too long, or you just need to hold a long seam in place, machine basting does the job faster.
Set your stitch length to the longest your machine allows, typically 4 to 5mm on most home machines, though some go up to 6 or 9mm. The detail that actually makes machine basting easy to remove later is loosening the top thread tension slightly, often down to around 2 to 4. Without that, even a long stitch can lock in tighter than you want.
Skip the backstitch entirely at the start and end, and leave long thread tails so you have something to grip when it’s time to take the basting out. Removal is simple: snip a few stitches, then pull the bobbin thread. The loosened top thread lets go with it.
A close relative of machine basting is ease-basting, used mainly on sleeve caps. Sew one or two parallel rows of long machine stitches just inside the seam allowance, then gently pull the threads to gather in a small amount of ease before setting the sleeve into the armhole.
Five Places Basting Saves the Project
Basting earns its keep in a handful of situations where a mistake is expensive to fix after the fact.
Set-in sleeves and fitting. Ease-baste the sleeve cap, baste the sleeve into the armhole, and try the garment on before you commit to the permanent seam. It’s far easier to adjust ease or fit at this stage than after the sleeve is fully sewn. The same logic applies to baste-fitting a muslin or a nearly finished garment: baste it together, try it on, mark your changes, and rip out the basting quickly for adjustments before you cut into good fabric. For more on this kind of fitting work, see our guide to garment construction.
Centered zippers. Baste the seam completely closed at a long stitch length first, then press it open. Position and hand-baste the zipper to the seam allowance, then do your final topstitching. Once the zipper is permanently stitched, remove the seam basting with a seam ripper. Our full walkthrough on how to sew a zipper covers this baste-the-seam-closed method step by step.
Matching plaids and stripes. Hand-baste the seam from the right side so you can see the pattern lines lining up before committing to a machine seam. It’s much easier to unpick and reposition a few basting stitches than a locked machine seam that’s off by a quarter inch.
Slippery or fine fabrics. Silk, chiffon, and satin shift under a presser foot and can be distorted or marked by pins. Thread basting holds the layers accurately while you sew, without the fabric creeping out of place.
Tricky hems. Basting a hem in place before blind-hemming or topstitching keeps it from shifting, especially on bulky, slippery, or curved hems.
One more place basting shows up is the quilt sandwich, but that’s its own topic with its own techniques (thread, safety pins, or spray, depending on the project). See our full how to quilt guide for that process rather than duplicating it here.
Pins, Clips, Tape: When You Can Skip Thread
Thread basting isn’t the only option, and honestly, it isn’t always the fastest one.
Pins work fine for simple, flat seams, but they can shift slippery fabric and aren’t great to sew over at speed. Wonder clips avoid needle holes altogether and hold bulky or thick layers, like vinyl, leather, or multiple layers of quilt binding, better than pins can. Basting spray is a temporary adhesive that bonds layers together, though it’s used mainly for quilt-sandwich basting rather than garment seams. Wash-away basting tape is a narrow double-sided tape you can sew directly through; it holds zippers, hems, and appliques in place and disappears in the first wash, which makes it a fast alternative to pinning or hand basting in tight spots. Fusible basting tape works the same way but is heat-activated with an iron instead.
A set of wonder clips or wash-away basting tape is worth keeping in your kit for these quick jobs.
That said, thread basting still wins in a few situations: whenever you need to check fit, match a plaid or stripe, ease a sleeve cap, or work with fabric that pins would mark or distort. Anywhere you need to adjust, test, or remove the temporary hold cleanly before the permanent seam, thread is the more reliable choice.
Removing Basting Without Drama
As a rule, remove basting stitches before your final pressing on most fabrics. Pressing over basting can leave impressions in the cloth that are hard to steam out afterward.
To take it out, snip the thread every few stitches with a seam ripper or small scissors, then pull the loose pieces free with your fingers or tweezers. For machine basting, pulling the bobbin thread will draw the loosened top thread out along with it.
The exception is fine fabrics like silk, velvet, or wool, which sometimes need to be pressed while the basting is still in place to hold the layers still during that step. In that case, silk basting thread is the reason it works, since it won’t leave a mark even when pressed. Either way, basting only comes out after the permanent stitching is sewn and the fit or placement has been confirmed. Pull it too early and you’ve undone the whole point of basting it in the first place.
If you’d rather work from a library of ready-to-print patterns while you practice these techniques, our 155+ printable PDF sewing patterns library is worth a look.
Frequently Asked Questions
What is a basting stitch used for?
It temporarily holds fabric layers together for fitting checks, easing sleeve caps, matching plaids, basting in zippers, and steadying slippery fabric before you sew the permanent seam.
What is basting in sewing, exactly?
Basting in sewing is any temporary stitch or hold, by hand, machine, or pins and tape, that keeps layers in place so you can check fit or placement before the final, permanent seam.
How long is a basting stitch?
By hand, about 1/4 to 1/2 inch per stitch. By machine, use the longest stitch length available, typically 4 to 5mm, up to 6 or 9mm on some machines.
Do you remove basting stitches?
Yes, always. Basting is temporary by design and is snipped and pulled out once the permanent stitching is in place, generally before the final press, with the exception of some fine fabrics that need to hold their shape under the iron a bit longer.
What stitch length should I use for machine basting?
The longest straight stitch your machine allows, usually 4 to 5mm, combined with slightly reduced top thread tension so the stitches pull out easily.
What can I use instead of thread basting?
Pins, wonder clips, wash-away basting tape, or fusible basting tape all work for many tasks. Thread basting is still the better choice when you need to test fit, match patterns, or handle fabric that pins would mark or distort.