
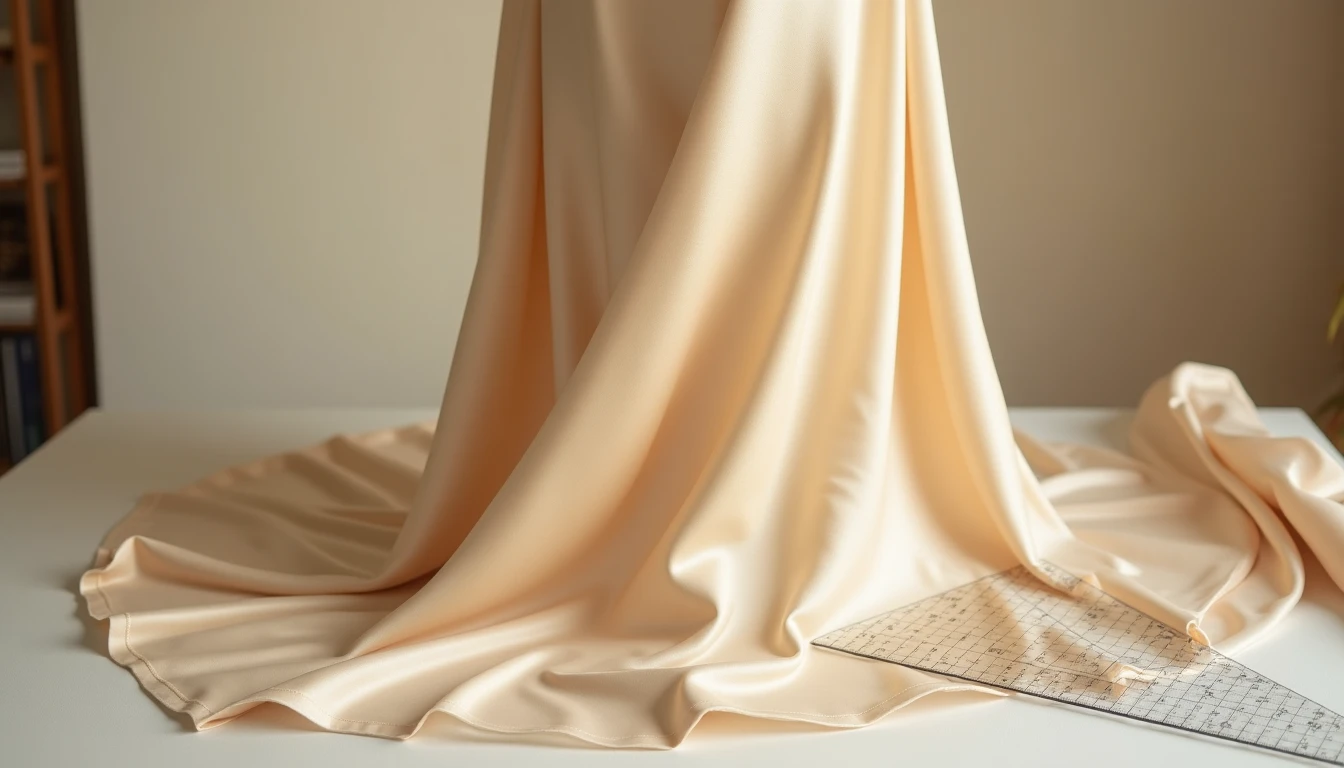
Cut two pieces from the same length of silk, one on the straight grain and one on the diagonal, and you’d swear you were sewing with two different fabrics. Cut straight, it hangs with body and holds a crisp line. Cut on the bias, that identical cloth turns soft and clingy, pooling around curves instead of standing away from them. That’s the whole trick behind bias cut, and it comes down to geometry, not fiber content. If you haven’t sorted out warp, weft, and grainline yet, our sewing fabrics guide covers those basics first.
Some links below are affiliate links. Prices are 2025-2026 estimates and change often, so always check current pricing.
What Bias Cut Means
Woven fabric is built from two sets of threads locked at right angles. The lengthwise threads, the warp, run parallel to the selvage with almost no give. The crosswise threads, the weft, run selvage to selvage and stretch only a little more. “Bias” is any diagonal line crossing between those grains, but “true bias” is one specific line: exactly 45 degrees from both.
Find it two ways. Fold the fabric so the crosswise cut edge lines up parallel with the selvage, and the fold itself is the true bias line. Or lay a quilting ruler’s 45-degree mark against the selvage and draw it onto the cloth.
Here’s the mechanism. Picture the weave as a rigid grid, like a chain-link fence or a wooden trellis. At 0 and 90 degrees, the threads cross at right angles and lock in place, so the cloth barely moves. Rotate that grid to 45 degrees and pull, and the threads rack diagonally, sliding past each other the way a scissor lift opens and closes.
That racking is a mechanical effect of the weave itself, not stretch fiber. It’s why fabrics with zero elastic content, silk charmeuse, wool crepe, plain cotton lawn, gain real give and drape once cut on the true 45-degree line. A cut only 10 to 15 degrees off that line has some bias give, but nowhere near the movement of true bias.
The Vionnet Story
Bias-cut strips for trim and piping predate the 20th century, but turning bias cutting into a technique for the whole garment is one designer’s story: French couturier Madeleine Vionnet, working through the 1920s and 1930s.
Vionnet didn’t invent the bias cut. She cut entire gowns that way instead of just trims, draping fabric directly onto miniature mannequins to build dresses that clung to and moved with the body with barely a dart or any internal structure. Her gowns were worn on screen by Marlene Dietrich, Katharine Hepburn, Joan Crawford, and Greta Garbo, and that liquid silhouette became a defining look of 1930s eveningwear.
The look resurfaced with the minimalist slip dresses of the 1990s, and it’s back again now. Through 2024 to 2026, bias-cut, lace-trimmed slip dresses have been one of fashion’s most persistent trends, worn on red carpets by Dakota Fanning and Zoe Kravitz and adopted as an everyday staple. Our garment styles guide puts that silhouette in context.
What Gets Cut on the Bias
Bias grain shows up in more places than the obvious slip dress.
- Dresses and skirts. The classic case Vionnet made famous. Our how to sew a dress guide covers bias and slip-style dress construction.
- Camisoles and slip tops. Smaller pieces get the same fluid quality, a staple of the current slip-dress-adjacent trend.
- Chevron and mitered stripes or plaids. Cutting stripes on the bias sends them diagonally across the body; two mirror-image bias pieces joined at a center seam make the stripes meet in a V.
- Bias tape and binding. Binding must be cut on the bias so it bends around curves, necklines, armholes, curved hems, without puckering, where straight-grain binding just fights and ripples.
- Piping. Bias strips wrap smoothly around cord and turn corners cleanly for the same reason binding does.
- Spaghetti straps, ties, and scarves. Narrow bias-cut tubes turn right-side out more easily and skip the hard crease a straight-grain fold leaves.
- Handkerchief hems and cowl details. The soft points of a handkerchief hem and the folds of a cowl exist because of bias grain, not despite it.
- Bias facings. A bias strip replaces a shaped facing piece entirely, curving to match the edge while lying flat inside.
Cutting on the Bias Without Tears
- Find true bias first. Fold the crosswise cut edge parallel to the selvage; the diagonal fold is your 45-degree line. Or align a quilting ruler’s 45-degree mark against the selvage and mark it directly.
- Cut in a single layer, not on the fold. Doubled fabric shifts and distorts on the bias, so patterns are usually split into two mirror-image halves, each cut from a single layer with the grainline lined up on the marked bias.
- Budget more fabric than you think you need. Bias layouts are less efficient, since pieces sit at an angle instead of nesting edge to edge. Plan on roughly 1.5 times straight-grain yardage, an extra yard for a knee-length dress, up to 4 yards for a long tunic with sleeves.
- Reach for weights and a rotary cutter over pins and shears. Pins distort slippery bias fabric as they poke through it; weights hold it still, and a rotary cutter slices cleanly instead of dragging the way scissors can.
- Stay-stitch bias edges the moment they’re cut. Bias edges start relaxing and stretching immediately, so stay-stitching curved or diagonal edges within the seam allowance right away keeps them from distorting before construction starts.
Sewing Bias Pieces
Bias fabric behaves differently at nearly every stage, and the advice across sewing sources is consistent. Shorten your stitch length slightly, to around 2 to 2.5mm, for a more secure seam. And don’t stretch the fabric while sewing it; let the bias give do its own work under the presser foot rather than pulling it taut, which causes puckering and distorted seams.
Necklines, shoulder seams, and waistlines often fall partly on the bias themselves and need extra stabilizing. Stay tape, twill tape, or fusible interfacing stitched into these seams keeps them from stretching out of shape during construction and afterward. French seams suit bias garments in lightweight silks well, though they can get awkward at hem vents.
For hems, narrow “baby” hems, often just 1/4 to 3/8 inch, or a rolled hem lie flatter than a wide hem ever will on a bias edge. Our how to hem guide covers baby hems and rolled finishes. But before any of that: hang the finished garment for 24 to 48 hours before marking or sewing the final hem. Bias fabric’s own weight pulls it to grow or droop unevenly over that time, and skipping this step all but guarantees a rippling hemline.
On fit, bias cut is forgiving in that it skims the body instead of gripping at one point. But it’s honest in a different way: with no straight grain holding a seam or underlayer in place, any bulk or visible seam allowance shows through more than on straight grain. What you wear underneath matters more than usual.
Make Your Own Bias Tape
Bias tape is narrow strips cut at the true 45-degree angle, joined end to end with diagonal seams so the join doesn’t leave a visible line, then pressed into folds.
By hand, that means cutting individual bias strips, joining them right sides together on the diagonal, and pressing. A bias tape maker, a small metal gadget the strip is pulled through while ironing, folds both raw edges under to a consistent width. It’s a cheap tool that earns its keep fast if you sew much bias trim; a bias tape maker is worth having in the sewing box.
A continuous bias method also exists for larger quantities: cut a square or rectangle diagonally, rejoin the two triangles into a parallelogram, then mark and cut the offset tube in one long spiral strip, useful for quilt binding from a single piece of fabric with just two seams.
Single-fold tape has each raw edge pressed under once and gets used flat, as trim, as a casing, or as a facing. Double-fold tape is folded again in half and is what you reach for to bind a raw edge, wrapping over it so it can be topstitched from one side.
If you’d rather skip straight to patterns with bias grain already worked out, Sewing Pattern Secrets keeps a library of 155+ printable PDF sewing patterns you can print at home and start cutting from today.
Frequently Asked Questions
What does bias cut mean?
Bias cut means a pattern piece is cut so the fabric’s diagonal grain, ideally the true 45-degree line between the lengthwise and crosswise threads, runs through the garment instead of the straight grain. This makes the fabric drape, stretch, and skim the body rather than hanging stiffly.
Why do bias cut dresses drape so well?
At 45 degrees, the woven threads shift diagonally against each other, similar to a trellis or scissor gate opening up, instead of locking at right angles the way they do on the straight grain. That shift gives even non-stretch wovens like silk or crepe their fluid, body-skimming drape.
How do you find the bias of fabric?
Fold the fabric so the crosswise cut edge lies parallel to the selvage; the resulting diagonal fold is the true bias line, exactly 45 degrees to both grains. You can also line up a quilting ruler’s 45-degree marking against the selvage and mark it directly onto the fabric.
Do bias cut garments stretch?
Yes. Even fabrics with no stretch fiber content gain noticeable stretch on the true bias because of how the woven threads shift diagonally, not fiber elasticity. That’s why bias-cut pieces need careful handling and often stay tape at edges that shouldn’t stretch.
Why let a bias cut dress hang before hemming?
Bias fabric is inherently unstable, and its own weight causes it to stretch, or “grow,” unevenly over time. Hanging the finished garment for 24 to 48 hours lets that happen before you mark and sew the final hem, so the hemline stays even instead of rippling.
What is bias tape used for?
Bias tape binds and finishes raw edges, especially curved ones like necklines, armholes, and curved hems, because its diagonal grain lets it bend smoothly around a curve without puckering. It’s also used for piping, facings, straps, ties, and decorative trim.