
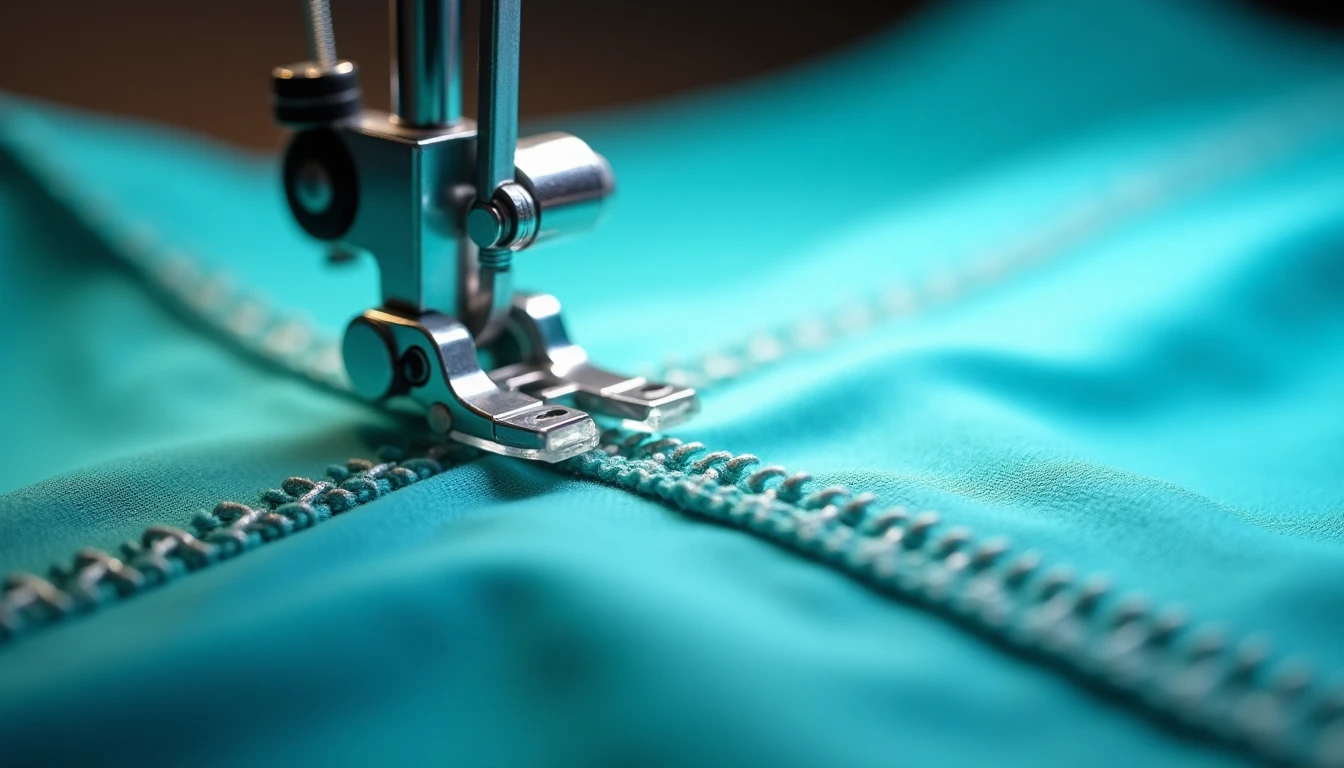
An invisible zipper foot costs about as much as a cup of coffee, and it’s the one piece of gear that turns a visible zipper into one that vanishes into the seam. No special skill needed, just a small plastic (or metal) foot with two grooves molded into its underside.
This page covers that foot: what it does, which version to buy, and the technique for using it well. For the full picture of every zipper installation method, the zipper hub covers all of them. Invisible zippers mostly show up in dresses and skirts, since that’s where a clean, hidden closure at the side seam or back matters most.
Some links below are affiliate links. Prices are 2025-2026 estimates and change often, so always check current pricing.
What the Foot Actually Does
An invisible zipper foot has two curved grooves cut into its underside, one on either side of the center needle hole. Feed the zipper’s coil under one of those grooves, and it rolls the coil open and holds it upright as it passes under the needle. With the coil held up and out of the way, the needle stitches right at its base instead of on top of it.
A regular zipper foot doesn’t have this. It’s flat on the bottom with a single straight edge next to the needle, so it can nudge fabric aside but has nothing to uncurl or cup the coil. The coil rolls back down under the pressure of the foot, and the stitching ends up sitting farther from the teeth than it needs to. That extra distance is what gives away a zipper sewn with a regular foot: a thin ridge of tape and a sliver of coil peeking out along the seam.
With the invisible foot doing the uncurling, stitches land within about a millimeter of the coil. Once you zip it up, the coil folds back over that stitching line and disappears into the seam.
Plastic, Metal, or Brand-Specific
Most home sewists own the cheap, ubiquitous version: a plastic snap-on universal invisible zipper foot, usually $5 to $10 (some multi-packs run closer to $17). It’s built for low-shank machines and sold as fitting Singer, Brother, Janome, Babylock, Kenmore, and most other home machines that snap feet onto a low-shank ankle. Reviewers consistently say it works just as well as pricier options for typical garment sewing.
Machine brands also make their own metal, brand-specific feet. BERNINA’s Invisible Zipper Foot #35 runs about $14 to $17, and Janome sells a metal concealed zipper foot too. These tend to be sturdier and sometimes have finer or adjustable grooves, but they cost more and only fit that one brand’s system. Adjustable metal generic feet exist too, letting you shift the groove position.
Check your machine’s shank type before buying, since that determines what will attach. Most home machines use a low-shank snap-on system, which is what universal feet are built for. High-shank and industrial machines need a screw-on foot instead. If you’re unsure which you have, your machine’s manual or the foot that came with it will tell you.
Installing an Invisible Zipper With the Foot
Here’s the sequence, start to finish.
- Unzip completely. With your iron on a low or synthetic setting and a pressing cloth between iron and coil, gently press to either side of the coil (never directly on it) to roll the curl flat. Keep the heat warm, not hot, since too much direct heat can soften or melt the coil.
- Mark your seam allowance on both fabric edges and finish the raw edges if needed.
- With the zipper still open, lay the tape face down on the right side of the fabric so the coil sits on the seamline, teeth toward the seam allowance and tape facing up.
- Attach the invisible zipper foot and settle the coil under the correct groove (right coil under the right groove, left under left). Pin or baste, then stitch from the top down, backstitching at the top edge. Sew slowly so the groove keeps uncurling the coil, and stop when the foot reaches the pull-tab. You can’t sew past it.
- Close the zipper and check the first side lies flat before touching the second side.
- Repeat on the other tape and fabric piece, zipper still open, taking care the fabric isn’t twisted relative to the first side.
- Close the zipper again to confirm both sides align with no puckering.
- Switch to a regular zipper foot for the seam below the zipper opening. With right sides together and the zipper closed and out of the way, start the new seam a stitch or two above where the invisible-foot stitching ended, then sew down, staying close to that line without overlapping it. This is the fiddly junction: since the invisible foot can’t sew past the zipper pull, a short unsewn stretch is always left at the bottom of each side, and starting a hair above the last stitch, rather than at it or below it, is what keeps that spot from becoming a gap or a pucker. Some methods taper the seam allowance slightly wider at the top and narrow it back down over an inch, which also helps the transition sit flat. More on this in the garment construction guide.
- Press the seam open, then press the finished zipper area from the right side, keeping the iron off the coil directly, for a flat, hidden result.
The Five Mistakes That Ruin Invisible Zips
Stitching too close to or directly into the coil. The needle needs to ride right beside the coil, not through it. Catch the coil and the slider will snag or refuse to move at all. If this happens, pick out that section and resew a hair further from the teeth.
Skipping the coil-pressing step. New coil comes curled by default, and that curl keeps your stitches too far from the teeth no matter how carefully you sew. A warm-iron press flattens the curl first, which is what lets you get close enough for a hidden result.
Sewing one side with the zipper closed. Always sew each tape with the zipper open. Closed misaligns the two sides and makes the coil harder to uncurl.
Twisting the second side relative to the first. Before sewing the second tape, close the zipper and check both sides sit flat. A twisted pass shows up later as a puckered or crooked zipper.
Stopping short, or overlapping the wrong way, at the bottom junction. Start the seam below the zipper a stitch or two above where the invisible-foot stitching ended instead of leaving a gap. That’s what avoids the small hole or pucker at that spot.
One more habit worth dropping: don’t backstitch right into the zipper pull area near the end, since it can catch the slider or teeth. Tie off the thread tails by hand instead, or take a couple of short securing stitches just short of the pull.
Can You Do It Without the Foot?
Yes, and it’s a well-documented workaround, not a theory. You can install an invisible zipper with an ordinary zipper foot by rolling the coil open with your fingertips just ahead of the needle, then stitching as close to the teeth as you can manage. It takes more patience and dexterity, since you’re doing by hand what the groove would otherwise handle, and results are more prone to a visible strip of tape or a wavy line.
A plain straight-stitch foot won’t work, though, since it has no groove and no way to hold the fabric aside from the coil. Some kind of zipper foot, regular or invisible, that lets the needle get in close is required either way.
Buying One
For most home sewists, a universal plastic snap-on invisible zipper foot in the $5 to $10 range is the sensible default. It’s inexpensive, easy to find, and does the job just as well as pricier options for typical garment sewing. You can browse an invisible zipper foot on Amazon to compare universal multipacks against brand-specific options.
Confirm your machine uses a low-shank snap-on system before buying, which is true for most home machines. A proprietary attachment, like some BERNINA and other high-end models use, needs that brand’s dedicated metal foot instead, usually $14 to $17 or more. There’s no real secondary use for this foot beyond invisible zippers, so buy based on your shank type and how often invisible zips show up in your projects.
If you’re building a stash of patterns that call for this kind of finish, the 155+ printable PDF pattern library is worth a look for dresses and skirts that use invisible zips throughout.
Frequently Asked Questions
What does an invisible zipper foot do?
It has two grooves on its underside that roll the zipper’s coil open and hold it upright as you sew, letting the needle stitch right at the base of the coil so the finished seam hides the zipper almost completely.
Can you sew an invisible zipper without the special foot?
Yes. Use a regular zipper foot and uncurl the coil with your fingertips just ahead of the needle as you stitch close to the teeth. It’s more fiddly and less consistent, but it’s a proven, commonly used workaround.
Why press invisible zipper coils open before sewing?
New coil is curled by default, which keeps stitches farther from the teeth. Pressing with a warm, not hot, iron and a pressing cloth, heat off the coil itself, flattens the curl so you can stitch closer to it.
Why won’t my invisible zipper slide after sewing?
This almost always means the stitching caught the coil itself rather than running beside it. Pick out the offending stitches and resew a hair further from the teeth so the slider moves freely.
How do you close the gap at the bottom of an invisible zipper?
Close the zipper, switch to a regular zipper foot, and sew the remaining seam starting a stitch or two above where the invisible-foot stitching stopped. Starting right at or before that point, rather than leaving space, is what prevents a hole or pucker at the junction.
Do invisible zipper feet fit all machines?
Universal plastic versions fit low-shank snap-on machines, which covers most home machines across brands like Singer, Brother, Janome, and Babylock. High-shank, industrial, and some brand-specific systems need a screw-on or brand-specific foot instead.