
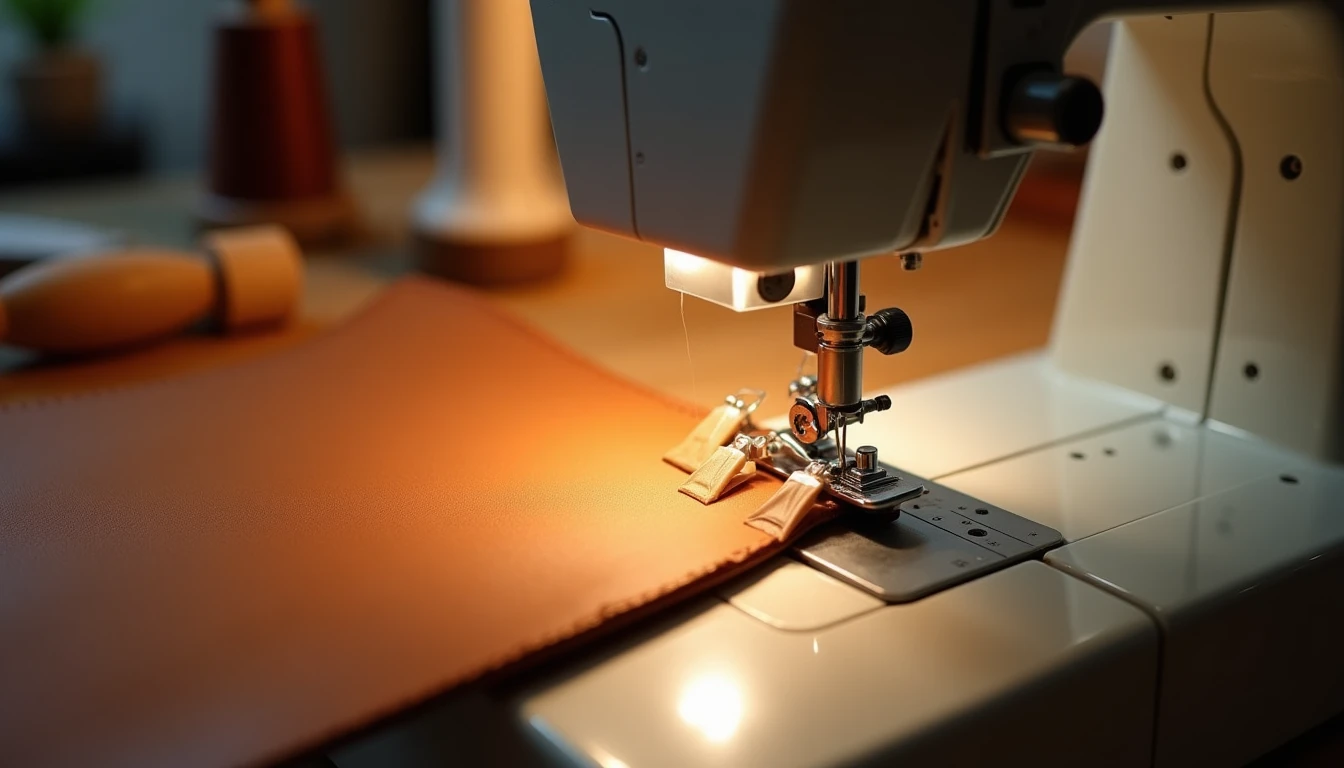
If you’re wondering whether the machine already on your table can handle sewing leather, the honest answer is yes and no. Thin leather and faux leather sew just fine on a regular home machine once you swap the needle, foot, and thread. Thick leather, the kind used for belts, saddles, and holsters, will fight you no matter how careful you are. If you already know your way around how to use a sewing machine, the leap to leather is mostly about knowing where the line sits.
Some links below are affiliate links. Prices are 2025-2026 estimates and change often, so always check current pricing.
What a Home Machine Can Actually Handle
Leather is measured in ounces, and the system trips people up because it has nothing to do with weight on a scale. One ounce equals about 1/64 inch, roughly 0.4mm, so a 4oz hide is about 1/16 inch thick. A 1oz garment leather is closer to felt than a belt strap; a 10oz saddle leather stands up on its own.
For a standard home machine, garment-weight leather and faux leather in the 1-3oz range are the safe zone: lambskin, lightweight lining leather, and most vinyl or PU “leather” from the fabric store. Push past 3oz and you’re asking a machine built for cotton and denim to do something it wasn’t designed for. At 7oz and up, belt and saddle leather, it will skip stitches, bend needles, or stall out. That’s industrial or hand-stitching territory.
Heavy-duty home machines, the Singer 4423 is the usual example, add a stronger motor, often 50 to 60 percent more power, which helps punch through more layers without bogging down. But a bigger motor isn’t an industrial walking-foot machine. The mechanism underneath is still ordinary presser-foot pressure and feed dogs, so it doesn’t fix leather’s sticking problem, and it won’t turn saddle leather into a weekend project. Treat a heavy-duty machine as a bridge for garment leather and thick denim, not a shortcut into the industrial category.
Needles: The Distinction Everyone Gets Wrong
Most guides treat “leather needle” as one universal answer. It isn’t.
For genuine leather, a dedicated leather needle is the right tool. It has a wedge-shaped, chisel point ground at an angle, so instead of pushing between fibers the way a round point does on woven fabric, it cuts a small slit into the hide as it enters. A round point on real leather tears instead of cutting cleanly, showing up as skipped stitches and ragged holes. Size to the leather weight: 90/14 for thin 1-2oz leather, 100/16 to 110/18 for medium 3-5oz leather, 120/19 or larger for anything heavier a home machine can still push through.
Here’s the part that surprises people: that same cutting action is a problem on faux leather, vinyl, and PU. Those materials are a woven or knit backing with a plastic or polyurethane coating on top, not a solid hide, and a leather needle’s chisel point shreds that backing into runs instead of a clean hole. For faux leather and vinyl, use a denim or jeans needle instead, usually 90/14, or an 80/12 for lighter vinyl, or a Microtex/sharp needle for very thin coated fabric, since a sharp point pierces the coating without tearing it. A pack of leather sewing machine needles covers most garment-leather projects, but keep a denim needle on hand too for faux and vinyl.
Machine Setup for Leather
A few adjustments make the difference between a clean seam and a frustrating one.
- Lengthen your stitch to about 3 to 3.5mm, longer than you’d use on cotton. Short, tightly-packed stitches perforate leather along a line, since the material has no give to absorb them, and a seam sewn too short can tear apart under stress.
- Switch to polyester or bonded leather thread instead of cotton, which absorbs moisture and can mold, mildew, or dry-rot over years of storage. See our guide to choosing sewing machine thread if you’re unsure what’s on your machine.
- Fit a walking foot, Teflon foot, or roller foot in place of the standard metal one. Leather grips and drags against bare metal and the feed dogs, causing uneven feeding and skipped stitches. A walking foot feeds top and bottom layers together; Teflon or roller feet just glide over the sticky surface. Our walking foot guide covers what to look for.
- Never pin leather or vinyl. A pin hole in woven fabric closes back up; a pin hole in leather is permanent. Use binder clips, double-sided basting tape, or a dab of temporary leather cement instead.
- No specialty foot yet? Lay a strip of tissue paper over the leather under the presser foot before stitching, then tear it away after. It’s a genuine low-cost fix for straight seams, though it hides the edge on curves and corners.
Techniques That Replace Pressing
Leather can’t be pressed with a hot iron the way cotton can. Heat and steam can scorch, glaze, or warp the surface, so seams get finished mechanically instead of thermally.
The standard method: flatten the seam allowance with a leather mallet or wooden clapper, tapping gently from the right side until it sets flat. Skiving down bulky allowances first makes this easier, and a dab of non-permanent leather glue between the layers helps the shape hold. A low-heat iron isn’t entirely off limits, lowest setting, press cloth as a barrier, only 3 to 5 second presses, but it risks glazing the surface and most guides treat it as a fallback, not the default.
Because pressing isn’t reliable, topstitching close to the seam is the main way to keep the allowance flat and add strength: glue it down first, then topstitch through all layers. At corners, trim and grade the allowance aggressively. Leather doesn’t fray, so you can cut close without it unraveling.
Skip backstitching to lock off seams, since reversing over the same line doubles up needle holes in a material that doesn’t forgive them. Instead, leave long thread tails, pull them to one side, and tie a secure double knot, then tuck them in with a large needle, dot them with glue, or, for synthetic thread, melt the tip with a lighter so it beads and can’t pull back through. Always test stitch length, tension, and needle on a scrap first, since fabric settings rarely suit leather untouched.
Thick Fabric Beyond Leather
The most common thick-fabric failure isn’t leather at all, it’s the hump at a jeans hem or flat-felled seam, where four to eight layers of denim stack up. The presser foot tilts up onto that hump, the pressure balance goes off, and the machine skips stitches or the needle deflects and breaks.
The fix that actually works is a hump jumper, sometimes sold as a Jean-a-ma-jig: a small plastic wedge you slide under the back of the presser foot just before the thick spot, keeping the foot level instead of letting it climb. A folded scrap of fabric or cardboard works as a free substitute. A hump jumper is cheap enough to keep in a sewing kit if you hem jeans often.
Size up to a 100/16 or 110/18 denim needle for thick woven stacks, since the reinforced shaft resists bending. When a spot is genuinely difficult, hand-turning the flywheel one stitch at a time is a standard, accepted technique, not a workaround, since it lets you control the needle’s descent instead of forcing the pedal, which is what actually breaks needles. And there’s an honest stopping point: if the machine keeps skipping, breaking needles, or stalling even after all this, that’s the material telling you it’s too thick. Reduce the layers, hand-stitch that spot, or move to a heavy-duty or industrial machine.
A Realistic Project Ladder
Start with faux leather or vinyl. Pouches, tote straps, and card holders are forgiving, need only a denim needle, and mistakes don’t cost much. Our bag-making guide is a good place to pick a first project.
From there, move into garment-weight real leather, 1 to 3oz, for accent pieces like elbow patches or collar tabs, a low-stakes way to get used to genuine leather’s stiffness and the no-pin rule. Small leather goods come next: wallets, pouches, and card cases in 2 to 4oz leather are a realistic ceiling for most home machines, especially heavy-duty ones, since the layer count and seam length stay manageable.
Upholstery and anything in structural-weight or vegetable-tanned tooling leather, 7oz and up, is the honest cutoff, since even heavy-duty domestic machines are routinely overwhelmed by that layer count. For leather projects outside a home machine’s range, hand-stitching with an awl using a saddle stitch is a completely viable alternative, not a downgrade. It’s the traditional method leatherworkers use for belts, straps, and saddlery precisely because it doesn’t depend on machine power at all.
If you want a library of patterns to work through as you move up that ladder, our 155+ printable PDF sewing patterns library has projects across a range of skill levels.
Frequently Asked Questions
Can a regular sewing machine sew leather?
Yes, for thin leather, garment-weight and faux leather up to about 3oz, or roughly 1/16 inch, with a leather or denim needle, a walking or Teflon foot, and longer stitches. Thicker leather, belt, saddle, or upholstery weight, will stall or skip on a standard home machine and needs a heavy-duty or industrial machine, or hand-stitching.
What needle do you use for leather?
A dedicated leather needle with a chisel or wedge point, sized 90/14 for thin leather up to 100/16-110/18 for medium leather. That cutting point is only for genuine leather, though. For faux leather and vinyl, use a denim or jeans needle instead, since a leather needle’s cutting action can tear the woven backing under synthetic coatings.
Why can’t you use pins on leather?
Leather doesn’t have woven fibers that spring back together, so every pin hole is permanent and visible in the finished piece. Use binder clips, double-sided basting tape, or a dot of temporary leather cement instead.
What stitch length should you use for leather?
Around 3 to 3.5mm, longer than typical fabric settings. Short, tightly-spaced stitches perforate leather along a line, which can weaken or tear the seam, since leather doesn’t have give to absorb closely-packed needle holes.
How do you sew over thick seams in jeans?
Use a hump jumper (Jean-a-ma-jig) or a folded fabric or cardboard shim behind the presser foot to keep it level over the bulky spot, fit a 100/16-110/18 denim needle, and hand-turn the flywheel slowly through the thickest point instead of forcing the pedal.
Do you need a walking foot for leather?
It’s not strictly required, but it’s one of the most effective fixes. Leather sticks to a standard metal foot and can feed unevenly against the feed dogs. A walking foot, Teflon foot, or roller foot solves this; in a pinch, tissue paper under the regular foot works as a low-cost substitute for straight seams.