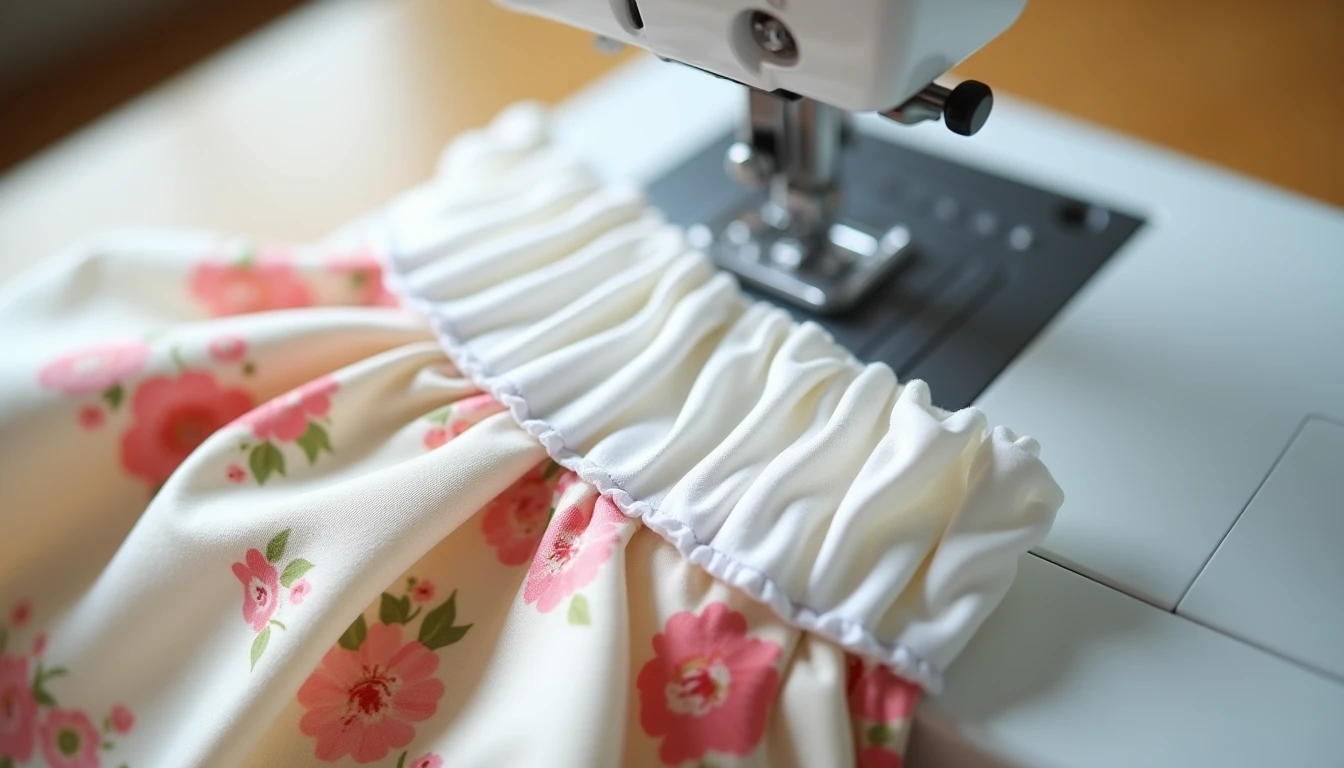
If you’ve ever pulled a gathering thread and ended up with a lopsided, bunchy mess instead of a soft ruffle, you’re not bad at sewing, you just skipped the math. Learning how to sew ruffles is mostly arithmetic (how much extra fabric to cut) and only a little hands-on skill (how evenly you distribute it once gathered). Get the ratio right and almost any gathering method will look good. Ruffles are one piece of the bigger world of shaping techniques, so for the full picture of how pleats, gathers, and darts relate, start with our pleats, gathers, and darts guide. Below: ruffle versus flounce, the fullness math, three ways to gather, and how to attach without the lumps.
Some links below are affiliate links. Prices are 2025-2026 estimates and change often, so always check current pricing.
Ruffle or Flounce? (the verified distinction)
A ruffle is a straight (or nearly straight) strip of fabric, mechanically gathered or pleated along one edge, then attached to a seam or hem. The fullness comes from compressing that strip along a stitching line, not from the cut.
A flounce, sometimes called a circular ruffle, is cut from a circle or partial circle, like a mini circle-skirt pattern. The inner edge sews flat into the seam with no gathering. Because the outer edge of a circle is longer than the inner edge, the flounce ripples and flares on its own, on the bias.
The tell on a finished garment: a true ruffle has visible gather lines and repeatable folds, while a flounce lies smooth at the seamline and only flares below it. Crisp, heavier fabric flounces well because the bias-cut edge holds its own shape, while a ruffle works in almost any weight because the ratio, not the cut angle, does the work.
The Fullness Math
Before cutting a strip, pick a fullness ratio, a multiplier applied to the finished edge length. It’s the single number that decides whether a ruffle looks skimpy or luxuriously full.
| Ratio | Look | Best for |
|---|---|---|
| 1.5x | Subtle, slightly gathered | Structured or heavier fabric, low bulk |
| 2x | Classic, evenly full | Medium-weight fabric, the standard choice |
| 2.5x to 3x | Luxe, cascading, full | Lightweight voile, chiffon, lawn, statement ruffles |
The lighter and drapier the fabric, the higher the ratio should be. Thin fabric compresses to almost nothing even at 3x, while heavy fabric at 3x turns thick and hard to gather. Some sewists push sheer fabric to 4x and drop stiff fabric to 1.5x.
Strip length: finished edge length times ratio, plus seam allowance (1/2 to 5/8 inch) at each short end. A 20 inch waist edge at 2x needs a 40 inch strip before allowances.
Strip width: finished ruffle depth, plus a hem allowance (often 1/4 to 1/2 inch folded), plus a seam allowance on the edge being gathered (typically 1/4 to 5/8 inch).
If one width of fabric isn’t long enough, piece shorter strips end to end with straight seams, pressed open or to one side, before hemming or gathering. Plan piecing seams to land somewhere inconspicuous, like a side seam, not centered on a visible edge.
Three Ways to Gather
1. Two rows of basting stitches. The classic method, worth learning first. Set the longest straight stitch and loosen upper tension slightly. Sew the first row about 1/4 inch from the raw edge, no backstitching, long thread tails. Sew a second row parallel, about 1/8 to 1/4 inch further into the seam allowance. Full stitch settings live in our basting stitch guide. Working from one end, or both ends toward the middle on long strips, hold the bobbin threads together and pull gently to target length, then even out the folds by hand and secure the tails around a pin in a figure-eight.
Two rows beat one because a single row gives no backup if it snaps partway through, common on long strips or coarse fabric. The permanent seam stitches between the two rows, hiding both inside the seam allowance.
2. Zigzag over cord for heavy fabric. Denim, canvas, and home-decor weight fabric snap regular basting thread. Instead, lay a strong, thin cord (waxed dental floss, fine crochet cotton, or fishing line) along the seam allowance and zigzag over it, medium width and length, without piercing the cord. Leave extra cord free at both ends, then pull the cord, not the thread, to slide the fabric along it, since the cord bears the strain instead of sewing thread.
3. A gathering foot. Skips the pull-and-adjust step: it gathers as fabric feeds through, controlled by stitch length and upper thread tension rather than hand-pulled thread. Longer stitches and tighter tension mean more fullness. A gathering foot like this one on Amazon is inexpensive and useful for curtains, tiered skirts, and other long straight-grain edges. Test on a scrap first, since results depend on your machine.
A ruffler foot is related but different, using a geared arm for evenly spaced pleats rather than true gathers, built for production runs where repeatability matters more than a soft hand-gathered look. Shirring with elastic thread is different again, it gathers the garment fabric itself in place (waistbands, cuffs) rather than making a separate strip.
Attaching Without the Lumps
The biggest cause of a lumpy ruffle is skipping quarter-marking. Divide both the ruffle’s gathered edge and the flat edge it attaches to into quarters (or eighths for a long, full ruffle), marking each division with a pin. Match the quarter marks first, then distribute the gathers evenly between each set of pins, adding more pins wherever a section is stretching or bunching.
Stitch with the gathered ruffle on top, facing up, so you can see and adjust folds as they pass under the needle, the common default for beginners. Some sewists prefer the gathered layer face down against the feed dogs instead, useful when a machine struggles with bulk. Either way, sew slowly and hold folds with a finger just ahead of the needle, stitching between the two basting rows if you used them.
Structural placements: sewn into a seam so no raw edges show (waistbands, necklines), sewn flat on top as a topstitched or headed ruffle with a decorative lip visible above the stitching, or sewn into a hem, which is how skirt tiers work. There’s also the double ruffle or header variant, where the gathering line sits a short distance in from the raw edge, leaving a small standing frill above the seam.
Hem First, Gather Second
Hem before you gather, not after. Finish the raw edge that will hang free while the strip is still flat, a narrow hem on already-gathered fabric is slow and uneven no matter how careful you are. For the full range of narrow-hem options, rolled hem, serged rolled hem, or baby hem, see our complete hemming guide.
A serged rolled hem suits lightweight and sheer fabric since it finishes and trims the edge in one pass. A baby hem, a very narrow double-fold hem, suits wovens that don’t serge cleanly. For knits, plenty of sewists skip the hem entirely and leave the raw edge alone, since knits don’t fray and a clean raw edge on jersey often looks intentional. Only after the hem is done should you gather the opposite edge and attach it.
Ruffle Types Worth Knowing
Single-tier skirt ruffle. One gathered strip at a hem or waist seam, usually 1.5x to 2x, the simplest and most common application. For how tiers fit into a full garment, our how to sew a skirt guide covers construction end to end.
Cascading or waterfall ruffle. Multiple ruffles of varied width, layered and offset, cut on a diagonal so fullness pools unevenly for an organic drape.
Sleeve ruffles. A gathered strip set into a sleeve hem, often with an elastic casing so the ruffle flutters while the sleeve gathers snugly at the wrist.
Neckline ruffles. A strip gathered into or onto a neckline seam, often self-facing or bias-cut so it lies flat against the curve.
Home decor ruffles. Pillow trim or curtain hems, typically 2x to 3x, since home-decor fabric is viewed from across a room and benefits from extra fullness.
Tiered skirts and dresses. Stacked tiers, each commonly cut 1.5x to 2x the width of the tier above it, not the finished garment width, so fullness compounds toward the hem. Lighter fabric uses the lower end for an elegant cascade; stiffer fabric needs closer to 2x per tier.
Troubleshooting
Threads keep breaking while pulling. Use two rows of basting instead of one, loosen top tension first, use a longer stitch length, and pull gently from both ends toward the middle. For heavy fabric, switch to zigzag-over-cord.
Gathers are bunched unevenly. Usually a skipped quarter-marking step. Divide both edges into quarters or eighths, pin match points first, then redistribute fullness by hand.
The ruffle looks limp once sewn. The fullness ratio was likely too low for the fabric weight. Move from 1.5x toward 2x or 3x, or switch to a lighter, crisper fabric.
The attaching seam looks wavy or puckered. Gathers were caught unevenly under the presser foot. Machine-baste the ruffle to the base fabric first, check fold distribution, then stitch the permanent seam slowly with the gathered layer on top.
If you’d rather skip the trial and error, our library of 155+ printable PDF sewing patterns includes tested ruffle and tier instructions. Browse the pattern library here.
Frequently Asked Questions
How much fabric do you need for ruffles?
Multiply the finished edge length by your fullness ratio, then add seam allowance at each short end. A skimpy ruffle uses about 1.5x, a standard ruffle 2x, and a full or luxe ruffle 2.5x to 3x. Lighter, drapier fabric generally needs a higher ratio to look equally full.
What is the difference between a ruffle and a flounce?
A ruffle is a straight strip mechanically gathered along one edge. A flounce is cut from a circle or partial circle, sewn flat at the inner edge, its ripple coming from the length difference between the inner and outer curves. No gathering stitches involved.
How do you gather fabric for ruffles?
This is the core question behind how to sew ruffles well. The classic method is two rows of long basting stitches near the raw edge, pulled by the bobbin threads to target length. Other options: zigzag over a cord for heavy fabric, a gathering foot, or a ruffler foot for production work.
Do you hem a ruffle before or after gathering?
Before. Finish the raw edge with a narrow hem while flat, then gather the opposite edge and attach. Hemming after gathering is much harder to do neatly.
What is a gathering foot?
A specialty presser foot that gathers fabric automatically as it feeds through the machine, no separate thread-pulling step. Fullness is controlled by stitch length and upper thread tension.
Why do my gathering threads keep breaking?
Usually a single row of basting was used, the tension is too tight, or the fabric is too heavy for regular thread. Use two rows for redundancy, loosen top tension before basting, and switch to zigzag-over-cord for heavy fabric.