If you just brought home a sewing machine, you might assume that’s the hard part done. It isn’t, quite. There’s a short list of essential sewing tools for beginners that you need before your first project goes smoothly, and a much longer list of gadgets you can safely ignore until you actually need them.
This guide is that short list. We’re going to walk through the must-have starter kit first (about twelve things, most of them cheap), then a handful of nice-to-haves worth adding once you’re hooked, then what to skip entirely for now. Along the way we’ll define a word you’ll see on every pattern envelope: notions. In sewing, notions is the umbrella term for everything you use in a project besides the fabric and the machine itself. That’s thread, pins, needles, closures like zippers and buttons, elastic, bias tape, and interfacing. If it’s not the fabric and it’s not the machine, it’s a notion.
Budget-wise, plan on roughly $50 to $100 for a solid starter kit on top of the machine. You can start leaner, closer to $30, if you need to spread the cost out.
Some links below are affiliate links. Prices are 2025-2026 estimates and change often, so always check current pricing.
The Must-Have Starter Kit
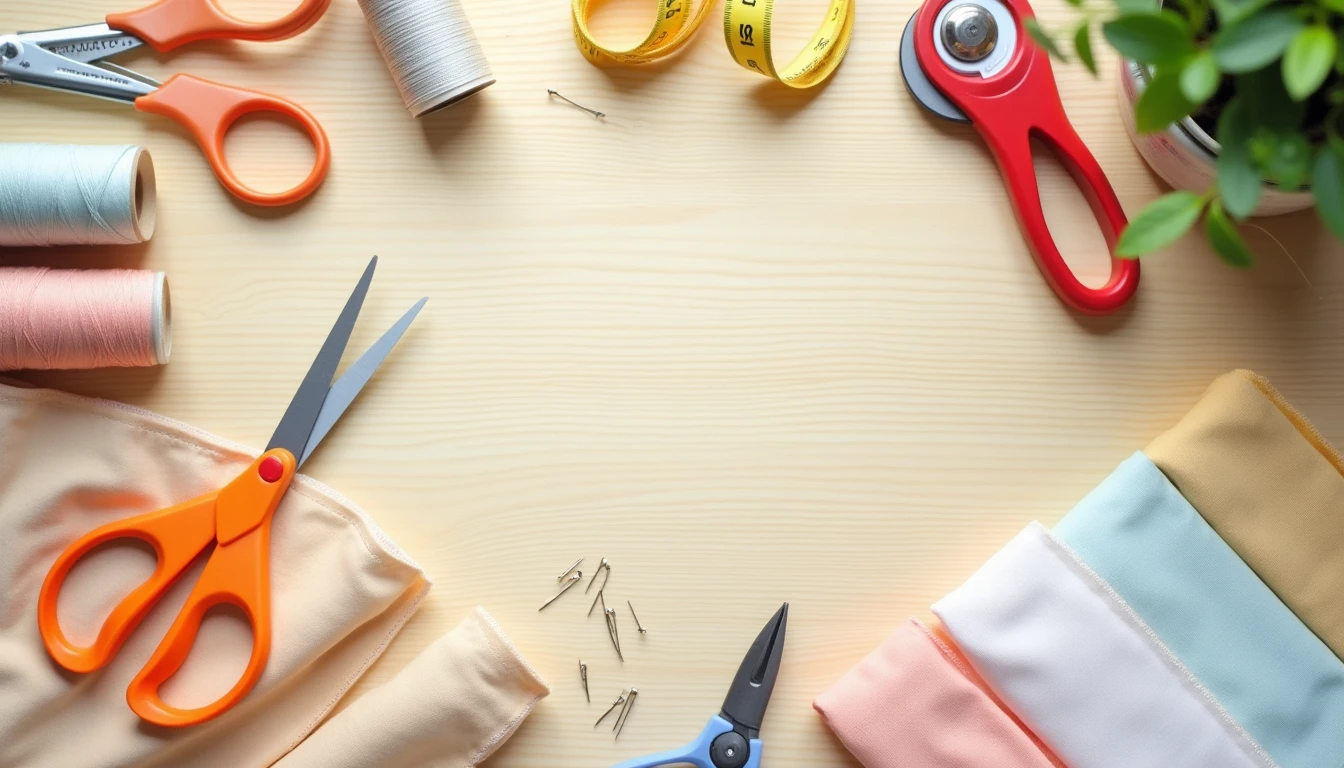
Here are the essential sewing tools for beginners, worth buying before you cut your first piece of fabric. Skip ahead if a tool sounds unfamiliar; each one is explained as you get to it.
1. Fabric Scissors (Dressmaker Shears)
A dedicated pair of fabric scissors, usually 8 to 9 inches long, is the one tool you genuinely cannot substitute. Dull or multipurpose scissors crush and fray fabric edges instead of cutting them cleanly, and that throws off your pattern accuracy from the very first cut. The fix is simple: buy a pair and never use it on paper, which is the fastest way to dull a fabric blade. Keep an old pair of kitchen scissors nearby for pattern tracing instead.
Look for the classic bent-handle shear shape, where the bottom blade rests flat on the table as you cut, a comfortable handle, and a blade at least 8 inches long. Forged steel holds an edge longer than stamped steel. Fiskars RazorEdge shears are a strong budget pick, delivering close to professional cutting quality for a fraction of the price. If you want something that lasts decades, Gingher’s 8-inch Knife Edge is the industry standard, and Kai’s 7000/8000 series is a well-loved alternative.
Expect to pay $20 to $30 for a Fiskars pair, or $60 to $75 for Gingher or Kai.
2. Small Snips or Thread Snips
Your good fabric shears are overkill for snipping a thread tail every few stitches, something you’ll do constantly at the machine. Small spring-loaded snips, usually 4 inches or less, live right next to your machine and handle that job instantly, so you’re not reaching for your dressmaker shears fifty times per seam.
Look for spring action (they pop back open after each cut) and a sharp, fine point so you can snip close to your stitching line. Fiskars Micro-Tip snips are a popular, inexpensive choice, and Havel’s or Gingher also make good ones.
These run $8 to $15.
3. Seam Ripper
Every beginner rips out seams. It’s part of learning to sew, not a sign you’re doing it wrong. A sharp ripper removes mistakes cleanly, while a dull, bargain-bin one (the kind that ships free with cheap kits) snags threads and can tear right through your fabric.
Look for a comfortable, ergonomic grip and a blade and point that are actually sharp; a cap that doubles as a lint brush is a nice bonus. Dritz’s Ergonomic Seam Ripper and Clover’s Ergonomic Seam Ripper are both solid, inexpensive choices.
Budget $4 to $9.
4. Rotary Cutter, Self-Healing Mat, and Acrylic Ruler
Picture a pizza cutter for fabric: that’s a rotary cutter, used with a gridded self-healing mat underneath and a thick, clear acrylic ruler as a cutting guide. Together this trio lets you cut through multiple layers of fabric in one clean, accurate pass instead of tracing around a paper pattern and snipping with scissors. It’s a real speed and accuracy upgrade for straight-edged pieces, quilting, and cutting bias or binding strips.
Honest caveat: if you only ever plan to sew garments from paper patterns full of curves, a rotary set is more of a nice-to-have upgrade than a day-one essential. Good shears and a bit of patience will get you through your first few projects just fine. It becomes far more valuable once you add quilting, bias tape, or straight-line cutting to your routine.
If and when you get one, look for the standard 45mm blade, a mat at least 18 by 24 inches for garment-sized work, and a ruler with clear inch and centimeter markings plus a 45/60-degree angle for cutting on the bias. Olfa is the trusted name here, both for the cutter and for mats and rulers.
The cutter alone runs $18 to $25; a bundled cutter, mat, and ruler starter set runs $45 to $70.
5. Flexible Tape Measure
A rigid ruler can’t follow a curve, and your body (and plenty of fabric) is full of them. A soft, flexible tape measure, usually 60 inches or 150cm, is what you’ll use for body measurements and for checking hems, waistbands, and sleeve circumference on the fabric itself.
Look for a fiberglass core so it won’t stretch or tear like cheap vinyl, clear numbers on both sides, and a metal tip on each end. Dritz and Singer both make reliable, affordable versions.
Expect to pay $3 to $7.
6. Clear Acrylic Ruler and Seam Gauge
These two small tools solve two problems. A 6-inch seam gauge, a little ruler with a sliding marker, is the fastest way to check that a seam allowance, hem depth, or buttonhole spacing stays exactly consistent. A clear acrylic ruler lets you see the fabric grain underneath while you draw or check a straight line, handy for truing up edges before you cut.
For the seam gauge, look for a marker that slides smoothly and locks in place. For the ruler, look for clear grid lines in inches and centimeters, in a general-purpose size like 2 by 18 inches. Dritz or Singer make good seam gauges, and Omnigrid or Olfa make good acrylic rulers.
The seam gauge is $4 to $9; the acrylic ruler runs $8 to $15.
7. Fabric Marking Tools
You need some way to transfer pattern markings (dart points, notches, buttonhole placement) onto fabric without leaving a permanent mark, and different fabrics and colors call for different tools. Most sewists keep two or three on hand: water- or air-erasable marking pens, tailor’s chalk (as a wedge, pencil, or chalk wheel), and heat-erasable Frixion pens.
Test any marking tool on a fabric scrap first. Water-soluble pens rinse out with plain water. Chalk brushes off but can be a little less precise. Frixion pens are hugely popular because the mark disappears with a swipe of a warm iron, but there’s an important caveat: Frixion ink is heat and cold reactive, not actually gone for good. A mark erased with heat can resurface if the finished garment is later exposed to freezing temperatures, roughly below 50°F. That makes Frixion a poor choice for anything stored in an unheated space, or for heirloom and quilting projects meant to last decades. Dritz’s Water Soluble Marking Pen, Clover’s Chaco Liner chalk wheel, and Pilot’s FriXion pens cover the bases as a starter set.
Individual tools run $3 to $8; a small starter set of two or three types is around $12 to $15.
8. Straight Pins, Pincushion, and Wonder Clips
Pins hold your pattern pieces and seams accurately in place before you sew. Choose glass-head pins over plastic-head ones, since glass won’t melt if you accidentally iron over a pin (and you will, eventually). A pincushion or magnetic pin dish keeps them corralled instead of scattered across your table and floor. Clover Wonder Clips are a pin alternative worth adding for thick or pin-resistant materials like vinyl, leather, cork, or many-layered quilt bindings, where a pin would leave permanent holes or refuse to push through.
Look for glass heads, a length around 1.5 inches, and if you can swing it, a magnetic pin dish, which makes picking up dropped pins much faster. Get Wonder Clips in a pack of at least 10 to 20.
Pins run $5 to $8, a basic pincushion is $6 to $10 (magnetic caddies run $15 to $35), and a 10 to 20 pack of Wonder Clips is $7 to $12.
9. Hand Sewing Needles, Threader, and Thimble
Even if you’re sewing everything on a machine, you’ll still reach for a hand needle regularly: basting a seam, finishing a hem, sewing on a button, or making a quick repair. An assorted pack covers different fabric weights and thread thicknesses without any guesswork, a wire needle threader saves your eyes from squinting at a tiny needle eye, and a thimble protects the finger you use to push the needle through. If any of this is new territory, this guide to hand sewing stitches walks through the basics.
Look for a mixed-size assortment, roughly sizes 1 through 10, a simple wire-loop threader, and a thimble sized to your middle or index finger. Dritz and Singer both sell reliable assorted needle packs.
Needles run $4 to $8, a threader is $2 to $4, and a thimble is $3 to $6, so roughly $10 to $15 for all three together.
10. Machine Needles and Spare Bobbins
The right machine needle prevents skipped stitches, snags, and small holes in your fabric. A universal (all-purpose) needle glides through most wovens. A ballpoint or jersey needle pushes knit fibers aside instead of piercing them, which stops knit fabric from laddering. A denim needle has a stiffer shaft that won’t deflect or snap on heavy fabric. Needles dull, and sometimes bend, after just a few projects, so plan to replace them regularly rather than waiting for a problem.
A universal needle in size 90/14 is the most useful all-around starting size for medium-weight fabric. Keep a pack of ballpoint and a pack of denim needles on hand too. Before you buy bobbins in bulk, check your machine’s manual for its bobbin class. Most modern home machines use the “class 15” style, but not all of them do, and the wrong class causes tension problems and jamming. If threading and bobbins are still confusing, this guide on how to use a sewing machine covers it step by step. Schmetz is the industry-standard needle brand across all three types.
A needle multi-pack runs $5 to $8 (about $15 to $20 for all three types), and a pack of 10 to 25 bobbins is $6 to $10.
11. All-Purpose Thread in Neutrals
General-purpose polyester thread has enough stretch and strength to handle most wovens and knits a beginner will sew, and a handful of neutral colors (white, black, gray, beige) will get you through the widest range of early projects and repairs without a trip to the store for every new color.
Look for 100% polyester, or polyester-wrapped cotton, construction for strength and a bit of give, and a reputable brand, since thin or inconsistent thread causes tension problems and skipped stitches. Gutermann Sew-All is widely available and low-lint, Coats & Clark is the budget-friendly option found at nearly every craft store, and Mettler Metrosene is a long-staple, strong choice if you want to spend a bit more.
Spools run $3 to $6 each, so about $15 to $20 for a starter set of four or five neutral colors.
12. Iron and Ironing Surface
Pressing is not optional in sewing. It’s a construction step, not just wrinkle removal. Pressing a seam open or to one side as you go helps the stitches meld into the fabric, flattens bulk, and sets your work, and it’s one of the biggest reasons a homemade garment ends up looking sharp instead of sloppy. Skipping the iron between steps is one of the most common habits that trips up new sewists as they work through basic sewing techniques.
Look for adjustable heat settings, since synthetics need low heat and cotton or linen need high heat, plus a steam function. Steam combined with heat is what actually relaxes fibers flat, not heat alone. A small pressing mat or compact tabletop ironing board is plenty if space is tight. Always test heat and steam on a fabric scrap first. Black+Decker or Rowenta make dependable steam irons, and any standard ironing board or wool pressing mat rounds out the setup.
A decent steam iron is $25 to $45, and an ironing board is $25 to $50 (a compact pressing mat runs $15 to $30).
Nice to Have as You Grow
None of these are essential for your first project, but they’re worth adding once you know you’ll keep sewing.
Point turner. A small flat tool for pushing out crisp corners on collars, cuffs, and points after you’ve turned them right-side out, without risking a finger poking through the seam. Check current price on Amazon ($4-8)
Tailor’s ham. A firm, rounded pressing cushion that supports curved seams and darts while you press, so shaped areas like collars and princess seams keep their shape instead of flattening out. Check current price on Amazon ($15-25)
Walking foot. A specialty presser foot that feeds top and bottom fabric layers through the machine at the same rate, which stops shifting and puckering on slippery fabric, knits, or quilt layers. It has to match your machine’s specific foot attachment system, so check compatibility before buying. See options on Amazon ($15-45)
Pinking shears. Scissors with a zigzag blade that cut a sawtooth edge, giving you a fast, no-sew way to finish seam allowances on wovens without a serger. Check current price on Amazon ($15-30)
Bias tape maker. A small tool you feed a cut fabric strip through so both raw edges fold in automatically, ready to press into finished bias tape or binding for necklines, armholes, and quilt edges. Check current price on Amazon ($10-20)
French curve and pattern weights. A French curve helps true up armholes, necklines, and hip curves once you start adjusting or drafting patterns rather than just following one as printed, and pattern weights hold paper pieces flat on delicate or pinnable fabric like silk or leather. See options on Amazon ($8-20)
What to Skip for Now
It’s just as useful to know what not to buy yet. Here’s what to leave on the shelf until a specific project actually calls for it.
Stiletto or awl. Genuinely handy for guiding fabric under the presser foot or poking out very fine corners eventually, but a point turner and a pin will do the same job while you’re still learning basic construction.
Dress form. Great for advanced draping and fitting work, but a good one costs anywhere from about $80 to $300 or more, and it needs to be sized and padded to your own body to actually be useful. That’s money and closet space better spent elsewhere while you’re starting out.
Six different specialty rulers. One general clear acrylic ruler plus a seam gauge covers nearly everything a beginner needs. Hem gauges, curve rulers, and quilting angle rulers are worth adding one at a time, only once a specific project calls for them.
Serger or overlocker. It finishes seams beautifully and fast, but it’s a second machine, often $200 to $500 or more, with its own threading and tension learning curve. A zigzag stitch, pinking shears, or a French seam on your regular machine finishes seams perfectly well for early projects.
Bulk gadget sets and full presser-foot kits. A 20-plus-foot presser foot set for $15 to $20 looks like a bargain, but most of those feet go unused by beginners. Buy a single specialty foot, like a zipper foot, only when a specific project actually needs it, and check first: many machines already include one.
What a Beginner Sewing Kit Really Costs
If you need to keep costs down, the bare-minimum kit, fabric scissors, a tape measure, pins, and a seam ripper, can be assembled for about $25 to $30. That covers the basics of cutting, measuring, pinning, and fixing mistakes.
A fuller starter kit, adding a rotary cutter and mat set, quality thread, machine needles, and an iron, brings the total to roughly $50 to $100. The single biggest lever on price is the scissors: a $10 craft-store pair versus a $60 to $75 Gingher, and whether you already own an iron changes the math too.
A practical way to approach it: buy the bare-minimum kit first, sew a few small projects, then add the rotary cutter, Wonder Clips, and better thread once you know sewing is a hobby you’ll stick with. There’s no need to buy everything on day one.
This budget is entirely separate from the sewing machine itself. Entry-level machines typically run $100 to $250, and if you haven’t picked one yet, this sewing machine buying guide can help you sort through the options first.
Once your kit is together, you’ll want something to actually sew. Our library of 155+ printable PDF sewing patterns, each with step-by-step instructions, is a good place to put your new tools to work right away.
Frequently Asked Questions
What’s the difference between sewing tools and sewing notions?
Tools are the reusable equipment you use across every project: scissors, pins, a seam ripper, an iron, a rotary cutter. Notions is the broader term that includes tools plus consumable, project-specific supplies like thread, zippers, buttons, elastic, interfacing, and bias tape. In short, every notion isn’t necessarily a reusable tool, but every sewing tool is generally considered a type of notion.
How much should a beginner spend on sewing tools?
Plan on roughly $50 to $100 for a solid starter kit beyond the machine and fabric. You can get the bare essentials, scissors, tape measure, pins, and a seam ripper, for around $25 to $30, then add a rotary cutting set, better thread, machine needles, and an iron as you keep sewing.
Can you sew without a sewing machine?
Yes. Hand sewing is a legitimate, complete method for many projects, including mending, simple garments, hand quilting, and embroidery. It just takes longer. A hand-sewing needle assortment, thread, and a thimble are all you need to get started, though a machine speeds up most modern garment projects significantly.
Do I need a rotary cutter as a beginner?
Not on day one. A rotary cutter, self-healing mat, and acrylic ruler make a real difference to cutting speed and accuracy, especially for quilting and straight-edged pieces, but a sharp pair of fabric shears will get you through your first garment projects just fine. Add the rotary set once you’re sewing regularly or move into quilting or bias-strip work.
What scissors are best for beginners?
An 8 to 9 inch bent-handle dressmaker shear, reserved only for fabric. Fiskars offers a strong budget option, around $20 to $30, with roughly 90% of professional cutting performance. Gingher and Kai are the premium choices, roughly $50 to $75, for sewists who want a pair that lasts decades. The single most important rule is to never cut paper with them, since that’s what dulls fabric scissors fastest.
What thread should a beginner use?
An all-purpose 100% polyester thread in a few neutral colors, white, black, gray, and beige, since it has enough give for both wovens and knits. Gutermann Sew-All and Mettler Metrosene are well-regarded, low-lint options, while Coats & Clark is a widely available, budget-friendly starting point found in most craft stores.
Do I need special sewing machine needles?
Yes. The right needle prevents skipped stitches and fabric damage. Keep three types on hand: universal (size 90/14 is a versatile beginner default) for most wovens, ballpoint or jersey needles for knits, since their rounded tip pushes fibers aside instead of piercing them, and denim or jeans needles for heavy wovens like denim or canvas. Needles dull with use, so plan to replace them every project or two.
How should I organize and store my sewing tools?
A basic caddy, tackle box, or divided craft organizer keeps small notions like pins, needles, bobbins, and marking tools from getting lost, while a magnetic pin dish speeds up cleanup of dropped pins. Keep your fabric scissors in a dedicated spot or sheath so no one grabs them to cut paper, and store machine needles in their original labeled packaging so you can tell sizes and types apart at a glance.