
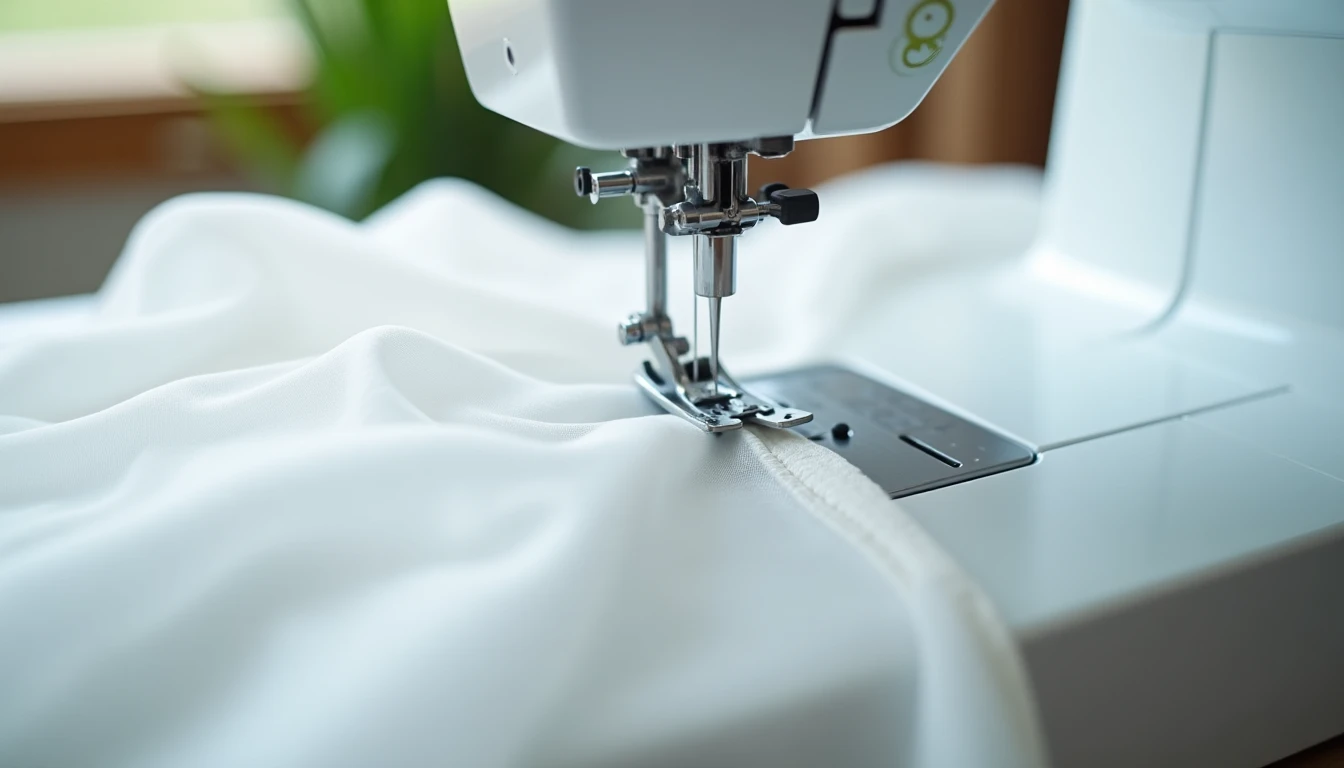
A french seam is the seam that hides its own raw edges. You sew it twice, and the first pass goes together wrong sides facing, the opposite of almost every other seam you’ve sewn, which is exactly the part that trips people up the first time. Once you know why it’s built that way, it stops feeling like a trick and becomes one more tool in your kit, right next to the rest of the stitches and seams covered in our sewing stitches and seams guide. Below you’ll get the exact seam allowance math, the step-by-step order, and where this seam earns its keep versus where you’re better off skipping it.
Some links below are affiliate links. Prices are 2025-2026 estimates and change often, so always check current pricing.
What a French Seam Is (and Why It Feels Backwards)
A french seam is an enclosed, self-finished seam. Instead of leaving a raw edge exposed on the inside of your garment, the way a plain seam does, you sew the seam twice so both raw edges end up locked inside the seam itself, with nothing left to fray, pink, or serge.
Here’s the backwards part: you pin your fabric pieces wrong sides together, sew a narrow first pass, trim it down, then fold the fabric so the right sides come together with that first stitching line sitting exactly on the fold. A second, wider pass encloses the trimmed edge completely. From the right side, all you see is one clean line of stitching, identical to a normal seam. Flip the fabric over and instead of a raw edge, you’ll find a narrow flat tuck, about 1/4 inch wide, with no fraying threads in sight.
The name is generally credited to French couture and haute-couture dressmaking, built on the idea that the inside of a garment deserves the same finish as the outside. Sewing sources tie the technique to fine European lingerie, bridal wear, and Edwardian-era garments made from handkerchief linen, voile, and lawn, long before home sergers existed. Exactly which century it started in is genuinely disputed among sewing writers, so treat the origin story as tradition rather than a documented date. The couture connection shows up consistently, though: this is a seam built for garments where someone might actually look inside.
The Seam Math First
Before you touch your machine, know your split. The two passes of a french seam always have to add up to your pattern’s total seam allowance (SA), so which numbers you use depends on what your pattern calls for.
| Total seam allowance | First pass (wrong sides together) | Trim to | Second pass (right sides together) |
|---|---|---|---|
| 5/8 in (standard US patterns) | 3/8 in | 1/8 in | 1/4 in |
| 1/2 in (common on indie and European patterns) | 1/4 in | 1/8 in | 1/4 in |
| 5/8 in, no-trim shortcut | 1/4 in | none | 3/8 in |
The 5/8 inch split is the one you’ll use most with US pattern companies, and it’s the row to memorize: 3/8 inch, trim to 1/8 inch, then 1/4 inch, adding back up to 5/8 inch. If your pattern calls for a 1/2 inch seam allowance instead, both passes shrink to 1/4 inch with the same 1/8 inch trim in between.
The no-trim shortcut is worth knowing but not relying on. On tightly woven fabric that doesn’t fray easily, you can skip the trimming step entirely and just sew a 1/4 inch first pass with a wider 3/8 inch second pass, which simply swallows the untrimmed allowance inside it. Loosely woven or fraying fabric still needs the trim, or you’ll be dealing with whiskers later.
How to Sew a French Seam, Step by Step
- Pin wrong sides together. This is the step that catches beginners off guard: every other seam you sew starts right sides together, but a french seam starts inside out.
- Sew the first pass. Stitch at the narrower width your split calls for (3/8 inch for a 5/8 inch SA, 1/4 inch for a 1/2 inch SA), removing pins as you go.
- Trim the allowance. Cut it close to the stitching, typically to 1/8 inch (or 1/16 inch on curves), to remove bulk and keep raw threads from poking through later.
- Press. Press the allowance flat as sewn, then over to one side. Skip this and your fold in the next step will fight you.
- Fold right sides together. Roll the seam so the first stitching line sits exactly on the folded edge, then press this fold firmly and flat. Accuracy here decides whether the raw edges end up fully hidden.
- Sew the second pass. Stitch at the wider width (1/4 inch in both standard splits), far enough from the fold to fully bury the trimmed raw edges.
- Give it a final press. Press the finished seam to one side, toward the back or wherever your pattern instructs, so it lies flat against the garment.
On a curved seam, clip small snips into the trimmed allowance every 1/2 inch before you fold, and press over a tailor’s ham or a rolled towel to keep the curve smooth instead of puckered. Pressing is the whole game here: a french seam sewn correctly but never pressed at each stage still looks lumpy, while one pressed well at every step looks clean even when the stitching wanders slightly.
Where French Seams Shine
French seams earn their place on sheer and lightweight fabrics, where any raw or serged edge would show through or feel scratchy against skin. Think chiffon, voile, organza, silk, cotton lawn and batiste, and crepe de chine. For a broader sense of which fabrics behave this way and why, our fabric types guide covers the weight and weave differences behind it.
Beyond sheers, reach for a french seam on:
- Unlined garments like blouses, unlined jackets, and camisoles, where the inside is on display or touching skin directly.
- Fine lingerie and bridal wear, where a scratchy serged edge is a dealbreaker.
- Kids’ clothing, for extra durability without a rough overlocked edge rubbing against a kid who will complain about it.
- Pillowcases, duvet covers, and other home-sewn textiles that get washed often and need a seam that won’t unravel.
Sometimes the reason is simpler: a french seam gives you a couture-level finish inside the garment, even on projects where it isn’t strictly required. For more on how seam choice fits into the bigger picture of putting a garment together, see our guide to garment construction.
Where They Do Not
Skip french seams on bulky, thick, or heavy fabrics: denim, wool coating, canvas. Doubling any of these into a four-layer seam creates bulk that won’t press flat and stiffness that fights the drape of the garment. A flat-felled or serged seam handles heavy fabric far better.
Tight curves, armholes and princess seams especially, are a genuine point of disagreement among sewists. It is possible to sew a french seam on a curve: trim closer, down to about 1/16 inch, and clip into the allowance at intervals before folding, which is fussy work and easy to get wrong on a home machine. Plenty of experienced sewists would rather use a mock french seam, a bias-bound seam, or a plain serged edge on tight curves, saving the true french seam for straighter runs like side seams and sleeve seams. There’s no single right answer; it comes down to how much fuss you want on one curved seam.
French seams are also generally unnecessary on knits, since knit fabric doesn’t fray the way woven fabric does. A serged or overlocked finish does the job faster, and a stitched-down french seam actually works against a knit by locking down the stretch the garment needs.
Variations and Alternatives
Mock french seam. Sew the seam normally, right sides together, at the full seam allowance. Trim it down (commonly to about 3/8 inch or less), then press both raw edges in toward each other so they meet at the original seam line, and edgestitch close to both folds to sew them shut. It looks nearly identical to a true french seam from the outside, uses only one pass of construction stitching, and is much easier to sew smoothly around a curve, which is why it’s the common substitute on armholes.
Flat-felled seam. Not a french seam, but often compared to one. Sew right sides together, trim one seam allowance narrower than the other, wrap the wider allowance around the narrower one, fold it under, and topstitch it flat. Like a french seam it fully encases the raw edges, but it’s pressed flat and topstitched on the outside (this is the seam on your jeans), so it ends up durable and visible as a design detail rather than hidden.
Serged or overlocked seam. The modern default for most sewists; see our sergers and overlockers guide if you’re deciding whether to invest in one. Sew right sides together at the full seam allowance, then finish the raw edge with a serger, which trims and wraps thread around it in a single pass. It’s much faster than a french seam and the standard choice for knits and medium-to-heavy wovens, but it doesn’t enclose the seam allowance the way a french seam does; you still get a finished edge on the inside, just not a hidden one.
Troubleshooting
Whiskers poking through the finished seam. This means the first-pass allowance wasn’t trimmed narrow enough, or the second pass wasn’t sewn far enough from the fold to bury it. Rip out the second seam, trim the first-pass allowance closer (down to 1/8 inch, or 1/16 inch on curves), and re-sew the second pass a full 1/4 inch from the fold. A sharp pair of duckbill appliqué scissors, available here, makes trimming that close to the stitching line less nerve-wracking, since the flat blade protects the fabric underneath.
Bulk at seam intersections. Where a french seam crosses another seam, like a side seam meeting a hem or armhole, layers stack up fast. Press each seam flat and to one side before crossing it, grade or trim the bulkiest layers where they meet, and press hard (steam and a clapper help) to flatten the junction.
Sheer or slippery fabric shifting while you sew. Chiffon, silk, and organza love to shift and pucker on those narrow passes. Fine, closely spaced pins help, and so does a walking foot or a straight-stitch needle plate that keeps slippery fabric from being pulled down into the machine. If the fabric is especially unruly, stitch with a layer of tissue paper underneath and tear it away once the seam is sewn.
If you’re building out a sewing library and want ready-to-print patterns to practice these seams on, take a look at our 155+ printable PDF sewing patterns library, which covers projects across skill levels.
Frequently Asked Questions
What is a french seam?
A self-finished seam sewn twice: first wrong sides together at a narrow width, then trimmed and folded so the right sides come together for a second pass. Both raw edges end up fully enclosed, so they never show on either side of the fabric.
How wide is a french seam?
It depends on your pattern’s total seam allowance, since both passes have to add up to it. For a 5/8 inch seam allowance: 3/8 inch first pass, trim to 1/8 inch, 1/4 inch second pass. For a 1/2 inch seam allowance: 1/4 inch first pass, trim to 1/8 inch, 1/4 inch second pass.
Do you sew wrong sides together first?
Yes, and it’s the step that confuses most beginners. The first pass is sewn with wrong sides together. You then trim and fold the fabric so the right sides come together for the second pass, which finally encloses the raw edges.
What fabrics are best for french seams?
Sheer and lightweight wovens: chiffon, silk, voile, organza, cotton lawn and batiste, and crepe de chine, where the enclosed finish keeps raw edges from showing through or irritating skin. Skip it on heavy or bulky fabrics like denim or wool coating, which get too thick once doubled into a french seam.
Can you sew a french seam on curves?
It’s possible but fussier than on a straight seam. Trim closer, to about 1/16 inch, clip small snips every 1/2 inch before folding, and press over a tailor’s ham to keep the curve smooth. Because of the extra difficulty, many sewists use a mock french seam instead on tight curves like armholes.
What is a mock french seam?
A faster alternative that looks almost identical to a true french seam. Sew right sides together, trim the allowance, press both raw edges in toward each other so they meet at the seam line, and edgestitch them closed. It skips the wrong-sides-first step and the second full seam, making it quicker and easier on curves.