
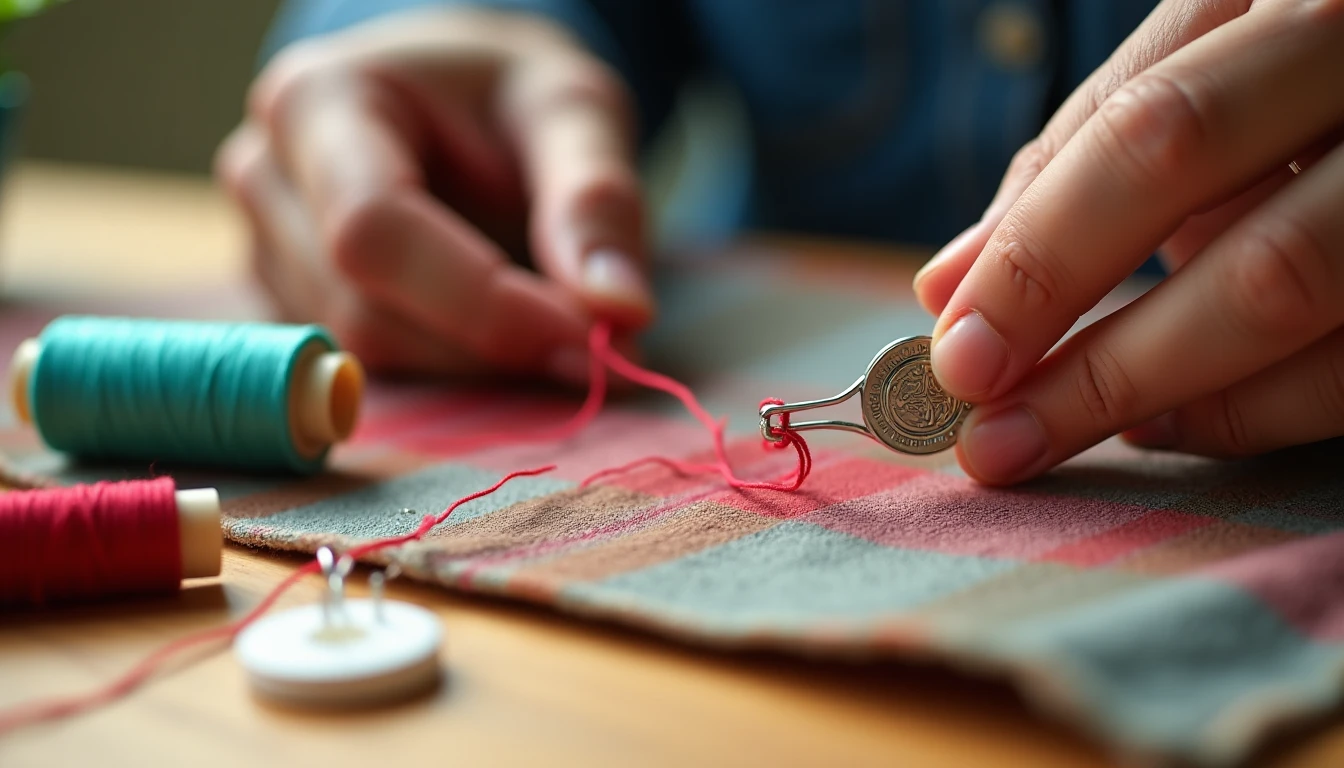
Threading a needle is the least fun part of sewing. Good light, reading glasses on, and you’re still jabbing a soft thread tip at a hole the size of a pinhead. That’s the problem a needle threader solves, and once you know how to use a needle threader properly, that fight turns into a five-second task. There are three main kinds: the classic wire loop threader from every notions kit, the built-in threader on your sewing machine, and the desktop automatic threader that does most of the work for you. For the rest of your kit, see our sewing tools and notions guide.
Some links below are affiliate links. Prices are 2025-2026 estimates and change often, so always check current pricing.
How a Needle Threader Works
A needle’s eye is small, and a soft thread tip flops around, frays, and misses more often than it hits. A wire loop threader flips that around: the wire is thinner than the eye and stiff enough to hold its shape as you push it through, giving you a much bigger target. Feed thread into the wire loop, pull the rigid wire back out, and it drags the thread through the eye in one motion.
If you’ve noticed a woman’s face stamped into the handle of an old wire threader, that stamping is functional as well as decorative: it stiffens the thin metal handle so it holds its shape. The face, popularly identified as Minerva or Arachne, figures tied to weaving in mythology, traces back to English cutlers like Joseph Rodgers and Sons of Sheffield in the early 1830s, when these threaders became a Victorian sewing box staple.
Worth knowing up front: wire loop threaders are consumables, not lifetime tools. The wire is intentionally thin so it fits through small eyes, and thin wire bends and snaps, especially if forced through too small an eye. Buy them in multipacks rather than expecting one to last forever.
Using the Classic Wire Threader
This is the threader clipped into most sewing kits, a diamond-shaped loop of wire fixed into a flat coin-style handle.
- Cut your thread cleanly at about a 45-degree angle so the tip is narrow and even. A clean angled cut slides into the wire loop more easily than a blunt or frayed end.
- Hold the needle in one hand and the threader in the other, and gently push the wire all the way through the eye.
- Feed the cut end of the thread through the wire loop poking out the far side, leaving a short tail (about half an inch) so it won’t slip back out.
- While holding the tail in place, slowly and steadily pull the wire loop back out through the eye, it drags the thread through with it.
- Grab that loop of thread and pull it the rest of the way, sliding the threader off, until thread runs cleanly through with a tail ready to knot or sew.
That gentle, steady pull in step four matters. Yank the wire sideways or force it and you’ll bend or snap it before its time. From there you’re set up for whatever hand sewing stitches your project calls for next.
Using Your Sewing Machine’s Built-In Threader
Most modern machines have a lever near the needle that does the same wire-loop trick automatically. It’s a great feature when it works, and a source of quiet frustration when it doesn’t.
- Turn the handwheel toward you (counterclockwise) to raise the needle to its highest position. This matters most, the hook only lines up with the eye when the needle is fully up.
- Lower the presser foot lever, most manufacturers specify this before threading.
- Thread the machine normally through the upper guides, down to just before the needle, leaving several inches of tail.
- Pull the needle-threader lever down as far as it goes. On most machines this swings a small hooked arm through the needle’s eye.
- Hook the thread under the guide on the threader arm, in front of the needle and under the hook.
- Release the lever slowly and smoothly, without pulling it sideways, so the hook rotates back through the eye, dragging a loop of thread with it.
- Pull the resulting loop out toward the back of the machine to finish, leaving a tail before you start sewing.
Jams or bent hooks usually trace back to the needle not being raised fully, sideways pressure on the lever instead of a straight release, or a twin/wing needle (built-in threaders don’t work with those). Needles smaller than about size 75/11 also have eyes too small for the hook. For the rest of your setup, see our guide on how to use a sewing machine.
Desktop Automatic Threaders
A desktop threader (the Clover Desk Needle Threader is the best-known example) mounts the wire-loop idea in a small stand you operate with one hand. It’s handy for hand-sewing and embroidery needles with oval eyes, like sharps, milliners, and crewel needles, though it doesn’t work well on tapestry or round-eye needles.
- Set the needle into the labeled needle slot, eye-side down.
- Lay the thread into the separate thread channel, without threading it yourself.
- Press the lever or button, many models work one-handed, which pushes a small loop of thread through the eye.
- Lift the needle straight up out of the slot, a small loop of thread will be protruding from the eye.
- Pinch that loop and pull it all the way through, then remove the needle.
These are worth the counter space if you do a lot of hand embroidery, freeing up a hand and cutting out eyesight strain.
The Other Threaders Worth Knowing
Hook or push-style threaders skip the fragile wire: a forked metal tongue built into the tool. Lay thread in a groove, press a lever, and the fork pushes it through the eye, better suited to thick thread and embroidery floss than a wire loop.
Threaders with a built-in cutter, sometimes sold as “Petit Cut,” pair the wire loop with a small blade so you can square off a fresh tip right before threading.
Floss or dental-style threaders are flexible nylon loops (the kind sold for flossing teeth) repurposed for serger loopers and beading needles, where a rigid wire can’t bend around the angle you need.
Tips That Make Threading Easier
A few habits make almost any threader work better. Cut thread at a 45-degree angle instead of straight across, a narrow, even tip slips into a wire loop far more easily than a blunt one. Skip licking the tip: saliva makes cotton and poly-cotton fray and swell, working against you rather than for you. A dab of thread conditioner or a pass through beeswax stiffens a tip better.
Match your thread to your needle. If a threader keeps failing, or thread looks frayed as it passes through the eye, the problem usually isn’t the threader, it’s that the eye is too small for the thread. A bigger needle beats a better threader every time. And work against a contrasting, well-lit background: an under-cabinet light, a daylight-bulb lamp, or simply a sheet of white paper behind the needle makes the eye far easier to see.
For low vision, stand-mounted or headband magnifiers, a desktop threader that only needs one free hand, and self-threading (slotted) needles that let you press thread into a side opening are all worth the investment. A multipack of wire needle threaders on Amazon is a cheap way to keep spares on hand, since the wire ones don’t last forever.
If you’d rather spend your time sewing than hunting for patterns, our library of 155+ printable PDF sewing patterns is available at Sewing Pattern Secrets, ready to print and use on your next project.
Frequently Asked Questions
How does a needle threader work?
A classic needle threader uses a loop of wire that’s stiffer, and much thinner, than the thread itself, so it passes through an eye where a soft thread tip would flop or fray. Feed thread into the loop, then pull the wire back out, and it drags the thread through the eye in one clean motion.
How do you use the needle threader on a sewing machine?
Raise the needle to its highest position, lower the presser foot, and thread the machine normally up to the needle. Pull the threader lever down as far as it goes to swing a small hook through the eye, hook the thread under it, then release slowly and evenly (no side-to-side pressure) so the hook pulls a loop back through. Pull that loop out the back to finish.
Why does my needle threader keep breaking?
Almost every broken hook comes down to missing the eye and hitting the needle’s shaft, usually because the needle wasn’t raised to its fully highest position, wasn’t fully seated, or is too small for a threader to reach through. Needles below about size 75/11 have eyes too small for the hook. Raise the needle fully and use an appropriate needle size.
How do you use an automatic desktop needle threader?
Set the needle eye-down into the labeled slot, lay the thread in the separate thread channel, and press the lever or button. The mechanism pushes a loop of thread through the eye. Lift the needle out, pinch the loop now poking through, and pull it the rest of the way through. Works best on oval-eyed hand-sewing needles, not tapestry or round-eye ones.
Can you use a needle threader for hand embroidery needles?
Yes. Wire loop, desktop automatic, and floss or dental-style threaders are all commonly used on hand embroidery stitches and needles. Desktop threaders are built around oval-eyed needles like crewel, sharps, and milliners and work especially well for stranded floss, though a wire loop threader is more portable for a project bag.
What if the thread is too thick for the needle?
No threader fixes a mismatch between thread and needle. If the eye is genuinely too small for the thread’s diameter, forcing a threader through will bend or snap the wire, and forcing the thread through will shred it. Size up instead: a larger needle with a bigger eye, or for embroidery and topstitching, a needle built for heavier thread.