
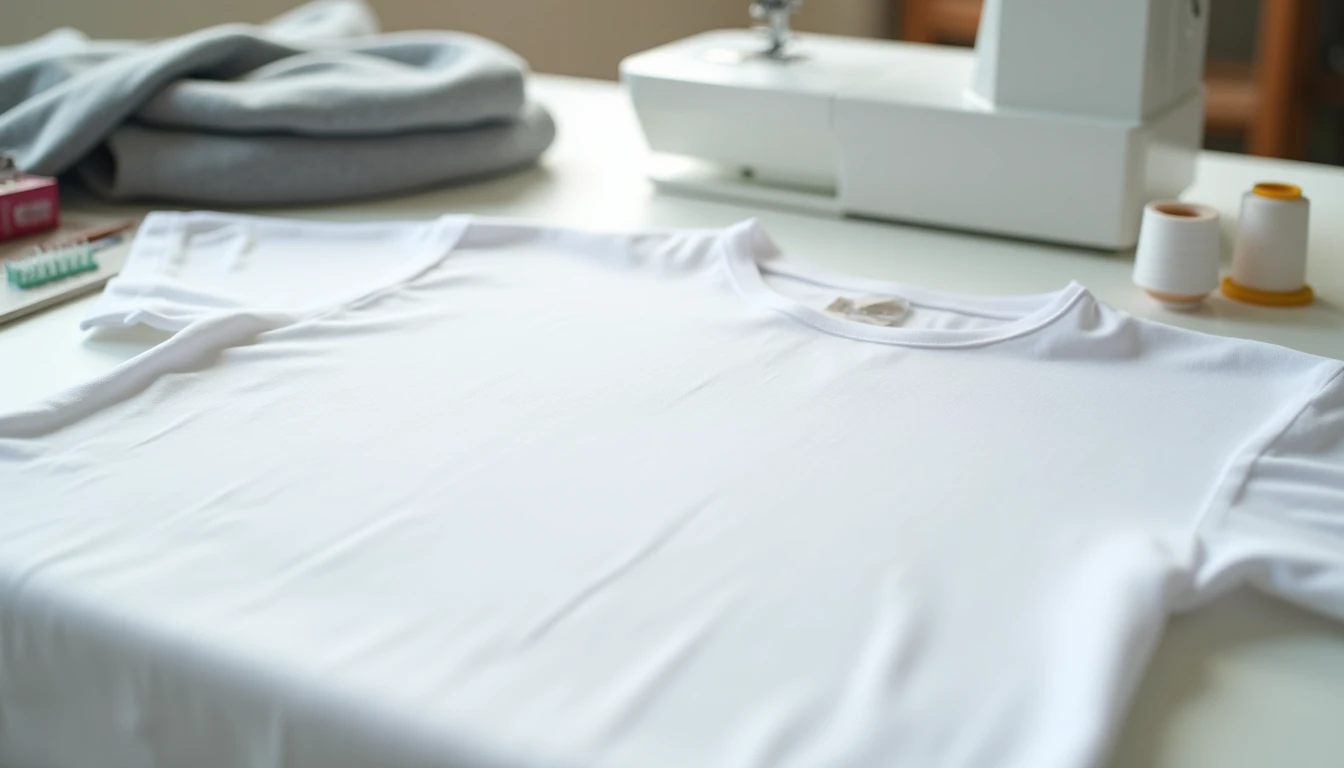
Tops are the fastest garment you can sew, and stitching one is the best way to learn how knit fabric behaves before you try anything more ambitious. If you’ve ever wondered how to make a shirt, a t-shirt is the natural place to start: five pattern pieces, no buttonholes, no zipper, and a finished garment in an afternoon once you’ve got the hang of it. This page covers three routes into topmaking: sewing a knit tee from scratch, refashioning a t-shirt you already own into something new, and understanding hoodie construction well enough to sew one or dress up a store-bought blank. If you haven’t sewn a garment before, our garment sewing roadmap walks through the whole process from pattern to finished piece, and our guide to garment styles and neckline names is worth a look if terms like crew neck, boat neck, or drop shoulder are new to you.
Some links below are affiliate links. Prices are 2025-2026 estimates and change often, so always check current pricing.
How to Sew a T-Shirt From Scratch
Cotton jersey with about 3 to 5% spandex (lycra) for stretch recovery is the standard fabric choice for a from-scratch tee. That small amount of spandex keeps the neckline and hem from bagging out after wearing and washing. Try to avoid 100% cotton jersey with no spandex content when you can, since it has poor recovery and stretches out permanently at stress points like the neckline. Interlock knit is a good first fabric because, unlike single jersey, its edges don’t curl when cut, which makes it much easier to handle while you’re still learning. Rayon/cotton and bamboo jersey blends behave well too. For yardage, plan on roughly 1 to 1.5 yards for an adult tee on 58 to 60 inch wide jersey (some sewists get a fitted tee from under a yard by using a thrifted knit bedsheet or a wide jersey cut). On standard 44 to 45 inch quilting-width fabric, budget closer to 1.5 to 2 yards, and add another 0.25 to 0.5 yard if you want long sleeves or you’re sewing a larger size.
You don’t need to buy a pattern to sew your first tee. The copy-a-tee method turns a shirt you already own into a free pattern:
- Pick a well-fitting tee you already own as your “pattern.” This free copy-a-tee method skips pattern buying entirely.
- Fold the tee in half lengthwise (shoulder to hem) with the front smoothed flat and wrinkle-free, then lay it on top of large paper (pattern paper, kraft paper, or taped-together freezer paper).
- Trace around the front half: shoulder, armhole curve, side seam, and hem, following the existing seamlines rather than the folded edge.
- Repeat for the back half of the tee on a second sheet, and trace one sleeve flat (folded in half) on a third sheet.
- Add seam allowance (about 3/8 to 1/2 inch) around every cut edge except the hem, and add a separate hem allowance (3/4 to 1 inch) along the bottom of the body and sleeve pieces.
- True up the shoulder and side seam lines so the front and back pieces will match when sewn, then cut out the paper pattern pieces.
- Measure the traced neckline opening on the pattern (front plus back combined) so you can size the neckband in the next step.
A basic crew-neck tee needs just 4 to 5 pattern pieces: one front, one back, two sleeves (cut on the fold or as mirrored pairs), and one neckband strip. That’s the whole pattern. No collar, plackets, or cuffs to draft.
Construction happens in a specific order, and it’s worth following it even if it feels backward at first:
- Sew the shoulder seams first (front to back), right sides together.
- Attach the neckband while the garment is still flat, before closing the side seams. This is far easier than trying to set a band onto a closed tube.
- Set the sleeves in flat, sewing each sleeve to its armhole while the body is still open flat, rather than sewing sleeves into a circle first.
- Sew the side seam and underarm sleeve seam in one continuous pass, pivoting at the underarm. This is the step that finally closes the garment into its 3-D shape.
- Hem the sleeves and the body last, once the garment is fully assembled.
For machine settings, use a ballpoint or stretch needle (size 75/11 to 90/14 depending on fabric weight). The rounded tip slides between the knit’s fibers instead of piercing and weakening them, which is what causes skipped stitches on knits. For the actual seams, use a narrow zigzag (roughly 0.5 to 2.5mm width, 2.5mm length) or your machine’s lightning or stretch stitch so the seam can flex with the fabric instead of popping. A plain straight stitch has no give and will snap under stretch. Polyester thread, not cotton, has some give of its own and holds up better on knits. A serger is optional but not required: a zigzag or stretch stitch on a regular machine gives you a fully wearable seam. For hems, a twin needle (4mm stretch twin needle is the standard hemming width, with narrower widths like 2.5mm for finer fabric) mimics the look of a coverstitched hem and keeps some stretch through the zigzag it forms on the underside.
Getting the neckband right
Cut the neckband shorter than the neckline opening it will be sewn to, not the same length. The band needs to be stretched slightly to lie flat. A commonly cited starting point is about 80 to 85% of the measured neckline length (plus seam allowance), though the exact percentage shifts with the ribbing’s stretch. Very stretchy 1×1 or 2×2 ribbing can go as short as 70 to 80%, while a less-stretchy self-fabric band should be closer to 85 to 90%. Quarter-mark both the neckline and the band (divide each into four equal points with pins or a fold), match the quarter marks, and sew with the band on top so you can feel it. Stretch the band to fit the neckline as you sew, never the shirt fabric to fit the band, or the neckline will gape and wave. Finish by pressing the seam with steam, which helps the knit relax and lie flat.
Sewing Simple Woven Tops
A simple boxy top is the easiest entry point into woven, non-stretch sewing, because it skips fitting almost entirely. The loose, straight silhouette forgives measurement error. It’s a good teaching project because it typically introduces facings or bias binding as a neckline and armhole finish (a knit band won’t work on non-stretch fabric), drop shoulders so there’s no set-in sleeve cap to ease, and a curved or straight hem finished with a simple turn-and-stitch. Because it uses only a handful of pattern pieces and straight seams, it’s often recommended as a first woven garment before you attempt anything fitted.
A classic button-up shirt is worth naming as the aspirational project, but it’s honest to flag it as intermediate to advanced, not a beginner weekend make. It adds a collar and collar stand, front and sleeve plackets, set-in sleeves, cuffs, and multiple buttonholes, and each of those pieces has its own learning curve. Realistically it can take 10 to 20 hours for a first attempt, versus an hour or two for a knit tee, so it’s worth saving until after a few boxy tops and t-shirts have built up your confidence with a machine.
T-Shirt Refashions
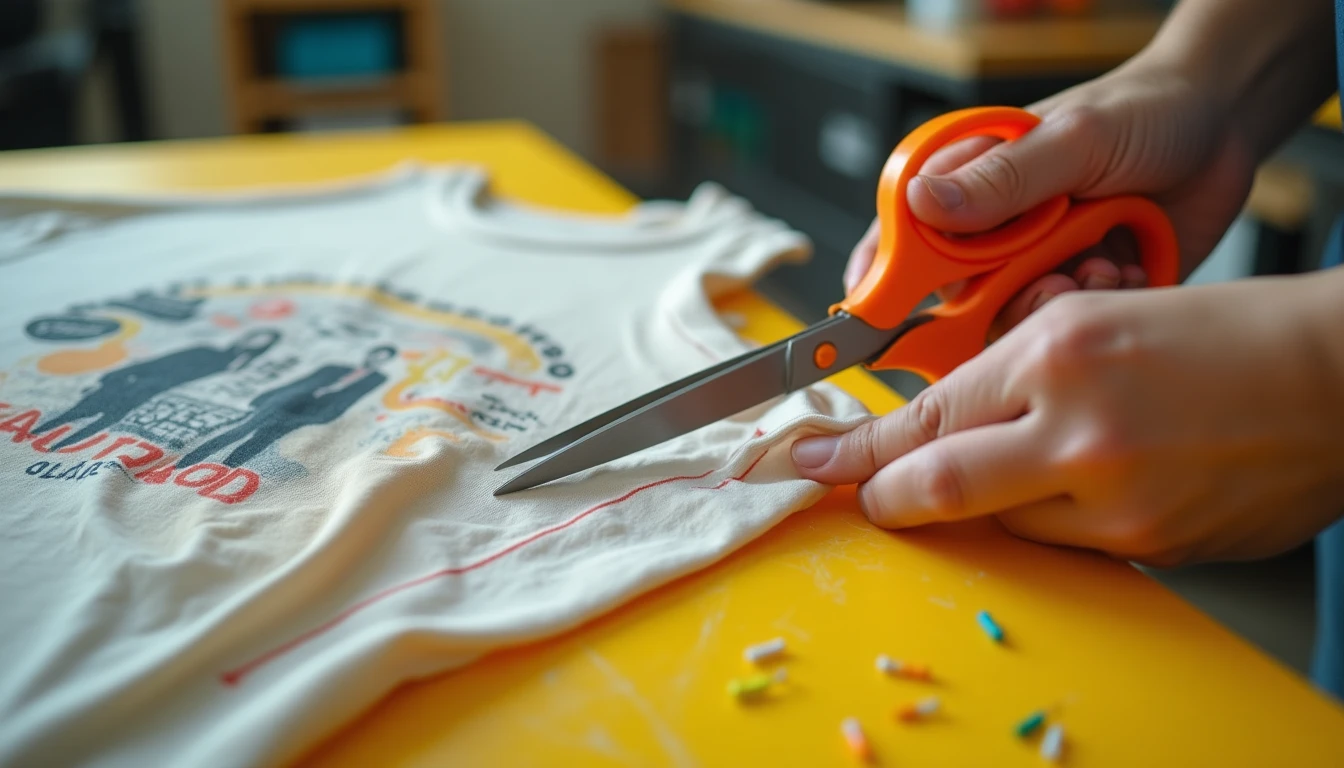
Cut a shirt into a tank top (no sew)
- Lay the t-shirt flat, matching side seams and shoulder seams exactly, and smooth out any wrinkles.
- Chalk-mark your cut lines first (sleeve line and neckline) before cutting anything, so both sides come out even.
- Cut the first sleeve off, following the curve of the existing armhole and sleeve seam. Cut just inside the seam for a more relaxed, draping armhole, or just outside it for more shoulder coverage.
- Fold the shirt in half using the marked seams as a guide, then use the first cut sleeve as a template to mirror the exact same cut on the second sleeve.
- Widen and deepen the neckline by cutting a shallow curve below the original neckband, again cutting evenly on both the front and back.
- Optionally, trim the body shorter for a cropped tank, using the same fold-and-mirror technique to keep the hem even.
- Leave all raw edges unfinished. Knit fabric is cut on the bias in places, and the loops in the knit structure cause it to roll rather than fray, so no hemming is required.
The polished sewn finish
- After cutting the armholes and neckline using the no-sew steps above as the starting cut, baste a line about 1/2 inch in from the raw armhole edge to define a clean finishing curve.
- Press the raw edge under along that basting line so it turns to the inside of the garment.
- Sew over the pressed-under edge with a stretch stitch (narrow zigzag or your machine’s stretch stitch) to permanently secure the folded hem around each armhole.
- For the neckline, fold under about 5/8 inch and stitch the same way for a clean edge, or, for an adjustable-strap look, stitch a casing at the shoulder and strap area instead of fully closing the fold.
- Optionally, cut a separate 1 inch wide strip of the same jersey and stretch it firmly as you handle it so it naturally curls into a cord with no sewing needed for the curl, then thread it through the casings with a bodkin or large safety pin.
- Tie or knot the self-fabric cord to create adjustable straps or a cinched, racerback-style effect at the shoulders.
More cutting ideas
- Crop top. Mark a straight or gently curved line at the desired length (fold the shirt in half to keep it even), cut, and let the raw edge roll on its own, or cut a strip from the removed fabric and stitch it on as a rolled self-fabric band for a slightly more finished hem.
- Off-shoulder top. Cut the neckline significantly wider than the shoulders on both front and back, well past the shoulder seams, so the neckband drapes down and the top can be worn pulled off one or both shoulders. A wide, stretchy knit works best since the opening relies on stretch to stay up.
- V-neck cut. Fold the shirt in half vertically to find center front, snip a small starting notch at the top of the existing neckband, then cut a clean V down to the desired depth through both layers so it’s symmetrical. Optionally topstitch close to the new raw edge to keep it from stretching out of shape with wear.
- Racerback. Cut deep, curved armholes that angle in toward the spine on the back panel, leaving only a narrow vertical strip of fabric at the center back between the new armholes. An optional fabric tie or knot at the top keeps the narrowed back panel from slipping off the shoulders.
- Fringe hem. Cut a series of even vertical slits, about 1/4 to 1/2 inch apart, up from the bottom hem to a consistent depth, then pull each strand gently between your fingers. The knit’s cut edges curl and roll into thin fringe rather than fraying flat.
- Side-tie top. Cut a straight vertical slit partway up one or both side seams, then knot the two resulting fabric ends together at the desired tightness to cinch in the waist for a fitted, adjustable silhouette.
- Muscle tank. Cut the armholes deeper and wider than a standard tank, extending the cut further down the side seam and further in toward the shoulder seam than the sleeve-removal cut, to expose more of the shoulder and side for an athletic, loose-armhole look.
- Back-slit or bow back. Cut a vertical slit down the center back from the neckline, then either leave it open as a keyhole-style slit or cut two fabric strips from scrap material and tie them into a bow to cinch the opening closed at one point.
A quick care note once you’re wearing your refashion: knit garments do best in a cold, gentle wash cycle and an air dry, rather than a hot dryer, which helps the cut edges and any stretched-out openings hold their shape for longer.
Hoodies: Sew One or Customize One
A hoodie has more pattern pieces than a tee, but the same knit-construction logic applies. You’re working with a front body panel (sometimes two, split by a kangaroo pocket seam), a back body panel, two sleeves, and a hood, usually 2 to 3 pieces (two side panels plus sometimes a center gusset), often with a matching lining piece for a two-tone hood interior. A kangaroo pocket is typically one panel topstitched to the lower front. Ribbing (1×1 or 2×2) finishes the cuffs and hem band, cut shorter than the opening and stretched to fit, exactly like a neckband. The drawstring runs through the hood casing and exits through two grommets or eyelets at the front of the hood.
A pullover hoodie is the easier and more logical first hoodie project. It’s built entirely from the same flat-construction, knit-seam skills used for a t-shirt, with no closures to install. A zip-up hoodie adds a separating zipper, the kind that fully unzips into two pieces, unlike a jacket zipper that stays joined at the bottom, sewn down the two center front edges before the front pieces are otherwise assembled. Getting the zipper tape straight, evenly spaced, and not stretched or puckered on knit fabric is a genuinely fiddly step that trips up a lot of first-timers. It’s a reasonable choice to sew a pullover first and treat a zip-up as the next-level version once separating zippers feel manageable.
Sweatshirt fleece (brushed on the inside, smooth knit face outside) and French terry (looped, not brushed, on the inside) are the two standard hoodie fabrics. French terry is lighter and drapes better, while fleece is warmer and bulkier. Both are still knits, so they use the same ballpoint needle and stretch-stitch approach as a t-shirt. Ribbing in a coordinating or matching color is used for the cuffs and hem band, and it needs more stretch and recovery than the body fabric since it does the actual gripping at wrists and waist.
Realistically, a hoodie is an intermediate project, not a beginner one. Even a pullover version usually takes 4 to 8 hours for a first attempt, versus an hour or two for a basic tee. Matching the curved hood seam to the curved neckline (with the lining aligned too) and topstitching the kangaroo pocket through multiple layers are the two steps most likely to slow a first-timer down.
For a first project, or anytime you want the design payoff without the construction time, buying a plain blank pullover or zip-up hoodie and customizing it is a legitimate shortcut. Applique, embroidery, fabric paint, stenciling, or fabric dye can all be applied to a store-bought blank in a fraction of the time a from-scratch hoodie takes, while still producing a one-of-a-kind result.
Easy Top Patterns Worth Starting With
- Free woven lounge top. Teaches a facing-finished neckline and a curved hem on a woven fabric, a good first project for facings before bias binding. Threads Monthly’s roundups of free women’s top patterns include a lounge top built around exactly this.
- Free tunic with drop shoulders. Teaches drop-shoulder construction (no set-in sleeve cap) paired with bias-binding at the neckline and armholes, a relaxed, forgiving woven silhouette. Threads Monthly and Love Sewing both list free tunics built this way.
- Free woven tank. Teaches bias-bound armholes and neckline on a fitted-but-simple sleeveless woven top, a compact way to practice bias tape. Peppermint magazine and Threads Monthly both offer free sleeveless tanks finished entirely in bias binding.
- Free multi-neckline knit tee. Teaches how changing just the neckline (scoop, crew, or high neck) and sleeve length changes the whole look of one basic tee block. Threads Monthly’s free t-shirt pattern roundups include a block offering 3 necklines and 4 sleeve lengths.
- Free boat-neck drop-shoulder tee. Teaches an extra-relaxed knit silhouette, often drafted across a wide size range, so it doubles as a fit-testing muslin before a more fitted tee. Threads Monthly and similar roundups list free boat-neck, drop-shoulder tees spanning XXS to XXXL.
- Free turtleneck top. Teaches a minimal-seam knit garment, often just shoulder, neckband, and hem seams, frequently recommended as one of the simplest knit tops for an absolute beginner. The Monroe Turtleneck and So Sew Easy’s turtleneck top are both built around six or fewer stitching lines.
Common Top-Sewing Mistakes
- Stretching the knit fabric while sewing the seam, which produces wavy, rippled seams. Let the machine’s feed dogs pull the fabric through on their own instead of pulling or pushing it.
- Skipping the ballpoint or stretch needle and using a regular universal needle, which causes skipped stitches and can put small holes or runs in the knit.
- Cutting the neckband the same length as the neckline instead of shorter, which leaves the finished neckline gaping and unable to lie flat against the body.
- Sewing knit seams with a plain straight stitch, which has no stretch of its own and pops open the first time the seam is pulled. Use a zigzag, stretch stitch, or serger instead.
- Cutting refashion projects freehand without chalk-marking first, which almost always produces uneven, mismatched sides once the shirt is unfolded.
- Skipping the prewash on knit fabric before cutting and sewing, which lets the finished garment shrink, sometimes several inches, the first time it’s washed.
Once you’ve sewn a tee or two by copying an existing shirt, a printed pattern with 155+ printable PDF sewing patterns and step-by-step instructions can make the next one even easier, especially if you want graded sizing built in instead of tracing your own.
Frequently Asked Questions
How do you make a shirt for beginners?
The fastest beginner route is to copy a well-fitting t-shirt you already own: trace its front, back, and sleeve onto paper, add seam and hem allowance, cut it from a cotton/spandex jersey, then sew the shoulder seams, attach the neckband flat, set the sleeves in flat, close the side and underarm seams in one pass, and hem. It uses only 4 to 5 pattern pieces and no closures.
How much fabric do I need for a t-shirt?
For an adult tee, plan on roughly 1 to 1.5 yards of 58 to 60 inch wide jersey, or about 1.5 to 2 yards if you’re working with standard 44 to 45 inch wide fabric. Add 0.25 to 0.5 yard for long sleeves or larger sizes.
How do you cut a shirt into a tank top without sewing?
Lay the shirt flat with the seams matched, chalk-mark your cut lines, cut off the sleeves just inside (relaxed) or just outside (more coverage) the existing armhole seam, mirror the same cut on the other side, and widen the neckline. Knit fabric rolls at a cut edge instead of fraying, so no hemming is needed.
Why do my knit seams pop when stretched?
A plain straight stitch has no built-in give, so it snaps the first time a knit seam is pulled or stretched. Switch to a narrow zigzag, your machine’s stretch or lightning stitch, or a serger, all of which form a seam that can flex with the fabric.
What stitch should I use for t-shirt fabric?
A narrow zigzag (roughly 0.5 to 2.5mm width) or your machine’s built-in stretch or lightning stitch for seams, and a twin needle for hems. Both leave enough give in the stitch line to move with a stretch knit without breaking.
Can I sew a t-shirt without a serger?
Yes. A serger is a convenience, not a requirement. A regular sewing machine with a ballpoint needle and a zigzag or stretch stitch produces a fully wearable knit seam. A double line of straight stitching (sew, then sew again about 1/8 inch over, and trim close) is another serger-free option some sewists use.
Is a hoodie hard to sew?
It’s a realistic intermediate project rather than a beginner one. A pullover hoodie typically takes 4 to 8 hours for a first attempt, mainly because attaching the curved hood to the neckline and topstitching the kangaroo pocket take more precision than a basic tee. A zip-up hoodie adds a separating zipper, which is harder still, so it’s worth sewing a pullover first.
How do I keep a cut t-shirt from fraying?
You generally don’t need to. T-shirt jersey is a knit, not a woven, so its cut edges roll rather than fray, which is exactly why no-sew tank refashions work with zero finishing. If you want a flatter edge, fold the raw edge under and secure it with a stretch stitch instead of leaving it raw.