
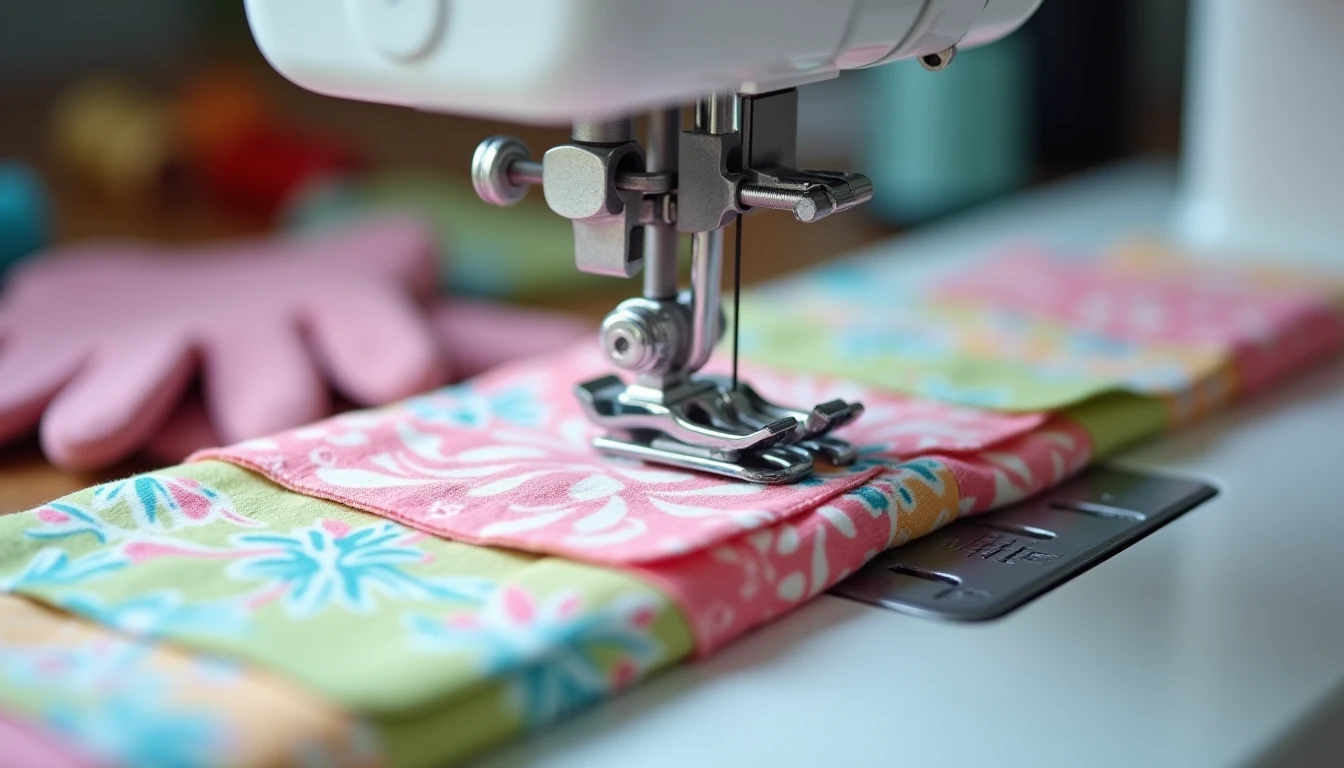
If you have ever quilted a sandwich, sewn a knit top, or tried to match a plaid across a seam and watched the top layer creep ahead of the bottom one, you already know the problem a walking foot solves. It is one of those attachments that sits in a drawer for years until the day you need it, and then you wonder how you sewed without it. If you are still getting comfortable with your machine’s basics, our guide on how to use a sewing machine is a good place to start before you add specialty feet to the mix. Below: what a walking foot actually does, when it earns its keep, how to install one without swearing at your machine, and how to buy the right one.
Some links below are affiliate links. Prices are 2025-2026 estimates and change often, so always check current pricing.
What a Walking Foot Actually Does
A regular presser foot has one job: hold the fabric flat against the feed dogs with steady pressure. The feed dogs underneath do all the moving, which works fine for a single layer. Stack layers, though, and things get uneven fast. The bottom layer gets pulled through by the feed dogs, while the top layer just drags along by friction, and friction is not consistent from fabric to fabric (batting drags more than cotton, a napped fabric drags differently than a smooth weave). The top layer lags behind, and you end up with puckering, shifting, or a seam that has quietly gone off track by the end.
A walking foot fixes this by adding its own set of feed teeth on top of the fabric, synced with the machine’s lower feed dogs so both layers move forward together. The sync comes from a metal fork on the foot that hooks around the needle clamp screw, the same screw that holds your needle in place. As the needle bar rises and falls, that motion transfers through the fork into a rocking action inside the foot: the upper teeth rise, step forward, drop to grip the fabric, and lift again, walking the top layer forward one stitch at a time, in step with the bottom feed dogs. That needle-bar connection is also why the fork has to be hooked correctly (more on that below).
Some machines build this feature in instead of using an attachable foot. Pfaff calls its version IDT (Integrated Dual Transport), and Janome calls its version AcuFeed. Both take their motion straight from the machine’s internal drive train instead of the needle bar, which is why manufacturers and long-time users generally consider built-in dual feed more precise and convenient than a screw-on walking foot. If your machine already has one of these systems, you likely do not need a separate walking foot at all.
Eight Jobs Where It Saves the Project
Quilting straight lines through the quilt sandwich. The number one reason people buy a walking foot. Stitch-in-the-ditch work and straight or gently curved quilting through top fabric, batting, and backing is prone to shifting and puckering with a regular foot. For a fuller walkthrough, see our guide on how to quilt.
Matching plaids, stripes, and directional prints. Because the top layer stops creeping forward or back relative to the bottom, a carefully pinned plaid match stays aligned through the whole seam instead of drifting by the end.
Sewing knits and stretch fabrics. A regular foot can stretch the top layer of a knit as it feeds, leaving a wavy, rippled seam. The walking foot’s synced upper feed helps knits move through evenly, though it will not save a seam sewn with the wrong needle or tension cranked too tight. Our fabric types guide covers knits and other slippery fabrics in more depth.
Slippery or napped fabrics, like minky, velvet, and faux fur. These tend to shift against each other under a static foot, and a walking foot cuts that shifting down a lot. Most experienced sewists still add pins or basting spray on longer seams, since nap and pile can move even with even feed on your side.
Vinyl and laminated cotton. A walking foot helps these stiffer, coated fabrics feed without one layer dragging, though the improvement is fairly modest for laminated cotton specifically. A Teflon or roller foot is often rated as good or better here, since its job is cutting surface stick rather than adding a second feed mechanism. Many sewists keep both and pick based on the fabric in front of them.
Leather and faux leather. A walking foot can manage multiple layers of leather or leather paired with fabric, but a Teflon or roller foot is often recommended alongside it, since leather’s main issue is sticking under the foot, not layers shifting.
Long seams on bags and home dec projects. Bag making tends to stack heavy interfacing, multiple fabric layers, and sometimes vinyl or cork accents. A walking foot keeps those thick, mixed-material seams feeding evenly over a long, straight run.
Attaching binding. Sewing binding onto a quilt edge means stitching through multiple layers of folded, stiffer fabric, and a walking foot helps keep the binding from getting pushed out of alignment as it goes under the needle.
Installing It (Without the Cursing)
- Figure out your machine’s shank type first, since walking feet are shank-specific. Lower the presser foot, remove it, and measure from the bed of the machine up to the screw hole (or check your manual). Roughly half an inch to three quarters of an inch is low-shank, about an inch is high-shank, and vintage Singer slant-needle machines run about 1 and 1/8 inch. Most modern home machines are low-shank.
- Turn the handwheel toward you to raise the needle and presser foot bar all the way up, so you have room to work.
- Remove the current presser foot as usual, whether that means popping a snap-on foot or loosening a screw.
- Remove the foot holder itself, sometimes called the ankle or shank. Unlike a normal foot swap, most walking feet replace this holder entirely, because the walking foot has its own built-in shank. Loosen the thumbscrew on the presser foot bar and take the holder off.
- Set the walking foot’s shank against the bare presser foot bar, where the holder used to sit, and finger-tighten the screw just enough to hold it without fully locking it yet.
- Swing the walking foot’s fork up and back so it straddles the needle clamp screw, with the screw sitting between the two prongs, not resting on top of or beside it. This is the step most people get wrong: if the fork lands on top of the screw instead of around it, the foot sits too high and will not feed fabric at all.
- Once the fork is seated correctly around the needle clamp screw, fully tighten the presser foot bar screw to lock everything in place.
- Turn the handwheel slowly by hand for a full stitch cycle before you sew, and watch that the foot’s upper teeth rise and fall smoothly in time with the needle. That confirms the fork is engaged before you run the machine at speed.
Using It Right
Sew slower than feels natural. Going too fast is the most common cause of skipped stitches, wandering lines, or shifting even with the walking foot attached, because the mechanism needs a beat to complete its walking cycle on every stitch. Plenty of quilters deliberately cap their machine’s top speed while quilting for exactly this reason.
For straight-line quilting, lengthen your stitch to roughly 3.0 to 3.5mm (about 8 to 10 stitches per inch) instead of a standard 2.5mm. A too-short stitch through thick layers can look cramped and stress the mechanism, while a slightly longer stitch feeds more smoothly through batting.
On backstitching, the consensus across sewing forums and machine makers is not to reverse a walking foot, or to do it only for a stitch or two. The upper feed teeth are generally built to walk fabric forward, so a full reverse can cause bunching, skipped stitches, or jamming. The common workaround is a lock stitch, several short forward stitches at the seam ends instead of backstitching, or swapping to the regular foot just for the reverse stitches.
A walking foot is a straight-line and gentle-curve tool, not a free-motion one. For free-motion quilting you drop or cover the feed dogs and switch to a darning or free-motion foot, which lets you move the fabric freely in any direction. The walking foot’s synchronized feed teeth would just fight against that manual movement.
Many walking feet also accept a removable quilting guide bar that slides into the back of the foot and rides along a previously sewn line, or the fabric edge, to keep parallel rows of quilting or topstitching an even distance apart without marking.
Buying One
A generic universal low-shank walking foot, the kind that fits most Brother, Singer, Janome, Juki, and similar low-shank home machines, typically runs about $10 to $30 and is sold in craft stores and online. If you want a starting point, this universal walking foot on Amazon covers the common low-shank sizes.
High-shank and slant-needle machines need a differently sized foot, so check your shank measurement or manual before assuming universal fits all. Some brands also sell their own branded walking feet, worth checking first since compatibility is guaranteed.
Bernina is the notable exception. Most Bernina machines use a proprietary attachment system, either a built-in dual-feed mechanism activated by a lever, or Bernina-specific walking feet on Bernina’s own shank. Generic low-shank feet generally will not fit without a special adapter, and Bernina-branded feet cost more than generic ones.
Check your manual before you buy anything. Many mid-range and higher-end machines, including Pfaff with IDT and Janome AcuFeed models, already have a built-in dual-feed system engaged with a lever or knob. If your machine has one, you probably do not need a separate attachable walking foot for most tasks. It is faster to switch on, and users who have compared both often report more consistent feeding and easier pattern matching from the built-in system. For other attachments worth having in your kit, our sewing tools and notions guide rounds up the essentials.
Troubleshooting
The foot clunks or clicks while sewing. A moderate mechanical clunk is normal, just the internal walking mechanism cycling with each stitch. If the noise is loud, harsh, or grinding, stop and check that the fork is hooked properly around the needle clamp screw and the foot is fully and evenly tightened. A loose or misaligned foot knocks louder than a properly seated one.
The foot does not feed fabric at all, and you have to pull it through by hand. This almost always means the fork is not engaged with the needle clamp screw. It may be sitting on top of the screw instead of straddling it, or the foot may be the wrong shank size. Check for daylight between the foot and the bed with the presser foot down; roughly an eighth of an inch or more signals a fit or installation problem. Also confirm the feed dogs are raised, since a walking foot only supplements the lower feed dogs, it does not replace them.
Stitches skip while using the walking foot. Slow down first, since sewing too fast is the most common cause. Also check for a dull or wrong-type needle (a fresh universal or denim needle suited to the fabric usually clears it up) and confirm the foot is seated and tightened correctly.
Layers still shift even with the walking foot on. Add pins or basting spray for extra insurance, especially on napped or slippery fabrics like minky and velvet, where even feed alone is not always enough. Lengthen the stitch slightly, around 3.0 to 3.5mm, reduce presser foot pressure if your machine allows it, slow down, and double check that the foot’s teeth are actually gripping the top layer. A foot sitting too high from poor fork placement will not grip fully.
If you want more patterns to put that walking foot to work on, Sewing Pattern Secrets keeps a library of 155+ printable PDF sewing patterns you can download and sew straight from home.
Frequently Asked Questions
What does a walking foot do?
It adds a second set of feed dogs on top of the fabric, synced with the machine’s regular feed dogs underneath, so multiple layers move through the machine together instead of the top layer dragging, shifting, or puckering relative to the bottom.
Do I need a walking foot for quilting?
You need one, or a machine with built-in dual feed, for straight-line and stitch-in-the-ditch quilting through the quilt sandwich. It is the standard tool for that job. You do not need it for free-motion quilting, which uses a darning or free-motion foot with the feed dogs dropped instead.
How do you attach a walking foot?
Raise the needle and presser foot bar, remove the current foot and its holder, position the walking foot’s shank on the bare presser foot bar, hook the fork around the needle clamp screw so the screw sits between the prongs, and tighten the presser foot bar screw. Turn the handwheel by hand first to confirm the upper teeth cycle in time with the needle.
Can you sew regular seams with a walking foot?
Yes. It can stay on for ordinary straight seams, it just feeds evenly the way a regular foot would on a single layer. The benefits show up most on multiple layers, knits, plaids, or slippery fabrics. For tight curves or decorative stitching, many sewists switch back to a standard foot since walking feet are bulkier and best suited to straight or gently curved lines.
Can you backstitch with a walking foot?
Generally not reliably. Most walking feet are built to walk fabric forward, and reversing can cause bunching or skipped stitches. The workaround is a few short forward lock stitches at the seam ends instead of backstitching, or swapping to the regular foot just for the reverse.
What is the difference between a walking foot and dual feed?
They do the same job, feeding top and bottom layers in sync, through different mechanisms. A walking foot is a removable attachment driven by the needle bar via a fork on the needle clamp screw. Dual feed, like Pfaff’s IDT or Janome’s AcuFeed, is built into the machine, driven off the internal shaft and motor system, and engaged with a lever or knob rather than screwed on. Built-in dual feed is generally considered more precise and more convenient.