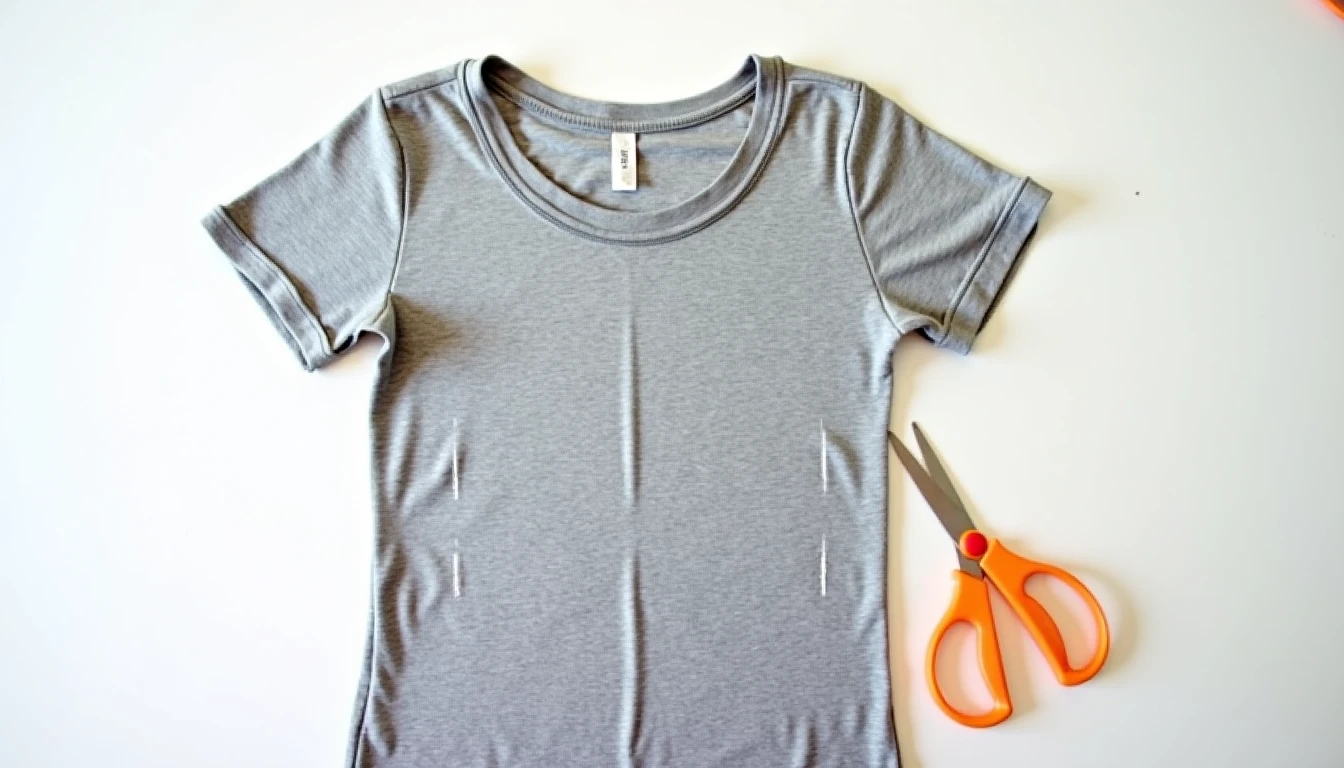
Grab a t-shirt from the giveaway pile and a pair of sharp scissors: this guide covers exactly how to cut a shirt into a tank top before the kettle boils. No pattern, no machine. It’s a classic no-sew refashion, since t-shirt fabric cuts clean instead of falling apart, and it’s why so many people cut a t-shirt into a tank top as their first refashion project. For more of what you can do with tops and shirts, the tops and shirts hub has a full refashion section.
Some links below are affiliate links. Prices are 2025-2026 estimates and change often, so always check current pricing.
Why Cut T-Shirts Don’t Fall Apart
A woven shirt, like a button-down, is made of threads running crosswise over each other. Cut into it and those threads pull loose into fringe, since nothing holds their ends down. A t-shirt is different: it’s knit jersey, built from one continuous series of interlocking loops that are already locked to their neighbors on every side, so cutting through a loop leaves no loose end to unravel.
A cut edge of jersey curls toward the right side of the fabric on its own, especially once stretched. That rolled edge is the look most no-sew tank tutorials are going for, not a flaw to fix, and it’s why this is one of the few refashions you can pull off with scissors alone. The fabric types guide covers why knits behave so differently from wovens.
Before You Cut
Wash and dry the shirt first. This pre-shrinks the fabric so today’s fit still fits after the first wash, and strips out leftover sizing that makes new knits feel stiffer than they’ll eventually be. Then lay the shirt flat on a table or floor and smooth out every wrinkle, since a rippled shirt gives wavy cut lines even with a steady hand.
For a shape you already trust, lay a favorite tank or fitted tee on top as a tracing template. Line up the shoulder seams, then trace the armhole and neckline with tailor’s chalk or a washable marker, leaving about half an inch outside the traced line as a margin. You can always trim more later, but you can’t glue fabric back on. Fold the shirt in half through the shoulder and side seams before the first cut, too, so both sides come out as mirror images in one pass.
Use sharp fabric scissors kept for fabric only. Dull or all-purpose scissors chew through knit loops instead of slicing them, leaving a ragged edge instead of a clean curl. A decent pair of fabric scissors is one of the cheapest tools in sewing, and the one place worth not skimping.
The Basic No-Sew Tank
- Mark where the sleeve seams and neckline sit while the shirt is on your body, before cutting anything.
- Cut off the sleeves along the existing seam. Just inside removes the seam for a soft, rounded cap; just outside leaves a small cap-sleeve edge for more coverage.
- Fold the shirt in half, matching shoulder and underarm seams, and use the first cut sleeve as the guide for the second so both armholes match.
- Mark the new neckline before cutting: a shallow curve a couple inches below the crew for a scoop, a center point angled up to the shoulders for a V, or a sideways widening along the shoulders for a boat neck. Cut just inside your line, checking against your body as you go.
- Deepen the armholes gradually. Trim a little, try it on, and only cut more if it’s still tight. Fabric you remove is gone for good.
- Optional: cut side slits a few inches up from the hem for extra ease.
- Finish the raw edges by firmly stretching the cut neckline and armholes in several directions so the knit curls into a rolled edge, or leave them unstretched for a flatter, more relaxed look.
Seven Variations Worth Trying
Muscle tank. Cut the armholes deeper and wider than usual, just outside the original seam and further down the side, going slow since it can’t be undone. Leave the hem as-is or crop it shorter; either works.
Racerback. Lay a racerback tank or sports bra on top as a stencil and cut that shape from the back panel only, leaving the front intact. Or skip cutting: gather the back where the racer section should start and wrap it tightly with a strip cut from a removed sleeve.
Crop tank combo. Mark the length you want on your body, cut the hem off (or cut a new line above it), then stretch the raw edge the same way as the armholes so it rolls to match.
Fringe hem tank. Slice the bottom hem into vertical strips, about half an inch to an inch wide, up to a marked line above the original hem, then stretch and pull each strip once, firmly, so it curls into a rounded cord that holds through the wash.
Tie-side tank. Cut fringe strips up both side seams, front and back together, then tie each matching strand from hem toward underarm for a laced look.
Workout tank with knotted back. Cut a deep scoop or U-back on the back panel only, gather the excess at bra-band height, and knot it with a strip from a cut-off sleeve. No sewing required.
Halter conversion. Remove the sleeves and neckline, cut two long straps from the shoulder area or a removed sleeve, and tie them behind the neck. Quicker version: cut a deep V or scoop front, remove the shoulders and back entirely, and knot the front straps behind the neck.
The Finished Version (If You Sew)
If you’d rather the cut edges lie flat instead of rolling, or the tank is a gift or comes from a nicer shirt, hem the cut armholes, neckline, and any cropped hem on a machine instead.
Fold the raw edge under by a quarter to half an inch, press it, and stitch with a twin (double) needle or a zigzag/stretch stitch. Both flex with the knit so the stitching won’t pop the way a straight stitch does, and a stretch twin needle beats a standard one, which tends to skip stitches on knits. The hemming guide covers hemming knits step by step.
Self-fabric binding is another option: cut strips of jersey from the removed sleeves (knit doesn’t need the true bias woven binding does, since it already stretches in every direction), fold the strip around the raw edge, and stitch it on, stretching slightly as you go so it lies flat. Binding from the shirt’s own sleeves matches the rest of the tank exactly.
This extra step pays off most on shirts meant for repeated wear and washing, or when the tank is a gift, since a bound or hemmed edge holds its shape longer than a rolled raw edge.
Five Cuts People Regret
Cutting the armholes too deep on the first pass. Cut in small increments and try the shirt on between cuts; a second small cut beats one big one.
Ending up with uneven, mismatched sides. Fold the shirt in half, line up the seams exactly, and cut both layers at once, or use the finished side as a guide for the second.
Cutting off the original hem just because it looks unfinished. Leave the factory hem unless you want it shorter; it resists stretching out of shape better than a fresh raw edge does.
Forgetting to leave a margin when tracing a template tank. Cut about half an inch outside the traced line rather than on it, or the armhole ends up tighter and gappier than the template’s own.
Using dull or all-purpose scissors. Sharp, fabric-only scissors slice knit loops cleanly; dull blades chew and snag them into jagged rolling instead of a smooth curl.
What to Do With the Scraps
Don’t toss the sleeves and hem you cut off. A no-sew tote bag comes from cutting the sleeves and neckline off a second shirt, then cutting parallel fringe slits up from the hem through both layers and knotting each matching pair, sealing the bottom without a stitch. Leftover fabric can also become a crop top with an added hem trim, headbands or scrunchies (a scrunchie does need a needle and thread for the tube and elastic), or a produce bag with cut vents for airflow. The easy sewing projects section has more ideas for scraps.
When a scrap is too small or too holey for any of that, it’s fine to be honest about the ceiling: the tiniest offcuts are best kept as cleaning rags rather than forced into a project they were never going to hold up in.
For more projects to line up next, Sewing Pattern Secrets keeps a library of over 155 printable PDF sewing patterns at this pattern library.
Frequently Asked Questions
How to cut a shirt into a tank top without sewing?
Lay the shirt flat, cut off the sleeves along or just outside the seam, cut a wider neckline (scoop, V, or boat), and gradually deepen the armholes, folding the shirt in half to keep both sides symmetrical. Since it’s knit jersey, the raw edges won’t fray. Stretch them firmly by hand afterward and they’ll curl into a finished-looking rolled edge, no stitching needed.
Will a cut t-shirt fray?
No. T-shirts are knit jersey, built from interlocking loops rather than woven threads, so a cut edge doesn’t unravel into fringe the way woven fabric does. Instead, the raw edge curls or rolls, especially once stretched.
How do you cut a t-shirt into a racerback tank?
Trace a racerback tank or sports bra onto the back panel and cut that shape out of the back only, leaving the front intact, or skip cutting entirely and gather the back fabric at the desired point, tying it tightly with a strip cut from a removed sleeve.
How deep should tank top armholes be?
There’s no fixed measurement; it depends on the shirt’s size and the fit you’re after. Cut a little at a time, trying the shirt on between cuts, since it’s easy to remove more fabric but impossible to add it back. A regular tank stays close to the original sleeve seam, while a muscle tank cuts deeper and wider.
How do you finish the edges of a cut tank top?
For the no-sew look, stretch the cut armholes, neckline, and any cropped hem by hand in several directions and the knit curls inward on its own. For a durable, flat finish, fold the raw edge under and stitch with a twin needle or zigzag/stretch stitch, or apply self-fabric binding cut from the shirt’s own sleeves.
What can I make from t-shirt scraps?
Leftover fabric and cut-off sleeves can become a no-sew knotted tote bag, a crop top, headbands or scrunchies, a produce bag with cut vents, or binding strips for finishing other projects. Very small or worn scraps are best kept as cleaning rags rather than pushed into another sewn project.