
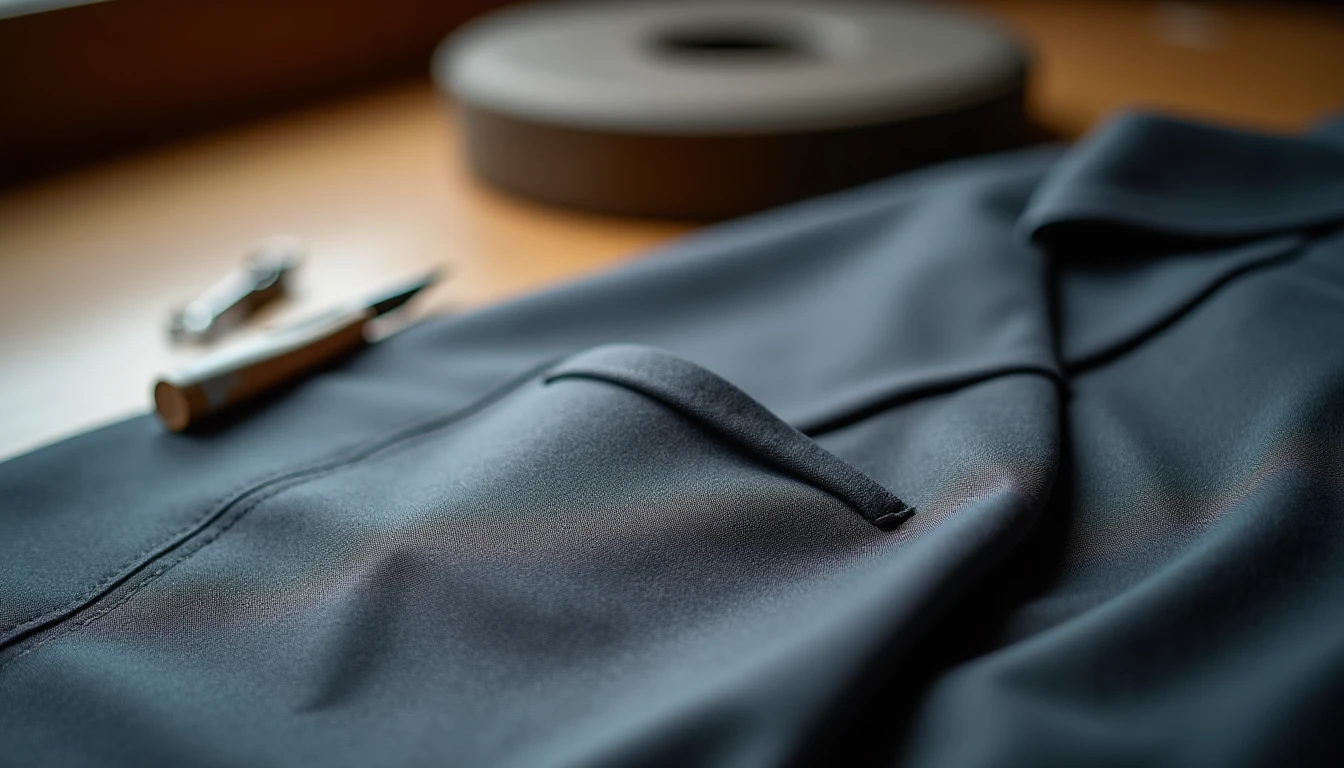
If you’ve ever flipped through a tailoring book and landed on a welt pocket diagram, you probably closed it and went back to patch pockets. It’s the pocket that separates sewists who trust their machine from sewists who still eyeball everything. Cutting a slash straight into the middle of a good piece of fabric feels reckless the first time you do it.
A welt pocket isn’t a mysterious skill, though. It’s precise marking, careful stitching, and confident pressing, done in the right order. Once you see it broken into steps, the fear mostly evaporates. This guide covers what a welt pocket is, how the pieces fit together, and exactly how to sew one, the same construction covered in our broader garment construction guide.
Some links below are affiliate links. Prices are 2025-2026 estimates and change often, so always check current pricing.
What a Welt Pocket Is
A welt pocket is set into the fabric through a slash, rather than stitched on top the way a patch pocket is. The slashed opening gets finished and reinforced by narrow strips of fabric called welts, sometimes called lips, which fold over to cover and stabilize the cut so it sits flush with the garment. You’ll spot them on blazer chest and hip pockets, trouser back pockets, coat pockets, tailored skirts and dresses, and structured bags.
There are a few common variations. A single welt pocket uses one, generally wider, strip of fabric to form the lip, the classic choice for a jacket’s breast pocket. A double welt pocket uses two narrower strips, each roughly half the finished opening’s height, meeting edge to edge at the center of the slash. Sewing and tailoring sources use double welt, jetted pocket, and besom pocket interchangeably for this same two-strip, no-flap construction, most associated with trouser back pockets and formal jacket pockets. There’s also a flap variant, where a fabric flap gets tucked into a double-welt opening and topstitched down: it looks like a flap pocket from the outside, but underneath it’s built on the same welt base.
The Anatomy
Before you sew a stitch, it helps to know what each piece is doing.
The welt strip or strips become the finished lips that cover the opening. Cut them on straight grain for stability (occasionally on the bias as a design detail). The pocket bag, or lining, is sewn behind the welts to form the pouch that holds whatever goes in the pocket, usually a lighter-weight fabric so it doesn’t add bulk or show through.
The interfacing zone is non-negotiable. Fusible interfacing goes on the wrong side of both the garment and the welt piece at the pocket location, because the slashed opening is under real stress and will stretch, fray, or gape without it.
Then there’s the rectangle, the finished pocket dimensions drawn precisely with a ruler, either thread-traced or chalked. This rectangle is your stitching guide, and how accurately you mark it decides whether your finished lips end up even and parallel or crooked and mismatched.
Finally, the triangle ends: small wedge-shaped clips cut into each corner of the rectangle in a Y shape, up to but never through the stitching. Their job is to let the welt fabric turn cleanly to the inside, then get stitched down to the welts to square off and lock each corner in place.
Sewing a Double Welt Pocket, Step by Step
This is the core sequence, the same one whether you’re working on trousers, a blazer, or a bag.
- Fuse interfacing to the wrong side of the garment at the pocket location and to the wrong side of the welt fabric piece, stabilizing the area before you cut anything. A roll of good fusible interfacing keeps every pocket you sew afterward consistent.
- Mark the pocket rectangle (the window) precisely with chalk or thread-tracing and a ruler, keeping the two long lines exactly parallel. Accuracy here matters more than any other step in the whole process.
- Cut and press the welt strip or strips on straight grain, sized roughly twice as long and a few inches wider than the finished opening.
- With right sides together, pin or baste the welt piece over the marked rectangle on the right side of the garment.
- Stitch along the two marked lines exactly parallel to each other. Shorten your stitch length and backstitch precisely at the start and stop points, the same short-stitch-at-corners trick covered in our sewing machine stitches guide.
- Cut the slash through the garment layer only, down the center between the two stitch lines, stopping about half an inch to five-eighths of an inch short of each end.
- Clip diagonally into each corner in a Y shape, forming small triangles. This is the moment that takes courage: cut close to the stitching, but never through it.
- Push the welt strips through the slash to the wrong side of the garment.
- Press the seam allowances open and flat, then press each welt so the folded lips meet evenly at the center, no gap, no overlap.
- Fold the garment back to expose the triangle ends and stitch them securely to the welts, through the base of each triangle, to square off and lock the corners.
- Position and stitch the pocket bag pieces to the welts and to each other around the edges to form the pouch.
- Edgestitch or stitch-in-the-ditch to secure everything, catching the triangle ends if they weren’t already caught, then give the whole pocket a final press so the opening lies flat.
The Tricks That Make It Work
Precise marking beats everything else. Thread-trace or chalk with a ruler, checked twice, so the two stitch lines are genuinely parallel before you sew a single stitch. Shorten the stitch length to roughly 1.5 to 2mm at the start and stop points and around the corners of the rectangle, for extra control right where the fabric takes the most stress.
Press at every stage, not just at the end: seams open, welts folded to meet, corners flattened with the tip of the iron. Skipping a press step almost always shows up later as a gap or a pucker.
Practice the entire sequence on a scrap of the actual fabric, interfaced the same way, before you cut into the real garment. This is the single most repeated piece of advice across every tutorial on this technique. A quick trial run on contrasting practice fabric makes the stitch lines easy to see and check for parallel accuracy before you commit to your good fabric.
And when it’s time to cut into the corner, cut brave. A timid or short cut that stops early is what causes puckers and knocks the corner out of square, so small, sharp, pointed scissors and a confident hand earn their keep here.
Why Welt Pockets Fail
Gaping lips, where the welts don’t meet neatly and leave a visible gap, usually come from welt strips cut off-grain, which stretch unevenly, or from lips left loose and unpressed. Cut on straight grain, press firmly to meet at the center, and stitch the triangle bases securely to hold the lips snug.
Puckered corners almost always mean the triangle clip wasn’t cut fully into the corner, so excess fabric bunches when the welt turns through. Re-clip closer to the stitching, within a thread’s width, and press the corner flat with the point of the iron.
Uneven lips, one welt wider or more crooked than the other, come from stitch lines that weren’t perfectly parallel or equidistant from the center line when marking. Thread-trace both lines with a ruler and double-check the measured welt width instead of eyeballing it.
A fraying slash at the opening happens when interfacing was skipped or too lightweight for the fabric. Always fuse interfacing to both the garment and the welt piece before you cut the slash.
Pocket bag showing through or adding visible bulk comes from a lining fabric that’s too heavy, too bulky, or the wrong color. Use a lightweight lining close to the garment color and press so the bag stays tucked behind the welts.
Where You’ll Sew Them
Menswear trouser back pockets classically use double welt, or besom, construction, covered in our how to sew pants guide. Blazers and suit jackets use a single welt on the chest pocket and often a double welt, sometimes with a flap, at the hip. Coats, tailored skirts, and dresses use welt pockets whenever the goal is a clean, structured look, and structured bags and purses use welt-style openings for the same polished finish, as we walk through in sewing bags. There’s also a zippered welt variant, where a zipper sits behind the opening with its teeth centered between the two welts, giving the look of a jetted pocket with a secure, closable opening, seen on jacket pockets, bags, and occasionally trouser back pockets.
If you want more projects to practice this technique on, our library of 155+ printable PDF sewing patterns has trousers, jackets, and bags built around exactly this kind of pocket, available at Sewing Pattern Secrets’ pattern library.
Frequently Asked Questions
What is a welt pocket?
A welt pocket is a pocket cut into the fabric through a slash rather than applied on top, with the opening finished and reinforced by narrow fabric strips (welts) that fold to cover it flush with the garment.
What is the difference between a single and double welt pocket?
A single welt pocket uses one, generally wider, strip of fabric to form the lip, most often seen on a jacket’s chest pocket. A double welt pocket uses two narrower strips that meet edge to edge in the center of the opening, typically used on trouser back pockets and formal jacket pockets.
Are welt pockets hard to sew?
They have a reputation for being one of the trickiest pocket techniques because of the precise marking, stitching, and cutting involved, but they’re very achievable if you mark carefully, shorten your stitch length near the corners, and practice on scrap fabric first.
What is a jetted pocket?
Jetted pocket is another name for a double welt (besom) pocket. Sewing and tailoring sources use double welt, jetted, and besom interchangeably to describe the same two-strip, no-flap construction.
Why do my welt pocket corners pucker?
Puckered corners almost always come from not clipping the triangle (Y-cut) fully into the corner before turning the welt through, leaving excess fabric bunched at the point. Clip closer to the stitch line and press the corner flat with the tip of the iron.
Do you need interfacing for a welt pocket?
Yes. Fusible interfacing on the wrong side of both the garment and the welt piece stabilizes the slashed opening so it doesn’t stretch, fray, or gape, even on fabrics that already feel fairly stable on their own.