
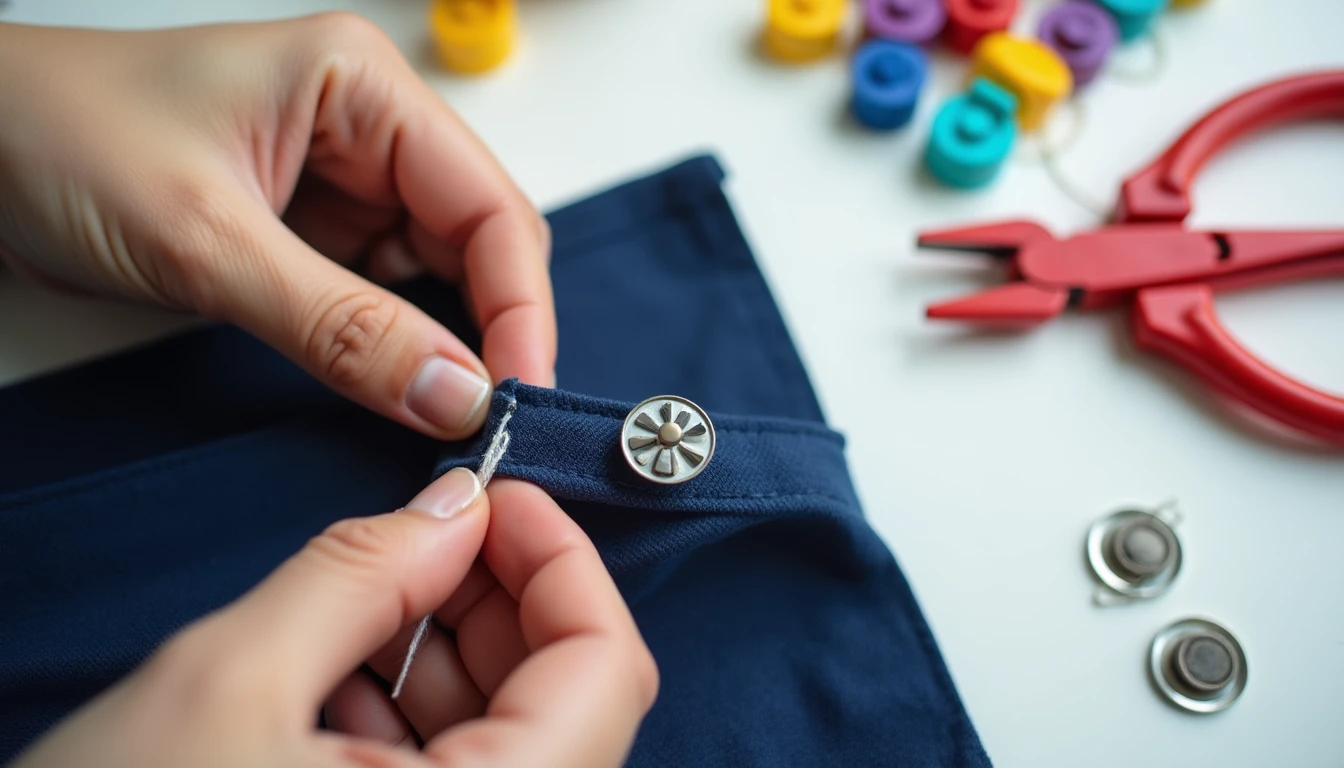
If you want a closure that opens and shuts in under a second, snaps are the answer. No buttonholes to stitch, no fumbling with tiny buttons, just press and go. That speed is exactly why snaps show up on baby clothes, duvet covers, bag flaps, and Western shirts.
This guide covers how to sew snaps on by hand, plus the three no-sew families you’ll run into: KAM plastic snaps, metal prong snaps, and magnetic snaps. If you haven’t nailed down buttons yet, our guide on how to sew buttons is a good companion piece, since the two closures often share a garment.
Some links below are affiliate links. Prices are 2025-2026 estimates and change often, so always check current pricing.
Snap Anatomy and Which Side Gets the Ball
Every snap has two halves: the ball (also called the stud, the male side) and the socket (the female side). One presses into the other and locks with a soft click.
The most common convention puts the ball on the wrong side of the overlap (the top flap lying over the garment when closed) and the socket on the right side of the underlap (the layer underneath). On a shirt placket, that’s the inside of the top flap’s edge and the outside of the under flap.
Plenty of good tutorials reverse this and put the ball on the underlayer instead, and both work fine. The only rule that matters is that the two halves land on opposite-facing surfaces so they meet when you close the garment. Don’t lose sleep over which is “correct,” just stay consistent within a project.
Sew-on snaps come in numbered sizes, from tiny 4/0 (about 1/4 inch) up through size 10 (3/4 inch or more), with 0 through 4 covering most garment work. You’ll also find them in nickel-plated steel or brass, black enamel for dark fabrics, and clear plastic for sheers and light colors where metal would show through.
Sewing On a Snap, Step by Step
Here’s the full process, from marking to finishing.
- Mark the ball’s position on the wrong side of the overlap (top) layer, using your pattern markings or measuring in from the finished edge.
- Transfer that mark to the underlap layer with the chalk-through-hole trick: rub tailor’s chalk onto the tip of the ball, then press it firmly onto the underlap fabric where the two layers should meet when closed. The chalk leaves a precise dot showing where to center the socket. Pinning the closure shut and marking through the holes works too.
- Thread a needle with doubled regular thread, or a single strand of buttonhole twist if you have it (a heavier thread made for stress points like this one), and knot the end.
- Take your first stitch so the knot anchors underneath the snap itself, hidden between the snap and the fabric. Never leave a knot exposed on the surface.
- Work one hole at a time, taking 2-3 stitches per hole as a baseline, or 3-4 passes per hole for heavy wear, like kids’ clothing or a placket pulled open daily. Move around all 4 holes before finishing.
- On two-layer fabric (shell plus facing), pick up only the inner facing layer with your needle so every stitch stays invisible from the right side.
- Stitch through the hole itself, whip-stitch style (needle down through the hole and fabric, back up through the same hole), rather than looping over the snap’s outer rim, which will show and fray.
- Finish with a few small backstitches or a hidden knot, same as you started, then snip the thread close.
For extra durability, especially on coats, swap the plain whip stitch for a buttonhole stitch, one that locks a small knot into itself at each pass. If one stitch loosens later, the rest don’t cascade with it, and it sits flatter than overlapped whip stitches. Our hand sewing stitches guide covers the motion in more detail.
For sheer or light-colored fabric, use clear plastic sew-on snaps instead of metal so nothing shows through.
The No-Sew Family
Sometimes you don’t want to hand-sew at all, and that’s where the no-sew families come in.
Plastic KAM snaps are the diaper-bag favorite. Each snap uses four parts: two decorative caps plus a stud and a socket. Pierce the fabric with an awl, push the cap’s prong through from the right side, place the stud or socket over the exposed prong on the wrong side, then set the pair in dedicated pliers and squeeze. The prong compresses into a mushroom shape that locks everything permanently, no thread required, best through two layers of fabric plus a light interfacing like SF101. A decent KAM snap pliers kit with assorted caps and an awl saves you buying pieces separately. They’re the go-to for cloth diapers, bibs, and washable baby items.
Metal prong (press) snaps work the same way but in metal. A pronged ring pushes through the fabric from underneath so the prongs poke through to the right side, then a cap or stud goes over them, and a hammer-and-anvil set or metal-rated pliers compresses the ring so it bites through the fabric and locks for good. Pearl-cap versions are the classic Western shirt snap, chosen partly because they pop open safely if a shirt catches on a fence or a spooked animal, where a buttoned shirt would tear or trap the wearer. Plain metal caps also show up on baby clothes and heavy workwear, anywhere hand-sewing thread would fail.
Magnetic snaps are built for bags, not garments. Two discs, each with two prongs on the back, push through small slits in the fabric, then a thin metal washer goes over the prongs on the wrong side and the prongs bend flat against it. Fusible interfacing behind the mounting point isn’t optional here, since the prongs pull directly against the fabric fibers with repeated use and unreinforced fabric will tear over time. See our sewing bags guide for where these fit into a full build.
Covered snaps are a couture trick worth knowing: cover the visible cap of a large sew-on snap with a small circle of fashion fabric, gathered tight around the back and secured, so a big functional snap disappears into the garment instead of showing as bare metal.
Where Snaps Win (and Lose)
Snaps earn their place wherever speed, safety, or a flat profile beats fine adjustability. Baby and toddler clothing is the obvious case, since snaps mean faster changes and no small buttons for a baby to chew loose (see our sewing for kids guide). Duvet and pillowcase openings, doll and miniature clothing (where a buttonhole is too small), and Western shirt plackets round out the list.
But snaps lose badly at high-stress points that take a hard, straight pull. Waistbands, trouser closures, and the top of a fly are exactly the spots for a hook and eye instead. That’s mechanics, not preference: a snap holds up fine against shear (sideways sliding force) but is designed to release under peel force, a straight pull-apart along the axis where the ball seats into the socket, which is exactly the load a waistband puts on a closure all day.
Placement and Popping Prevention
Placement matters given that mechanics. On a placket, space snaps every 2-3 inches, or match spacing already marked on your pattern, and add one at each real stress point, like a collar or just above a gap likely to pull open.
Back any lightweight or loosely woven fabric with a small square of fusible interfacing before you sew or set a snap into it. Without that, repeated snapping will distort and eventually tear the fibers around the holes or prongs.
If a snap keeps popping open, don’t just resew the same one. Try a larger size, add a second hidden snap nearby to share the load, reinforce stretched fabric with interfacing, or, for a genuinely high-stress spot like a waistband, swap the snap for a hook and eye instead.
For more closures and finishing techniques in one place, our library of 155+ printable PDF sewing patterns is at Sewing Pattern Secrets’ pattern library.
Frequently Asked Questions
Which side does the ball of a snap go on?
By the most common convention, the ball (stud) half goes on the wrong side of the overlapping (top) fabric piece, and the socket half goes on the right side of the underlapping (bottom) piece. Some tutorials reverse this, and either works as long as the two halves land on facing surfaces. What matters mechanically is alignment, not which half is “correct.”
How do you sew on a snap button?
The short version of how to sew snaps by hand: mark the ball’s position on the wrong side of the top layer, then transfer that position to the bottom layer by chalking the ball’s tip and pressing it onto the fabric to leave a chalk dot (or pinning through the aligned closure). Using doubled thread or buttonhole twist, anchor a hidden knot under the snap, then whip-stitch or buttonhole-stitch through each hole, picking up only the inner fabric layer so no stitches show on the right side.
How many times do you stitch through each hole?
2-3 stitches per hole is the standard baseline for light to medium duty use. For garments that will see heavy stress or frequent use, like children’s clothing or coat plackets, 3-4 passes per hole gives extra security.
What are KAM snaps?
KAM snaps are a popular brand of no-sew plastic snaps set with dedicated pliers and an awl. Each snap uses four parts (two caps plus a stud and a socket). The awl pierces the fabric, the prong pushes through, and the pliers press it into a locked mushroom shape. They’re a favorite for cloth diapers, bibs, and reusable baby items because they’re colorful, washable, and skip hand-sewing entirely.
Do magnetic snaps need interfacing?
Yes. Interfacing, or a fusible fleece patch, behind the mounting point is essential, not optional, because the magnet’s prongs pull directly through the fabric fibers every time the bag opens and closes, and unreinforced fabric will tear or stretch out over time.
Why do my snaps keep popping open?
Usually too much stress is being placed on the snap for its size, or it’s a lighter-duty home-sewing type rather than an industrial one. Fixes include upsizing the snap, adding a second hidden snap to share the load, reinforcing stretched fabric with interfacing, or, for a genuinely high-stress spot like a waistband, swapping in a hook and eye instead.