
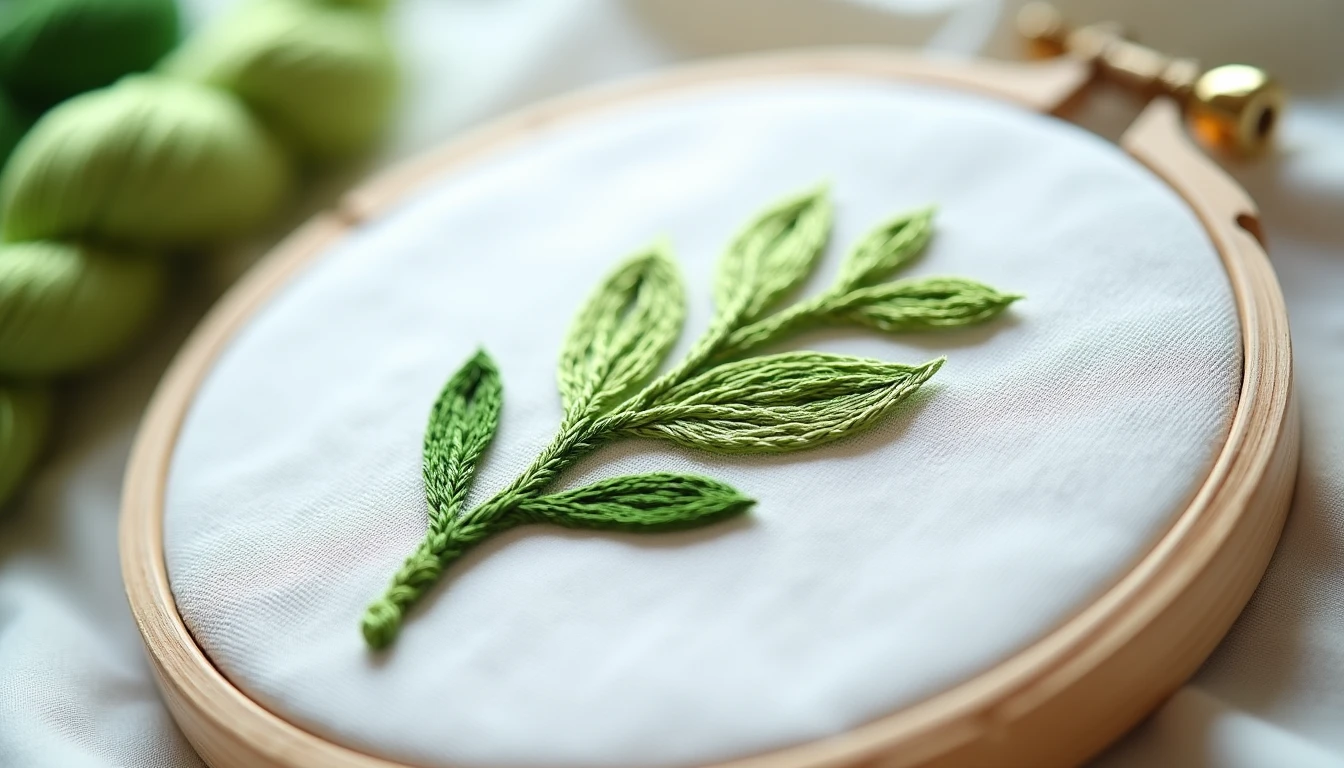
Stem stitch is the stitch you reach for when a line needs to look like a thin twisted rope instead of a flat row of thread. It’s built from overlapping straight stitches that lock over each other, and once you get the rhythm down, it’s the go-to stitch for flower stems, curling vines, and cursive lettering. If you’re still getting comfortable with the basics, our hand stitching basics guide is a good place to warm up, and our full embroidery stitches hub has the rest of the stitch family.
Some links below are affiliate links. Prices are 2025-2026 estimates and change often, so always check current pricing.
What Stem Stitch Is
Stem stitch is made from overlapping straight stitches, and each new stitch starts at the midpoint of the one before it. That overlap gives the finished line its rope-like, slightly twisted face, rather than the flat look of a running stitch or a loosely worked backstitch.
It’s also one of the oldest stitches on record, showing up in Egyptian textiles from the 14th century BC, Peruvian textiles from 600 to 200 BC, and the Bayeux Tapestry from the 11th century. One nuance worth knowing: the Bayeux Tapestry is often described as worked entirely in stem stitch, but that’s not quite right. Stem stitch carried the lettering and the figure outlines, while the large filled areas were done in a separate technique called laid-and-couched work, or Bayeux stitch, not stem stitch at all. The stitch stayed in steady use through 17th-century Jacobean crewelwork and remains the default choice today for any curved or straight line that needs texture.
The One Rule That Makes or Breaks It
There’s exactly one rule that decides whether your stem stitch looks like a smooth rope or a mess of flat, broken segments: the working thread has to stay on the same side of the needle for the entire line.
Working left to right, the traditional direction for standard S-twisted cotton floss like DMC or Anchor, bring the needle up, insert it one stitch-length ahead, and before pulling all the way through, bring it back up at the midpoint of the stitch you just made, thread looped below the needle. Every stitch after that repeats the move: enter ahead, exit at the midpoint of the last stitch, thread on that same side every time.
The moment this breaks down is when you change direction without also flipping which side the thread sits on. Switch from left-to-right to right-to-left out of habit while keeping the thread on the same side, and the rope look falls apart: the line goes flat or broken, because without meaning to, you’ve started making outline stitch instead.
Stem vs Outline Stitch (the Honest Distinction)
Stem stitch and outline stitch are built almost identically. Both are overlapping slanted stitches that come up at the midpoint of the previous stitch, which is why a lot of stitchers, and even some books, use the two names interchangeably. There is, however, a real technical difference: which side of the needle the working thread sits on.
In stem stitch, the thread sits below the needle, and with standard S-twist floss, the rope twists toward the right. In outline stitch, the thread sits above the needle, and the rope twists toward the left. They’re mirror images of each other.
Some teachers frame the choice around which side of a curve should carry the smooth rope face: stem stitch for curves that bulge away from the stitcher, outline stitch for curves that bulge toward the stitcher, so the smooth twist stays on the outside edge either way. In practice, most embroiderers only ever learn stem stitch by name and simply reverse their thread placement by feel when a curve changes direction.
How to Sew a Stem Stitch
- Bring the needle up through the fabric at the start of your line (point A).
- Insert the needle back down one stitch-length ahead along the line (point B), forming a straight stitch on top of the fabric.
- Before pulling the thread all the way through, bring the needle back up at the midpoint of the stitch you just made, roughly half a stitch-length behind point B, coming up right beside (not through) the previous stitch.
- Keep the working thread looped below the needle, on the same side every time, as you pull through. This loop creates the twisted, rope-like face of the stitch.
- Insert the needle one stitch-length ahead again, then come back up at the midpoint of that new stitch, thread still on the same side.
- Repeat down the line, keeping stitch length and the thread’s side consistent; consistency in both is what keeps the rope looking even.
- Shorten your stitch length on tight curves so the stitches hug the curve instead of looking spiky or flattened.
- To end, take the needle through to the back after the last midpoint stitch and secure with a couple of small backstitches or a waste knot.
Two to three strands of six-strand embroidery floss is typical for a standard line, and a decent embroidery floss set on Amazon gives you enough colors to work through stems, leaves, and lettering without running short mid-project. Pair your strand count with a needle whose eye fits the thread without leaving too large a hole in the weave; a #5 crewel needle is a common general-purpose size. A hoop for even fabric tension also helps you hit the same midpoint entry point stitch after stitch.
Curves, Corners, and the Contested Rule
On tight curves and curls, shorten each stitch so the rope can bend smoothly instead of flattening out or looking spiky; the tighter the curve, the shorter the stitches need to be.
Some tutorials teach that the working thread should always stay on the outside of a curve. Embroidery references note that this isn’t a strict universal rule, since it depends on which direction the curve turns off the main line. Even so, keeping the thread to the outside remains a widely used practical habit, because it hides the small “legs” of each stitch and keeps the rope face looking unbroken along the outer edge. Treat it as a habit, not a law.
For spirals, this may mean consciously shifting which side the thread sits on as the curve changes direction. The underlying rule doesn’t change, thread stays on one consistent side per direction of travel, only which side counts as “below” shifts.
For sharp corners, don’t try to pivot stem stitch around an angle; it won’t hold its shape. Instead, end the line with a couple of tiny stitches or a small anchoring stitch at the corner point, then start fresh in the new direction.
Where Stem Stitch Shines
Botanical stems and vines. The textbook use: the rope texture reads naturally as a plant stem or curling vine, a staple in floral and crewel-style designs.
Script lettering and monograms. Often preferred over plain backstitch for cursive lettering, since the connected rope-like line curves more smoothly through letterforms and doesn’t add the bulk on the back that backstitch can, which matters if the lettering gets covered with satin stitch later.
Weighted outlines. For outlines that need more presence than a flat backstitch or running stitch line.
Stem stitch filling. Worked in rows side by side, it becomes a genuine filling technique, sometimes called crewel stitch, typically worked from the outside edge inward with all rows in the same direction for a uniform surface.
Crewel work. One of the foundational stitches of traditional crewel embroidery, used historically for both outlining and filling on wool-embroidered designs.
Denim and heavier fabrics. The stitch holds up well on sturdier fabric too. If you’re taking your needle to a jacket or jeans, our guide to embroidery on jeans covers what changes when you move off cotton quilting fabric.
Troubleshooting the Rope
The rope looks broken, flat, or uneven. Almost always the thread flipping to the wrong side of the needle mid-line, usually happening without you noticing when the stitching direction changes on a curve. Stop, check which side the thread is looping on, and correct it before continuing. This one issue causes most uneven stem stitch lines.
Stitches look spiky or don’t hug tight curves. Shorten the stitch length; long stitches can’t bend smoothly around a tight curve.
The working thread keeps twisting into a tight cord. Let the needle and thread hang and dangle freely every few stitches so the thread can untwist itself, or roll the needle between your fingers against the direction of the twist.
The finished line looks too thin or delicate. Add more strands of floss for a bolder line, or work a whipped stem stitch: passing a whipping thread under each stitch of an already-worked line to thicken and round out the rope further.
If you want more finished patterns to practice stem stitch on right away, our 155+ printable PDF sewing patterns library has plenty of stitch-ready designs to work through.
Frequently Asked Questions
What is a stem stitch used for?
Mainly for embroidering flower stems, vines, and other curved or straight lines, and it’s a favorite for script lettering because its connected rope-like line curves smoothly. It also works as a heavier outline stitch and, worked in rows, as a textured filling stitch, sometimes called crewel stitch.
What is the difference between stem stitch and outline stitch?
Worked almost identically, but the thread sits on opposite sides of the needle: below for stem stitch, above for outline stitch. That flip makes the rope twist in opposite directions, which is why the two are often confused or used interchangeably, even though the result is a mirror image.
How do you keep stem stitch even?
Keep the working thread on the same side of the needle for every stitch, keep your stitch length consistent, and always bring the needle back up at the midpoint of the previous stitch. A hoop for even fabric tension also helps keep each stitch uniform.
Which side should the thread be on for stem stitch?
Worked left to right with typical S-twisted cotton floss, keep the working thread below the needle. If you reverse direction and stitch right to left, the thread needs to move to the other side to keep producing a true stem-stitch rope rather than sliding into an outline-stitch look.
How do you stem stitch a curve?
Shorten your stitches so they can bend smoothly around the curve, and keep the working thread consistently on one side relative to your direction of travel. Many stitchers keep the thread to the outside of the curve, which hides the stitch “legs” and keeps the rope face smooth along the outer edge.
How many strands of floss for stem stitch?
Two to three strands of six-strand embroidery floss is the most common choice for a standard line. Use fewer strands, one or two, for a fine, delicate line, or all six strands (or a heavier thread) for a bold, thick line.