An ugly Christmas sweater party is a contest whether the invite says so or not, and a homemade sweater is what wins it. Everyone in the room has already seen the mall version with the light-up reindeer. Nobody has seen your inside joke, your 3D chimney gag, or your working candy dispenser, because you built it yourself.
The tradition traces back to a 2002 house party in Coquitlam, near Vancouver, thrown by friends Chris Boyd and Jordan Birch for about 30 guests. Boyd got the idea from working at a retirement home, where most of the grandmothers wore loud holiday sweaters all season long. The party grew year after year until it filled Vancouver’s Commodore Ballroom, and the idea spread worldwide. In 2011, sweater fans created National Ugly Christmas Sweater Day, now celebrated every year on the third Friday of December. For more seasonal build ideas, check our full seasonal holiday sewing hub.
Some links below are affiliate links. Prices are 2025-2026 estimates and change often, so always check current pricing.
Start With the Right Sweater
Skip the fabric store and head to the thrift shop. A clean, decorated ugly sweater is disposable by design, so there’s no reason to cut into a nice one you’d wear again. Look for a plain, solid-color crew neck in red, green, or white, colors that read as “holiday” on their own and give the best contrast for felt, pom-poms, and lights. A thick knit or fleece pullover holds heavier add-ons better than a thin one that sags or tears, and a plain sweatshirt is a fine substitute if that’s easier to find.
Check the shoulder seams first since thrifted sizing is all over the place, and go up a size for a relaxed fit if you’ll layer a shirt underneath or stuff a pocket with a battery pack. Wash and dry the sweater before you start, particularly if it’s secondhand, so shrinkage happens before you commit to a design and glue or stitches adhere properly.
Plan your layout before you cut or glue anything. Put the sweater on and mark placement directly against your body (useful for anything that needs to line up with your torso, like a chimney or wreath collar), or lay it flat and sketch the design on paper as a template. While you work, slip cardboard or newspaper inside the sweater between the front and back, so glue can’t bleed through and stick the layers together.
How to Attach Everything (Without Ruining the Sweater)
Different pieces call for different methods. Here’s what works on knitwear, and where each falls short.
- Hot glue. Fast, dries in seconds, holds pom-poms and felt securely. Fine for one night, but it dries stiff, can crack as the knit stretches, and rarely survives a wash.
- Hand-stitching or tacking. The best method for knitwear, since thread flexes with the fabric instead of fighting it. A few basic hand sewing stitches are all you need, a running stitch or simple tacking, no machine required. Pieces are removable later with a seam ripper, so the base sweater returns for a different theme next year.
- Fabric glue. Flexes more than hot glue once cured, so it holds up better on stretchy knit, and it’s a low-heat, kid-safe alternative to a glue gun. It needs 20 to 30 minutes or more to set.
- Safety pins. Fully removable and non-damaging, the standard trick for a borrowed or rented sweater. Easiest way to attach light items like ornaments without adhesive, though pins can work loose over an evening.
- Iron-on or fusible adhesive. Fast for flat felt on a sturdy garment, but risky on stretchy knit: heat can scorch fibers, and a rigid bond tends to lift or peel with movement. Test on a hidden seam first with low heat.
- Velcro dots. Let you build swappable pieces, like a Santa hat you pop on and off. The hook side needs a glued or stitched felt backing to grip loose knit, and adds some visible bulk.
Seven Classic Builds
These are the go-to designs that show up at every ugly sweater party, each simple enough for a single evening of work.
- Garland and ornaments wrap. Tack real tinsel garland to the sweater in a spiral or diagonal wrap with small hand stitches every few inches so it moves with the fabric. Use plastic, shatterproof ornaments only. Glass can shatter against your body in a crowded room.
- Working lights. Use a battery-powered LED string light set, never a mains-plug set. Lay the strand flat first to plan the path, then hand-tack it every few inches along seams, avoiding stretch zones like elbows. Tuck the battery pack into a hem pocket instead of against your body, switch the lights off, and never sleep in it.
- Pom-pom snowman. Glue or stitch white pom-poms into a stacked large-medium-small shape. Add a felt hat and scarf, felt or button eyes, an orange felt nose, and felt buttons down the front.
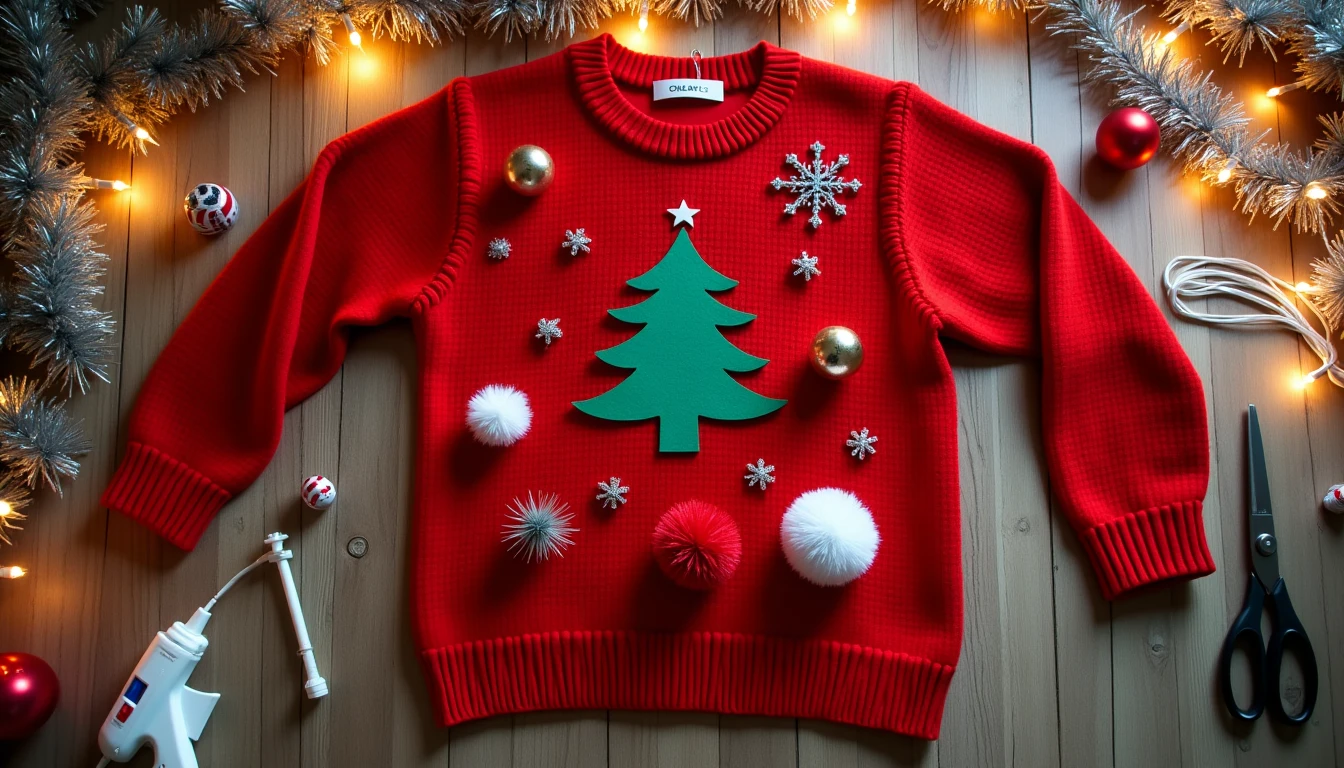
- Felt Christmas tree. Cut a tall triangle from green felt and glue or blanket-stitch it to the front. Add a pipe-cleaner trunk, decorate with mini ornaments or sequins, and top it with a felt or glitter-foam star.
- Wreath collar. Wrap tinsel garland or a ring of green felt around the neckline to form a wreath, tacking it down so it lies flat. Finish with a bow at front center and a few ornaments for contrast.
- Gift-box shoulders gag. Glue or safety-pin small, lightweight cardboard gift boxes wrapped in mini paper with ribbon bows onto the shoulders, as if presents are stacked on you.
- Cat-in-tree or pet-themed. Build the felt tree as your base, then add a small stuffed cat toy or felt cutout climbing out from the branches, a nod to the “why do cats climb the tree” joke. Swap in a dog, your pet, or a family photo cutout for a personal twist.
Contest-Winning 3D Gags
Flat decoration is fine, but the sweaters that win a contest have one piece that sticks out, lights up, or does something.
Santa stuck in the chimney. Build a small 3D chimney from cardboard wrapped in brick-pattern paper and glue or stitch it to the sweater front. Attach stuffed legs upside down at the top (red felt with black boot tips works well) as if Santa fell in headfirst. Add cotton batting “snow” on top and a few wrapped boxes scattered below as if they spilled in the struggle.
3D reindeer head. Attach a stuffed toy reindeer head, a plush pillow shaped like a reindeer face, or a DIY stuffed felt version to the chest so it projects outward. A red pom-pom nose and felt antlers finish the Rudolph look.
Fireplace with flames. Glue or stitch a felt fireplace shape, mantel and hearth, onto the lower sweater. Fill the hearth opening with crumpled orange, red, and yellow tissue paper for flickering flames, then tuck a battery LED light behind it for a warm glow, using the same low-voltage safety approach as the lights build above.
Working candy dispenser. Attach a small toy candy dispenser to the sweater front at a secure point, stitched through a fabric-backed patch rather than just glued, since it needs to hold up to handling and the weight of candy. Actually handing out candy separates your sweater from every static one in the room.
Craft Techniques That Help
Felt applique and blanket stitch. Felt doesn’t fray, so edges stay clean without hemming. Attach shapes with fabric glue for speed, or a hand blanket stitch around the edge for a durable finish and a decorative border, more on that in our embroidery stitches guide.
Quick pom-poms. Wrap yarn around a fork or a cut-out cardboard ring, tie off the center tightly, snip the loops, and trim into shape. The fork method is fastest and needs no special tools.
Sewing through knit without stretching. Knit fabric shifts and puckers under a needle, and knits behave differently than woven fabric here. Back the area with a scrap of tissue paper pinned underneath before stitching, sew through both layers, then tear the tissue away to keep stitches even.
Jingle bell warning. Lining the hem or sleeves with bells means nonstop jingling all night as they bump with every step. Stick to a small cluster at the collar, or your coworkers will hear you coming for hours.
Matching Sets and Group Themes
Building with a partner, family, or an office team? A shared theme reads stronger than a pile of unrelated sweaters. For a couple, try a split-design scene: half a Christmas tree on each sweater that only completes when you stand side by side, or one half of Frosty’s face on each. For a family group, coordinate around one theme, matching reindeer or snowmen in different colors. For an office team, a shared joke like a “stuck in a meeting with Santa” gag or reindeer wearing each teammate’s name connects the whole department and beats unrelated individual entries.
Want a shortcut for next year’s build too? Our pattern library has over 155 printable PDF sewing patterns you can pull from anytime.
Frequently Asked Questions
How do you make an ugly Christmas sweater at home?
Start with a plain, solid-color thrifted or sweatshirt base in red, green, or white, wash it first, then plan your design on paper or on the sweater while wearing it. Build up the look with felt cutouts, pom-poms, tinsel garland, and small ornaments, attaching pieces with hand-stitching (best for knit) or hot or fabric glue for speed. Add one standout element, like a 3D chimney gag or a working LED string, to make it memorable rather than just busy.
What do you put on a DIY ugly sweater?
Popular add-ons include tinsel garland, shatterproof plastic ornaments, pom-poms, felt Christmas trees or snowmen, jingle bells, battery-powered LED lights, a wreath collar, and 3D gags like stuffed elf legs, a reindeer head, or a mini fireplace with tissue-paper flames. The strongest sweaters mix texture and dimension rather than flat decoration alone.
How do you attach decorations to a sweater without ruining it?
Hand-stitching or tacking is safest for knitwear because thread flexes with the fabric instead of cracking like dried glue can. For a fully non-damaging option, use safety pins, the standard trick for a rented or borrowed sweater. Slide cardboard or newspaper inside the sweater while you work so glue doesn’t bleed through and stick the layers together.
How do you add working lights to a Christmas sweater?
Use only battery-powered LED string lights, never mains-plug lights. Lay the strand flat to plan the path, then hand-tack the wire down every few inches along seams, avoiding stretch zones like elbows and underarms. Tuck the battery pack into a hem pocket instead of against your body, switch the lights off when not wearing the sweater, and never sleep in it.
When is National Ugly Christmas Sweater Day?
National Ugly Christmas Sweater Day falls on the third Friday of December every year. It was created in 2011 and has grown into an international celebration, including a charitable tie-in with Save the Children’s “Make the World Better with a Sweater” campaign starting in 2014.
What wins an ugly sweater contest?
Judges respond to sweaters that tell a visual joke instantly, use a 3D element that sticks out, lights up, or moves rather than flat decoration alone, and lean into an original gag instead of a generic mall-bought design. A homemade sweater with one clear standout gimmick, like a Santa stuck in a chimney or a working candy dispenser, consistently beats one just covered in random ornaments.