
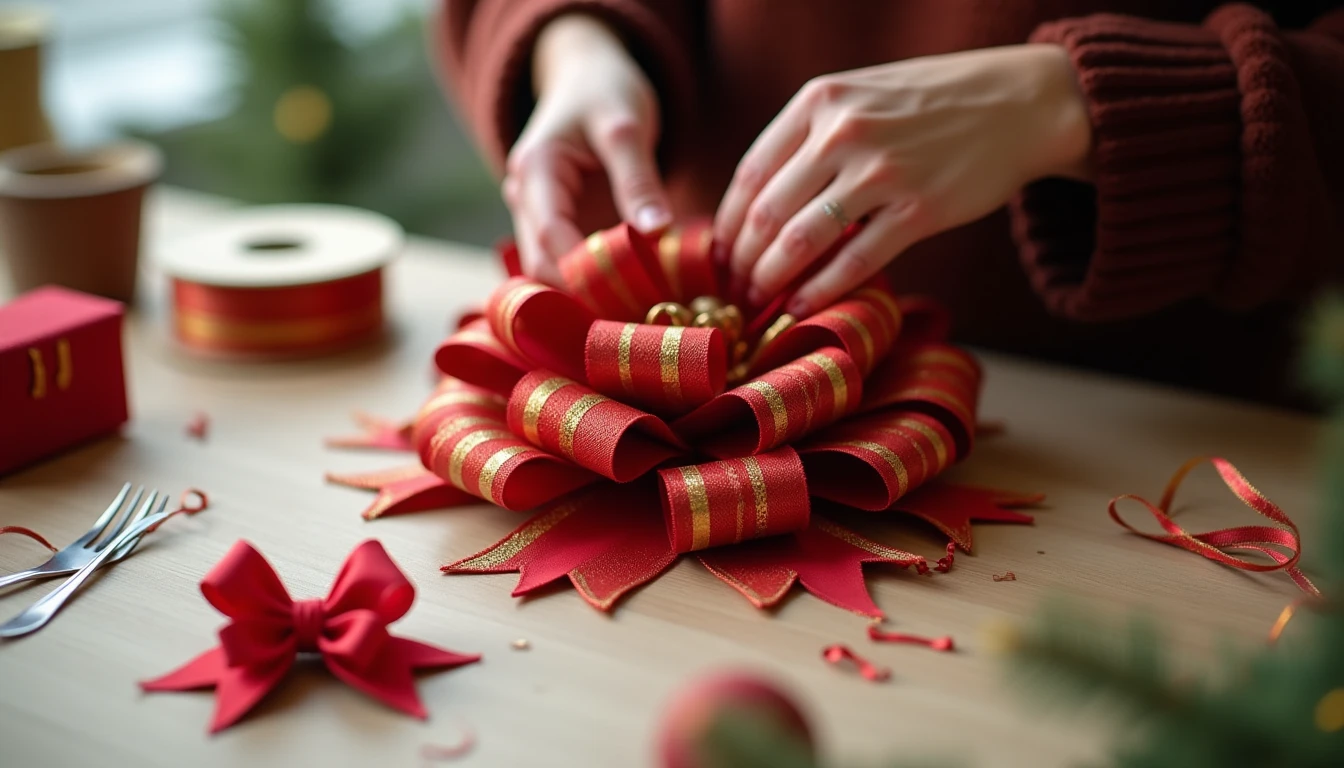
You know the difference the second you see it. One bow sags, loops flat and tired; the other stands up full and round. That gap comes down to wire, plus one twist at the center of every loop. Once you know how to make a bow with wired ribbon, you can build wreath bows, gift toppers, and fork bows that hold their shape for years. For more like this, see our seasonal holiday sewing hub.
Some links below are affiliate links. Prices are 2025-2026 estimates and change often, so always check current pricing.
Why Wired Ribbon Changes Everything
Wired ribbon has a thin wire, usually stainless steel or copper, along both edges. That wire lets you shape, cup, and pinch each loop so it holds instead of collapsing, and you can sculpt the bow again after it’s tied. Unwired ribbon can’t; it needs constant hand tension just to hold a curve.
Width matters too. 2.5 inch wired ribbon is the wreath-bow standard, proportioned for a typical 22-24 inch door wreath. For gift bows, smaller wreaths, and layering, 1.5 inch reads better. If you want a spool on hand, wired ribbon in a few widths is worth keeping in your stash.
One thing to check before buying: wired ribbon comes one-sided or two-sided (reversible). One-sided shows a plain back on each loop; reversible looks finished from both angles, which matters for wreaths and tree toppers. For soft, draping bows like hair ribbons, skip the wire and reach for unwired instead.
The Classic Loop Bow
This is the core technique. Every other bow below is a variation on it.
- Leave a tail. Pull out a starting tail of 6 to 12 inches, scaled to your desired tail length.
- Make the center loop. Pinch the ribbon into a small loop, about 2 to 4 inches, where your fingers hold the tail. This is your anchor point for every loop that follows.
- Twist at the center every single loop. After each loop, bring the ribbon back to the center pinch and give it a half-twist before starting the next one. This is the step beginners skip, and it’s what separates a homemade bow from a florist-quality one. Wired ribbon has a right side and a wrong side, so twisting each time keeps the printed face outward on every loop.
- Build loops alternating sides, growing outward. Loop one side, pinch and twist, loop the other side, pinch and twist, repeat, each pair slightly bigger than the last. Most wreath bows use 6 to 10 loops total, roughly 3 to 5 per side, sized at about a quarter to a third of the finished diameter.
- Secure the center. Wrap floral wire, a pipe cleaner, or a zip tie tightly around the pinched center and twist it locked, then turn that point to the back. Wire and pipe cleaners are reusable; a zip tie locks fast but has to be cut off to redo the bow.
- Fluff and sculpt. Separate each loop, pull it outward and slightly forward, and rotate loops so they don’t all sit in one plane, for a dimensional look.
- Dovetail the tails. Fold each tail in half lengthwise, then cut at roughly a 45-degree angle from the fold to the open edge. Unfolded, it leaves a clean V, a swallowtail cut, the standard finish on florist bows.
Three More Bows Worth Knowing
Sculpted shoelace bow. Tie the ribbon like a shoe, two loops crossed and pulled through, then use the edge wire to pinch, cup, and crease it so it reads crisp instead of floppy. Good for a simple gift topper.
Fork bow, for minis. A viral trick using a plain dinner fork as a form. Leave a 4 inch tail, weave about 1.5 feet of ribbon across the tines, building 2 to 4 rows. Thread a short piece of ribbon or wire through the center tines, tie tight over the top, and slide the bow off. Great for scrapbooking, gift toppers, and hair clips.
Accordion or fan-fold bow. Fold the ribbon back and forth like a paper fan, then pinch or wire the folds together at the center. Fanned open, it spreads into a pinwheel rather than a loopy bow, popular for hair bows and gift-wrap flourishes.
The florist or funeral bow uses this same technique, just scaled up with more loops, wider ribbon, and longer tails, where twisting every loop matters even more.
The Yardage and Proportion Math
Yardage scales with loop count, loop size, and tail length, not a fixed number. A modest 4 to 6 loop bow with medium tails uses roughly 6 to 9 feet; a fuller bow can run 10 feet or more. A 10-loop wreath bow in 2.5 inch ribbon typically eats 3 to 5 yards (9 to 15 feet), tails included. Start with more than you need, and trim tails at the end.
Don’t eyeball loop size. Measure against your own hand span, or pre-mark a cardboard template so every loop on a side matches; mismatched sizes are the most common thing that makes a DIY bow look uneven. Keep loops proportional to the finished diameter, and scale tails the same way.
Attaching Bows to Anything
For wreaths, run floral wire or a pipe cleaner through the same center wrap, then twist the ends around the wreath frame from the back so the attachment is hidden. Wire beats a zip tie here since it can be untwisted and repositioned. For gifts, glue dots stick a bow to wrapped paper or a box without soaking through.
For fabric, garments, and headbands, the bow’s center is already wire- or thread-wrapped, so tack it on by hand-stitching through that same wrap with heavy-duty thread, hiding the attachment inside the wrap point. New to tack-stitching? Our hand sewing stitches guide covers the basics. Hair bows usually get hot-glued or hand-stitched onto a clip base instead.
Where Bows Earn Their Keep
Wreath bows are still the number one use, driving the standard sizing of 6 to 10 loops in 2.5 inch ribbon. Christmas tree topper bows are having a moment too: one oversized bow, often velvet or wired satin, tied at the top with long tails left uncut to cascade through the branches, replacing a star. Garland accents, gift toppers, lanterns, mailboxes, and stair rails all reuse the same technique at a smaller scale.
For bigger seasonal projects, our home decor sewing collection has more to dig into, and for a fast handmade gift, browse our easy sewing projects for quick makes that pair well with a bow on top.
Store Them, Reuse Them
The wire is why these bows survive season after season. Crushed loops can be reshaped by bending them back and re-fluffing, something unwired ribbon can’t do once flattened. To store a bow, roll the tails against the back, gently flatten (not crush) the loops, and lay it in a tote somewhere dry and cool, stuffed loosely with tissue paper to hold the rounded shape.
If you’d like a stash of print-and-sew patterns to pair with your holiday decor projects, our printable PDF sewing patterns library has over 155 patterns ready to go.
Frequently Asked Questions
How to make a bow with wired ribbon, step by step
Leave a tail, pinch a small center loop, then build alternating loops on each side, growing slightly larger as you go, twisting the ribbon at the center before every new loop so the printed side stays out. Secure the center with wire, a pipe cleaner, or a zip tie, then fluff each loop and dovetail-cut the tails.
How much ribbon do you need for a wreath bow?
A typical 6 to 10 loop wreath bow in 2.5 inch ribbon uses roughly 3 to 5 yards (9 to 15 feet) total. Smaller 4 to 6 loop bows can use as little as 6 to 9 feet. Cut more than you expect and trim tails at the end.
How do you make small bows with a fork?
Weave about 1.5 feet of ribbon back and forth across a fork’s tines, leaving a short tail, building 2 to 4 rows. Thread a short piece of ribbon or wire through the center tines, tie tightly over the top, then slide the mini bow off.
How do you cut ribbon tails?
Fold each tail in half lengthwise, then cut at about a 45-degree angle from the fold outward to the open edge. Unfolded, this leaves a clean V-notch, a dovetail or swallowtail cut, that finishes the raw edge and looks intentional.
How do you attach a bow to a wreath?
Run floral wire or a pipe cleaner through the same wrap used to secure the bow’s center, then twist the ends around the wreath frame from the back so the attachment stays hidden. Wire beats a zip tie here since it can be repositioned without cutting.
Can you reuse wired ribbon bows?
Yes, the wire in the edges is what makes it possible. Reshape crushed loops by bending them back and re-fluffing, then store the bow with tails rolled in and loops gently flattened, not crushed, in a dry tote between seasons.